Dapper FastCRUD Environment Setup
To start using the Dapper.FastCrud in your application, you will need to install the Dapper.FastCrud NuGet package.
So let's open the Visual Studio and create a new project.
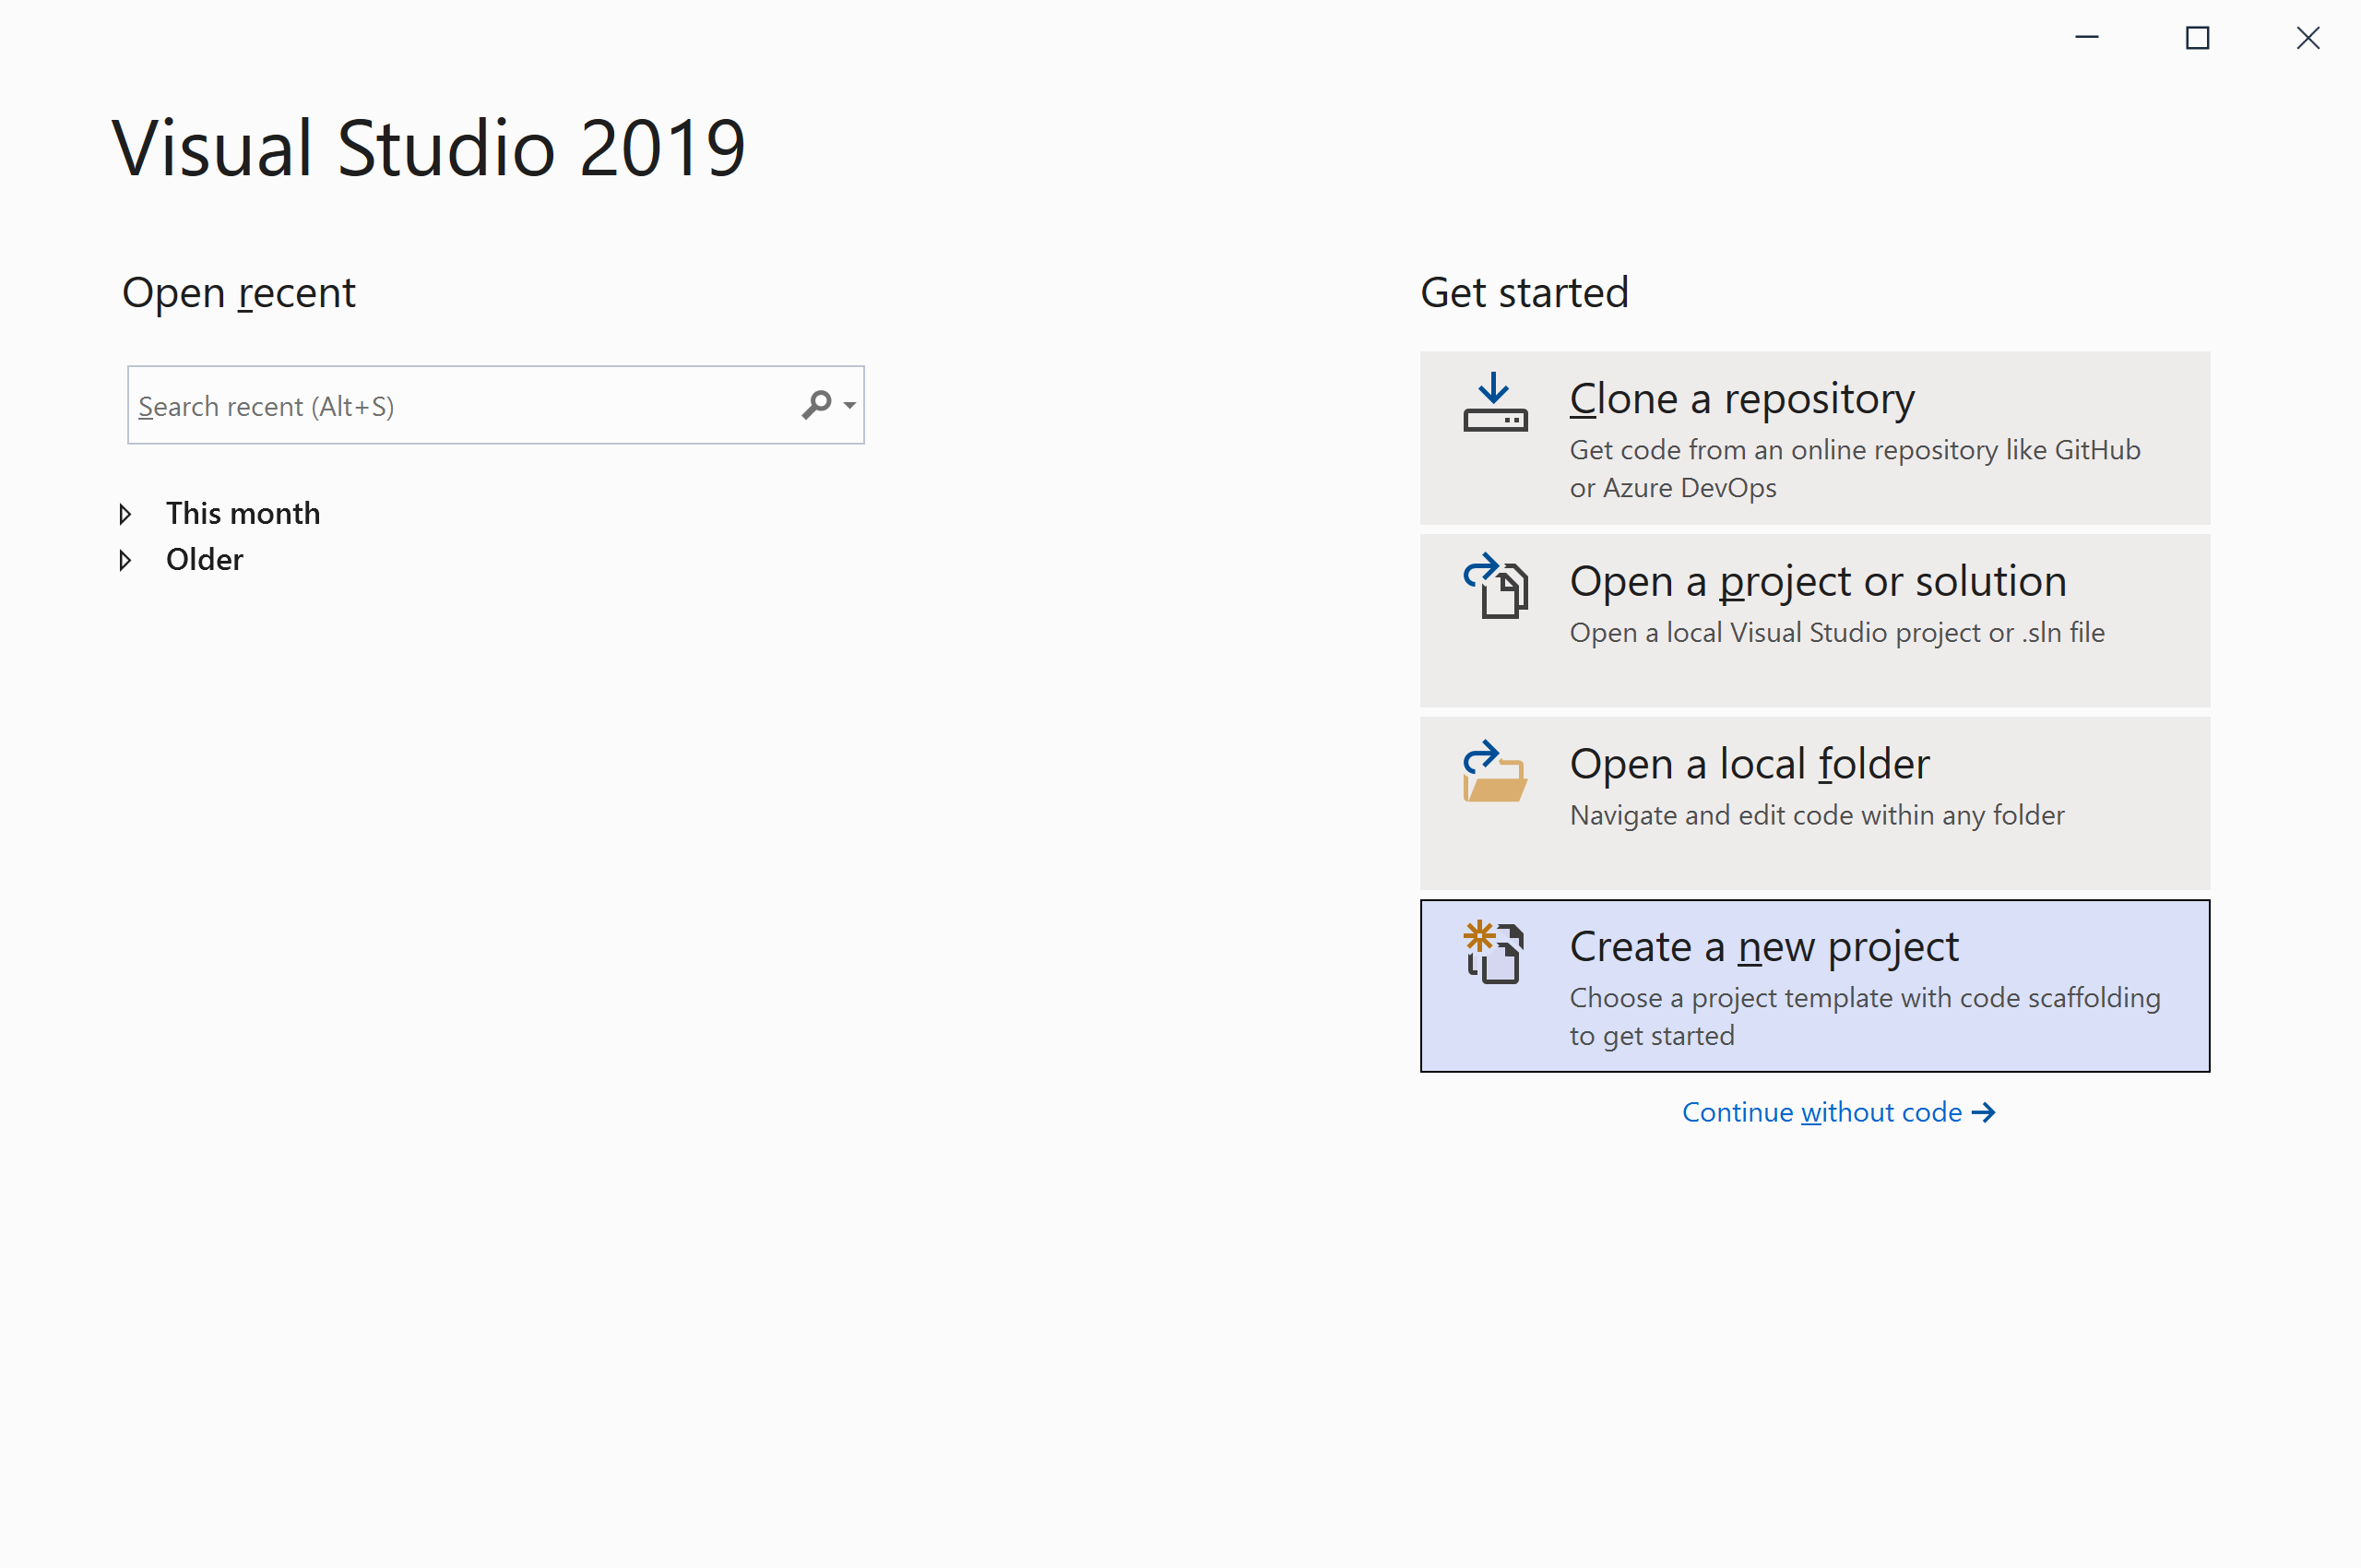
Select the Create a new project option.
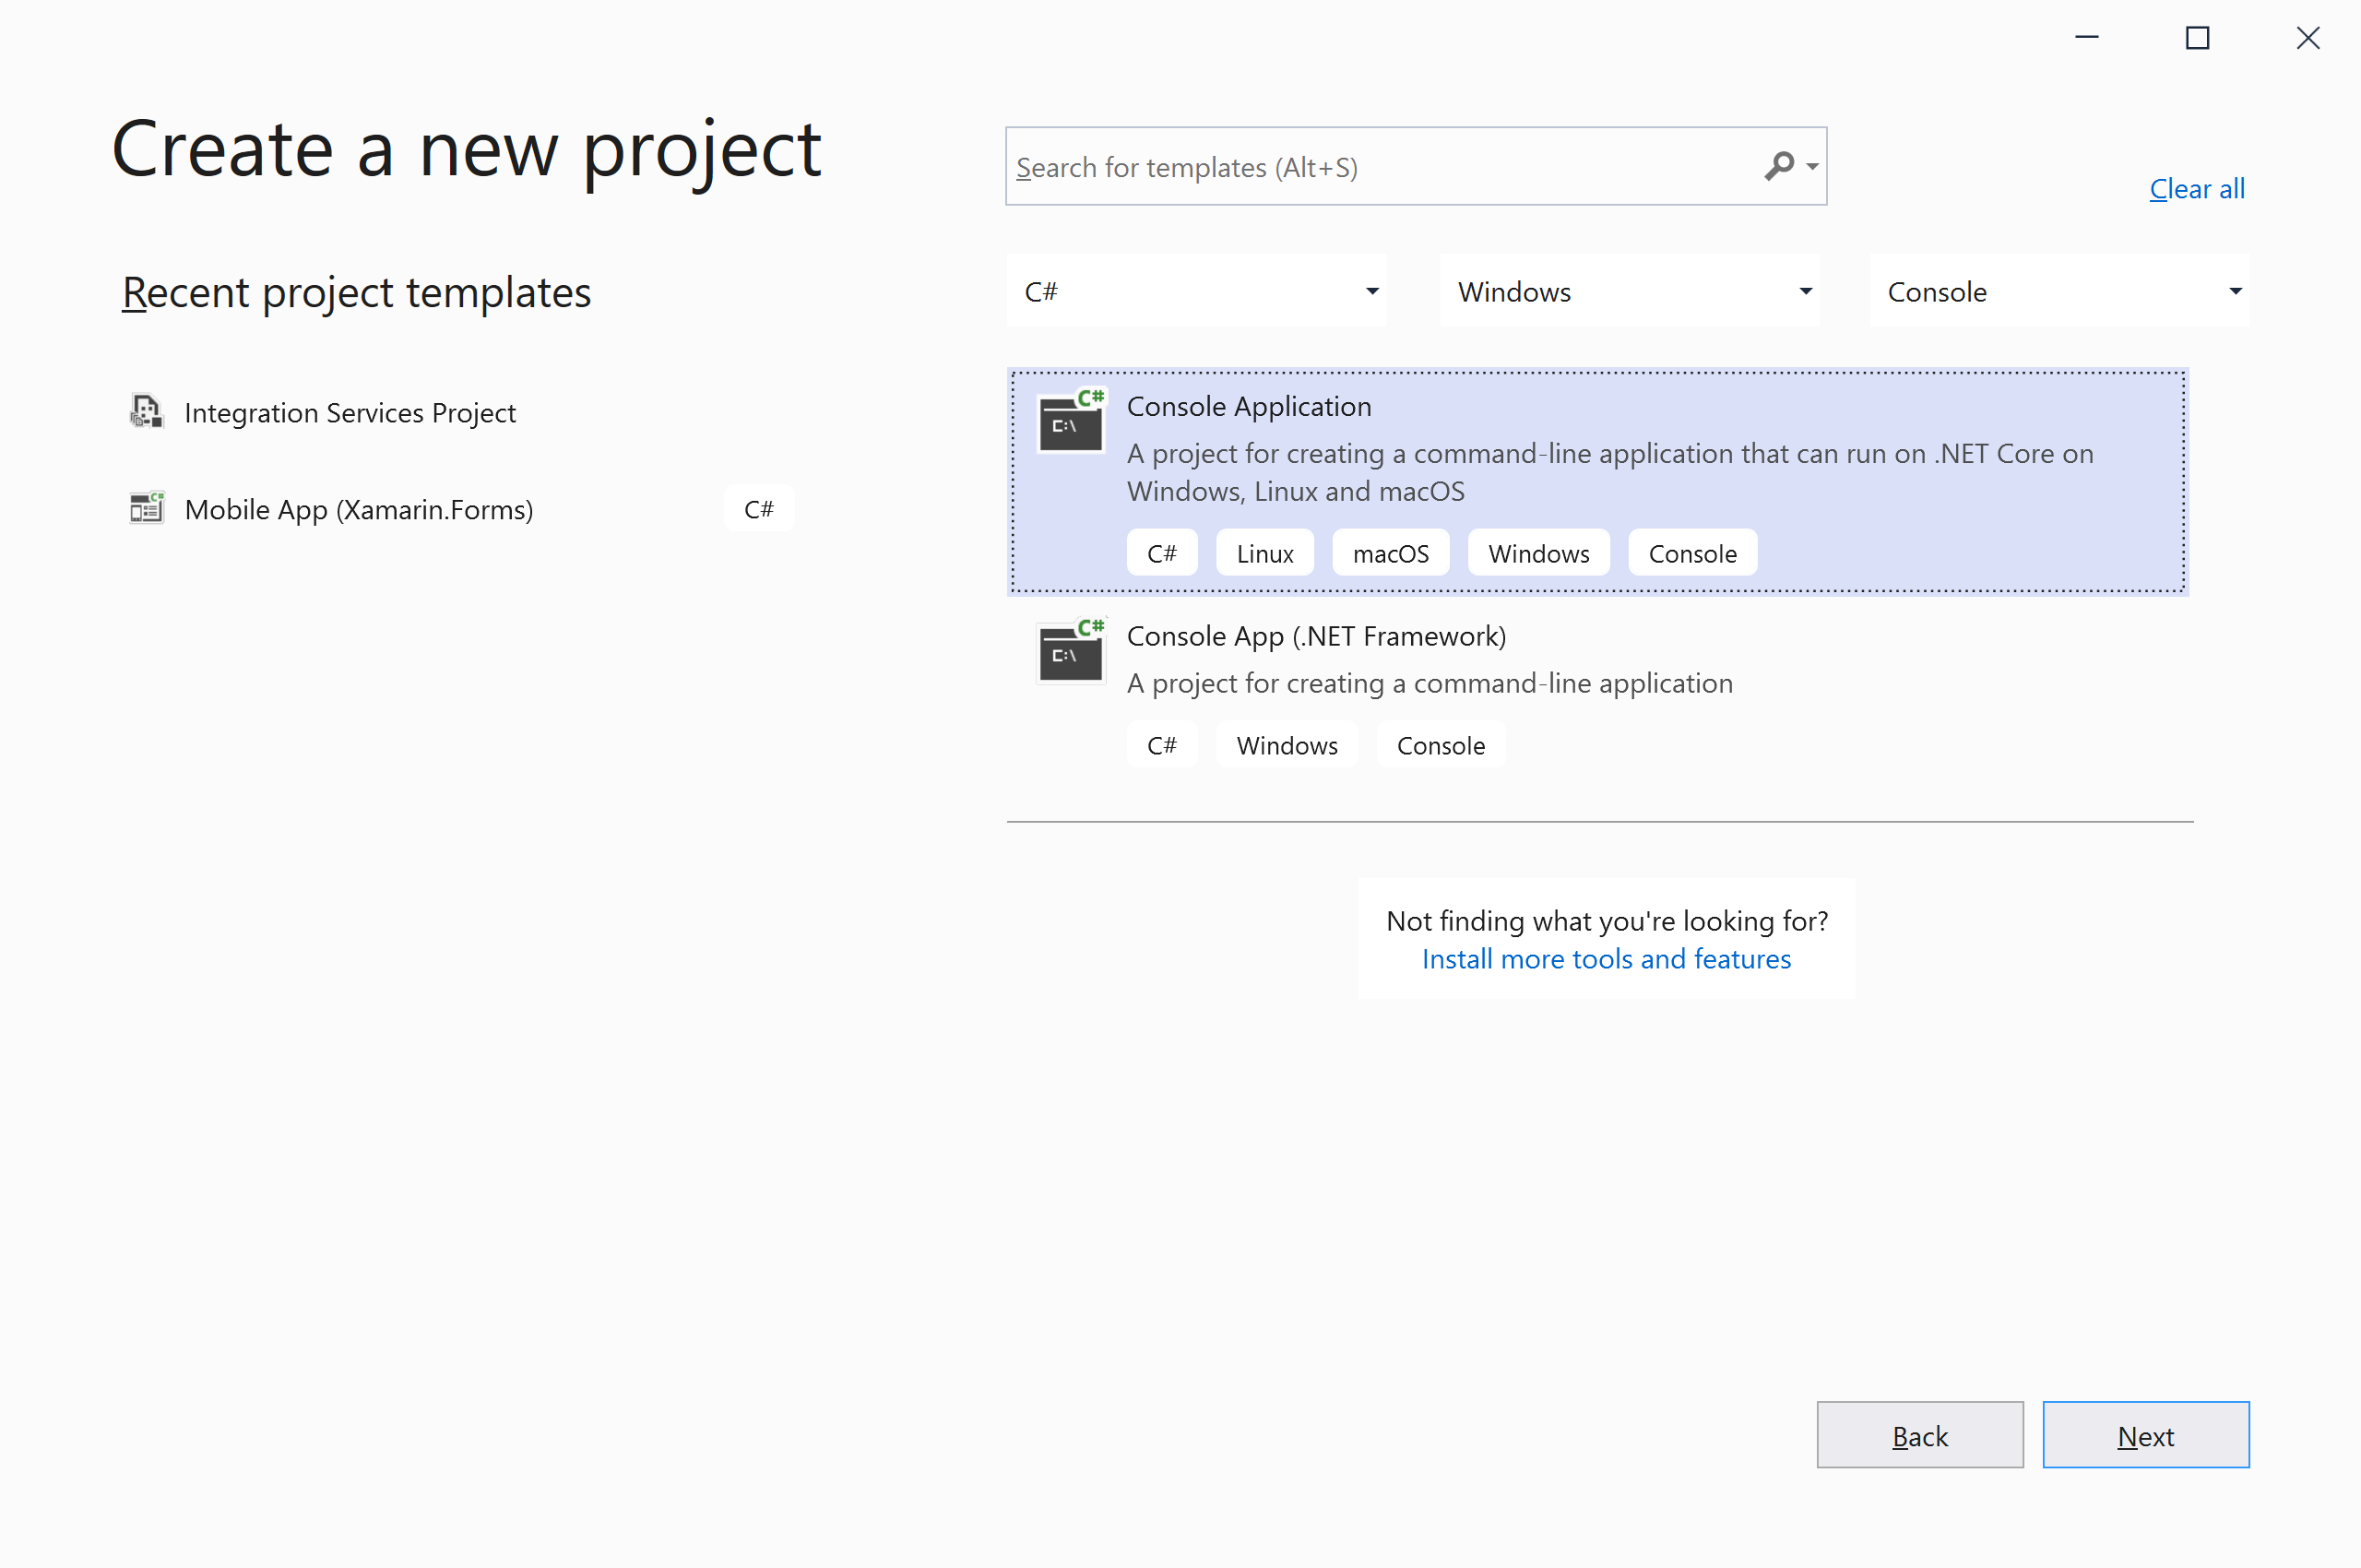
Choose C# as language, Windows as a platform, and Console as the project type. In the template pane, select Console Application and click the Next button.
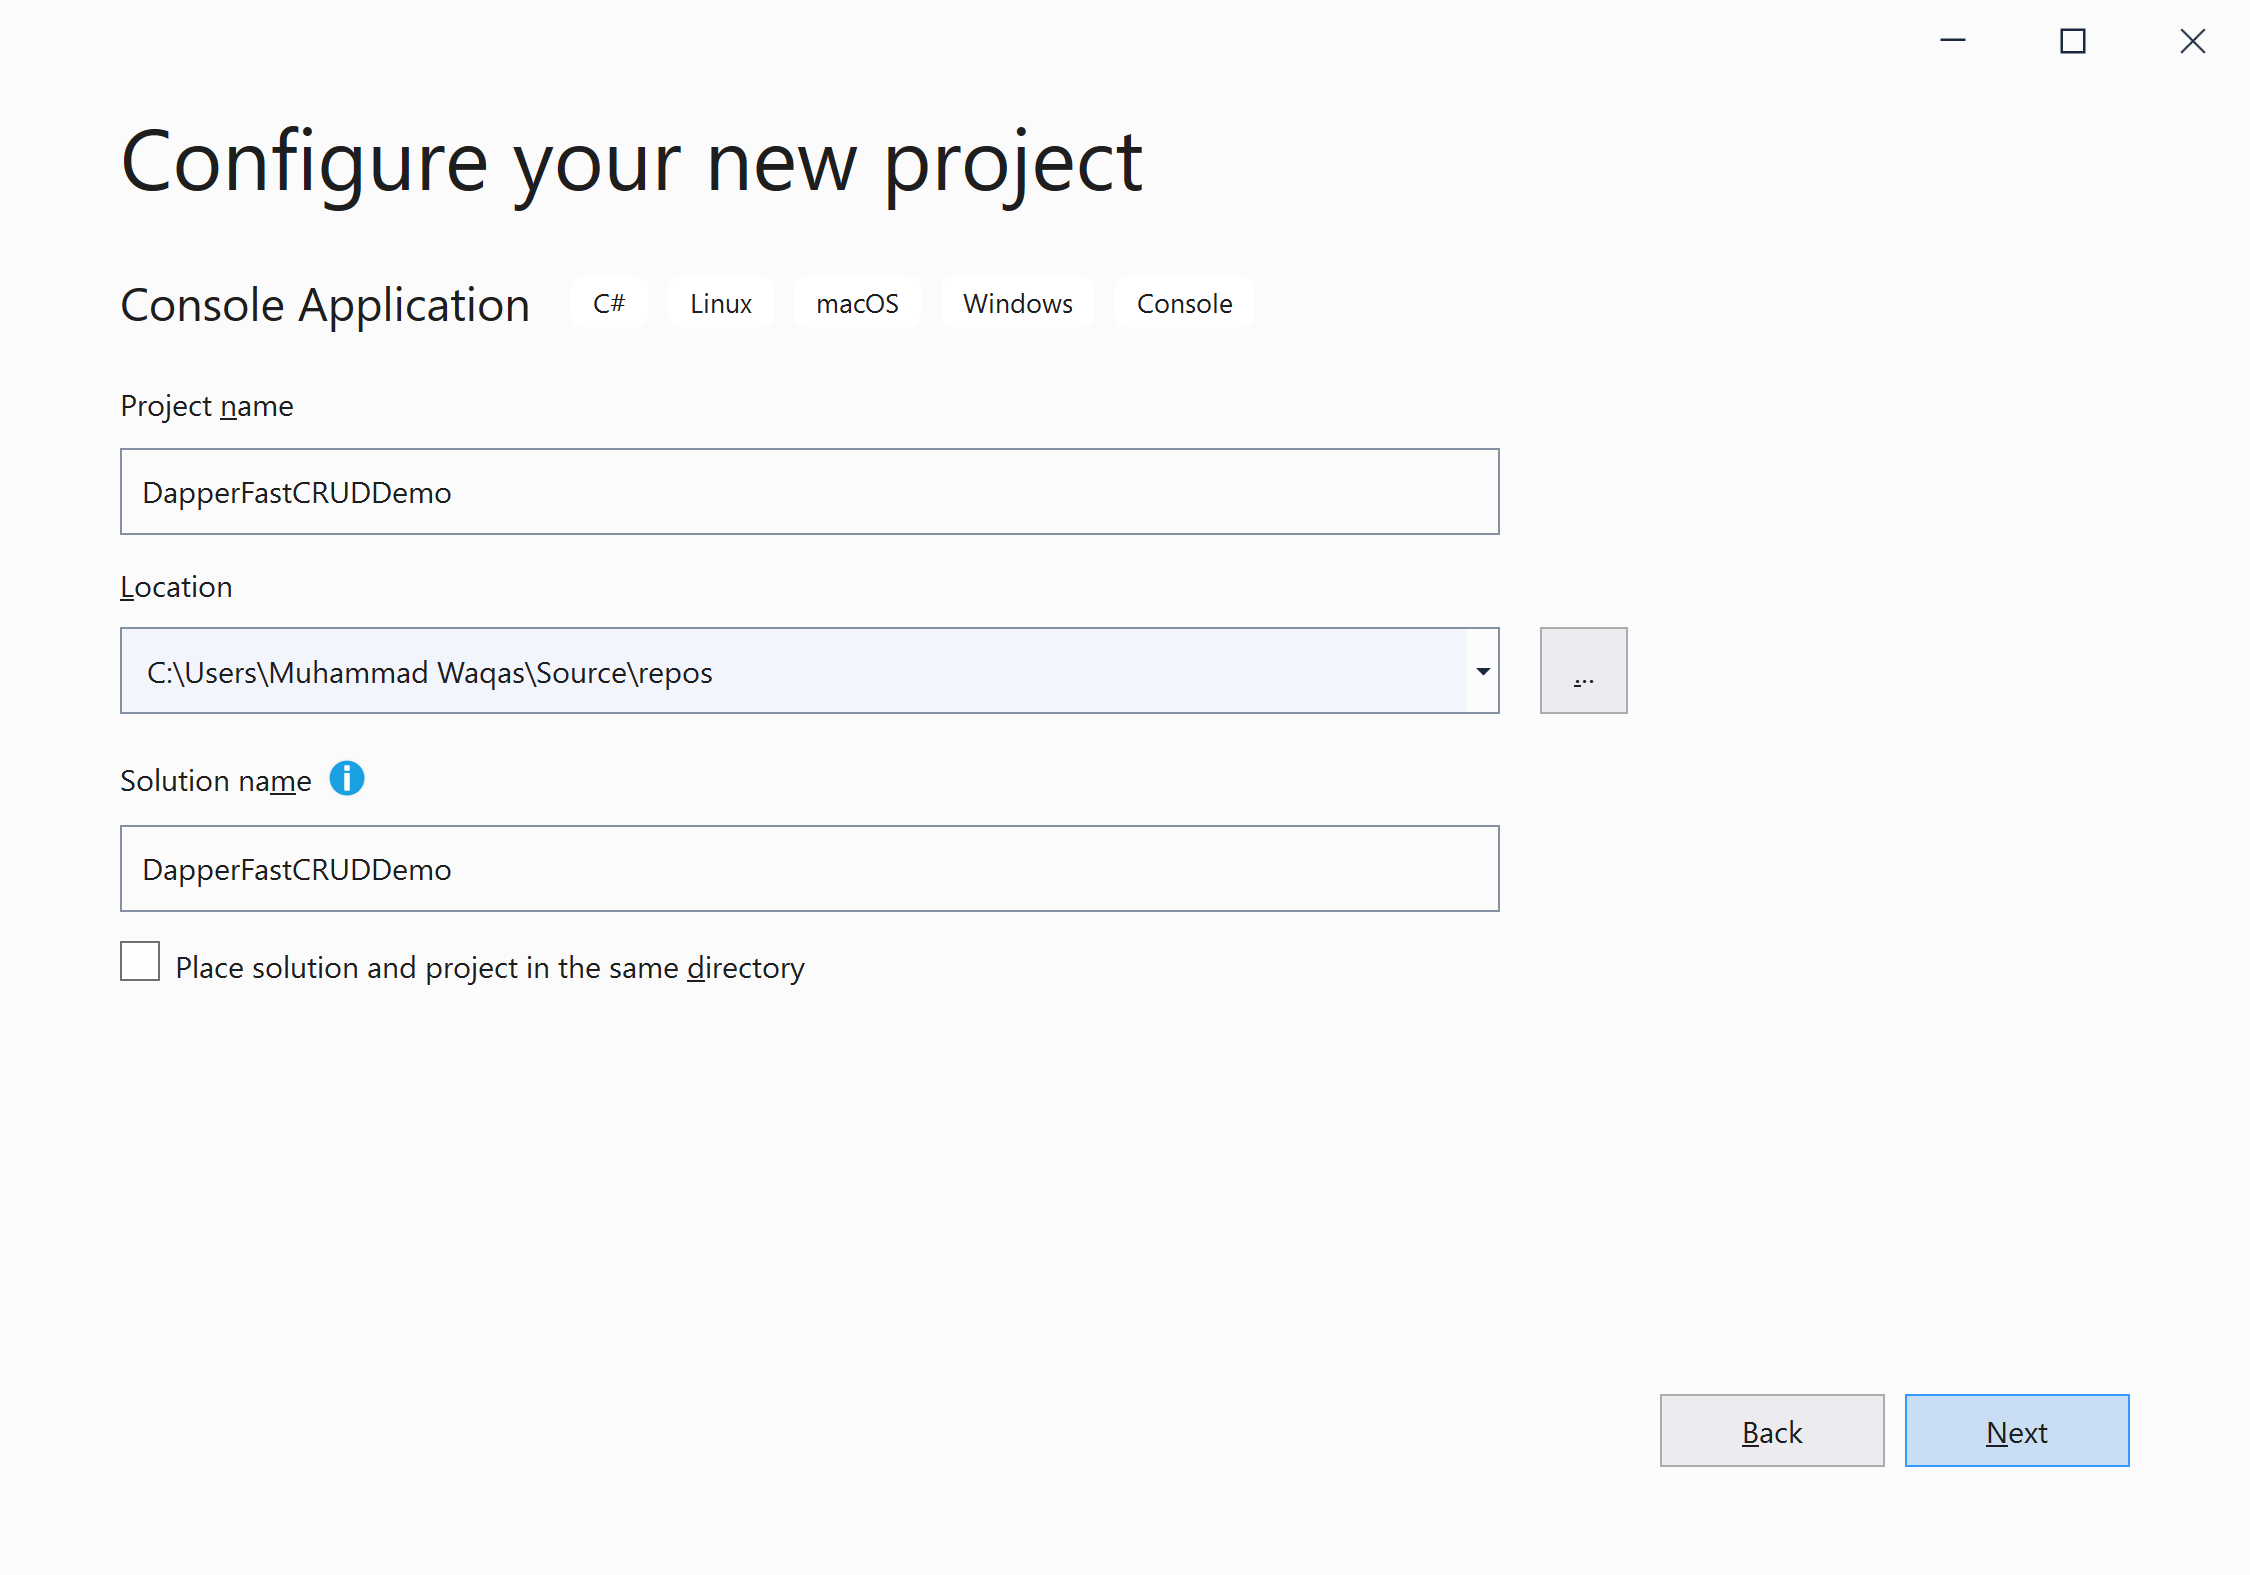
Enter the project name, you can change the location and solution name, but we will leave it and click on the Next button.
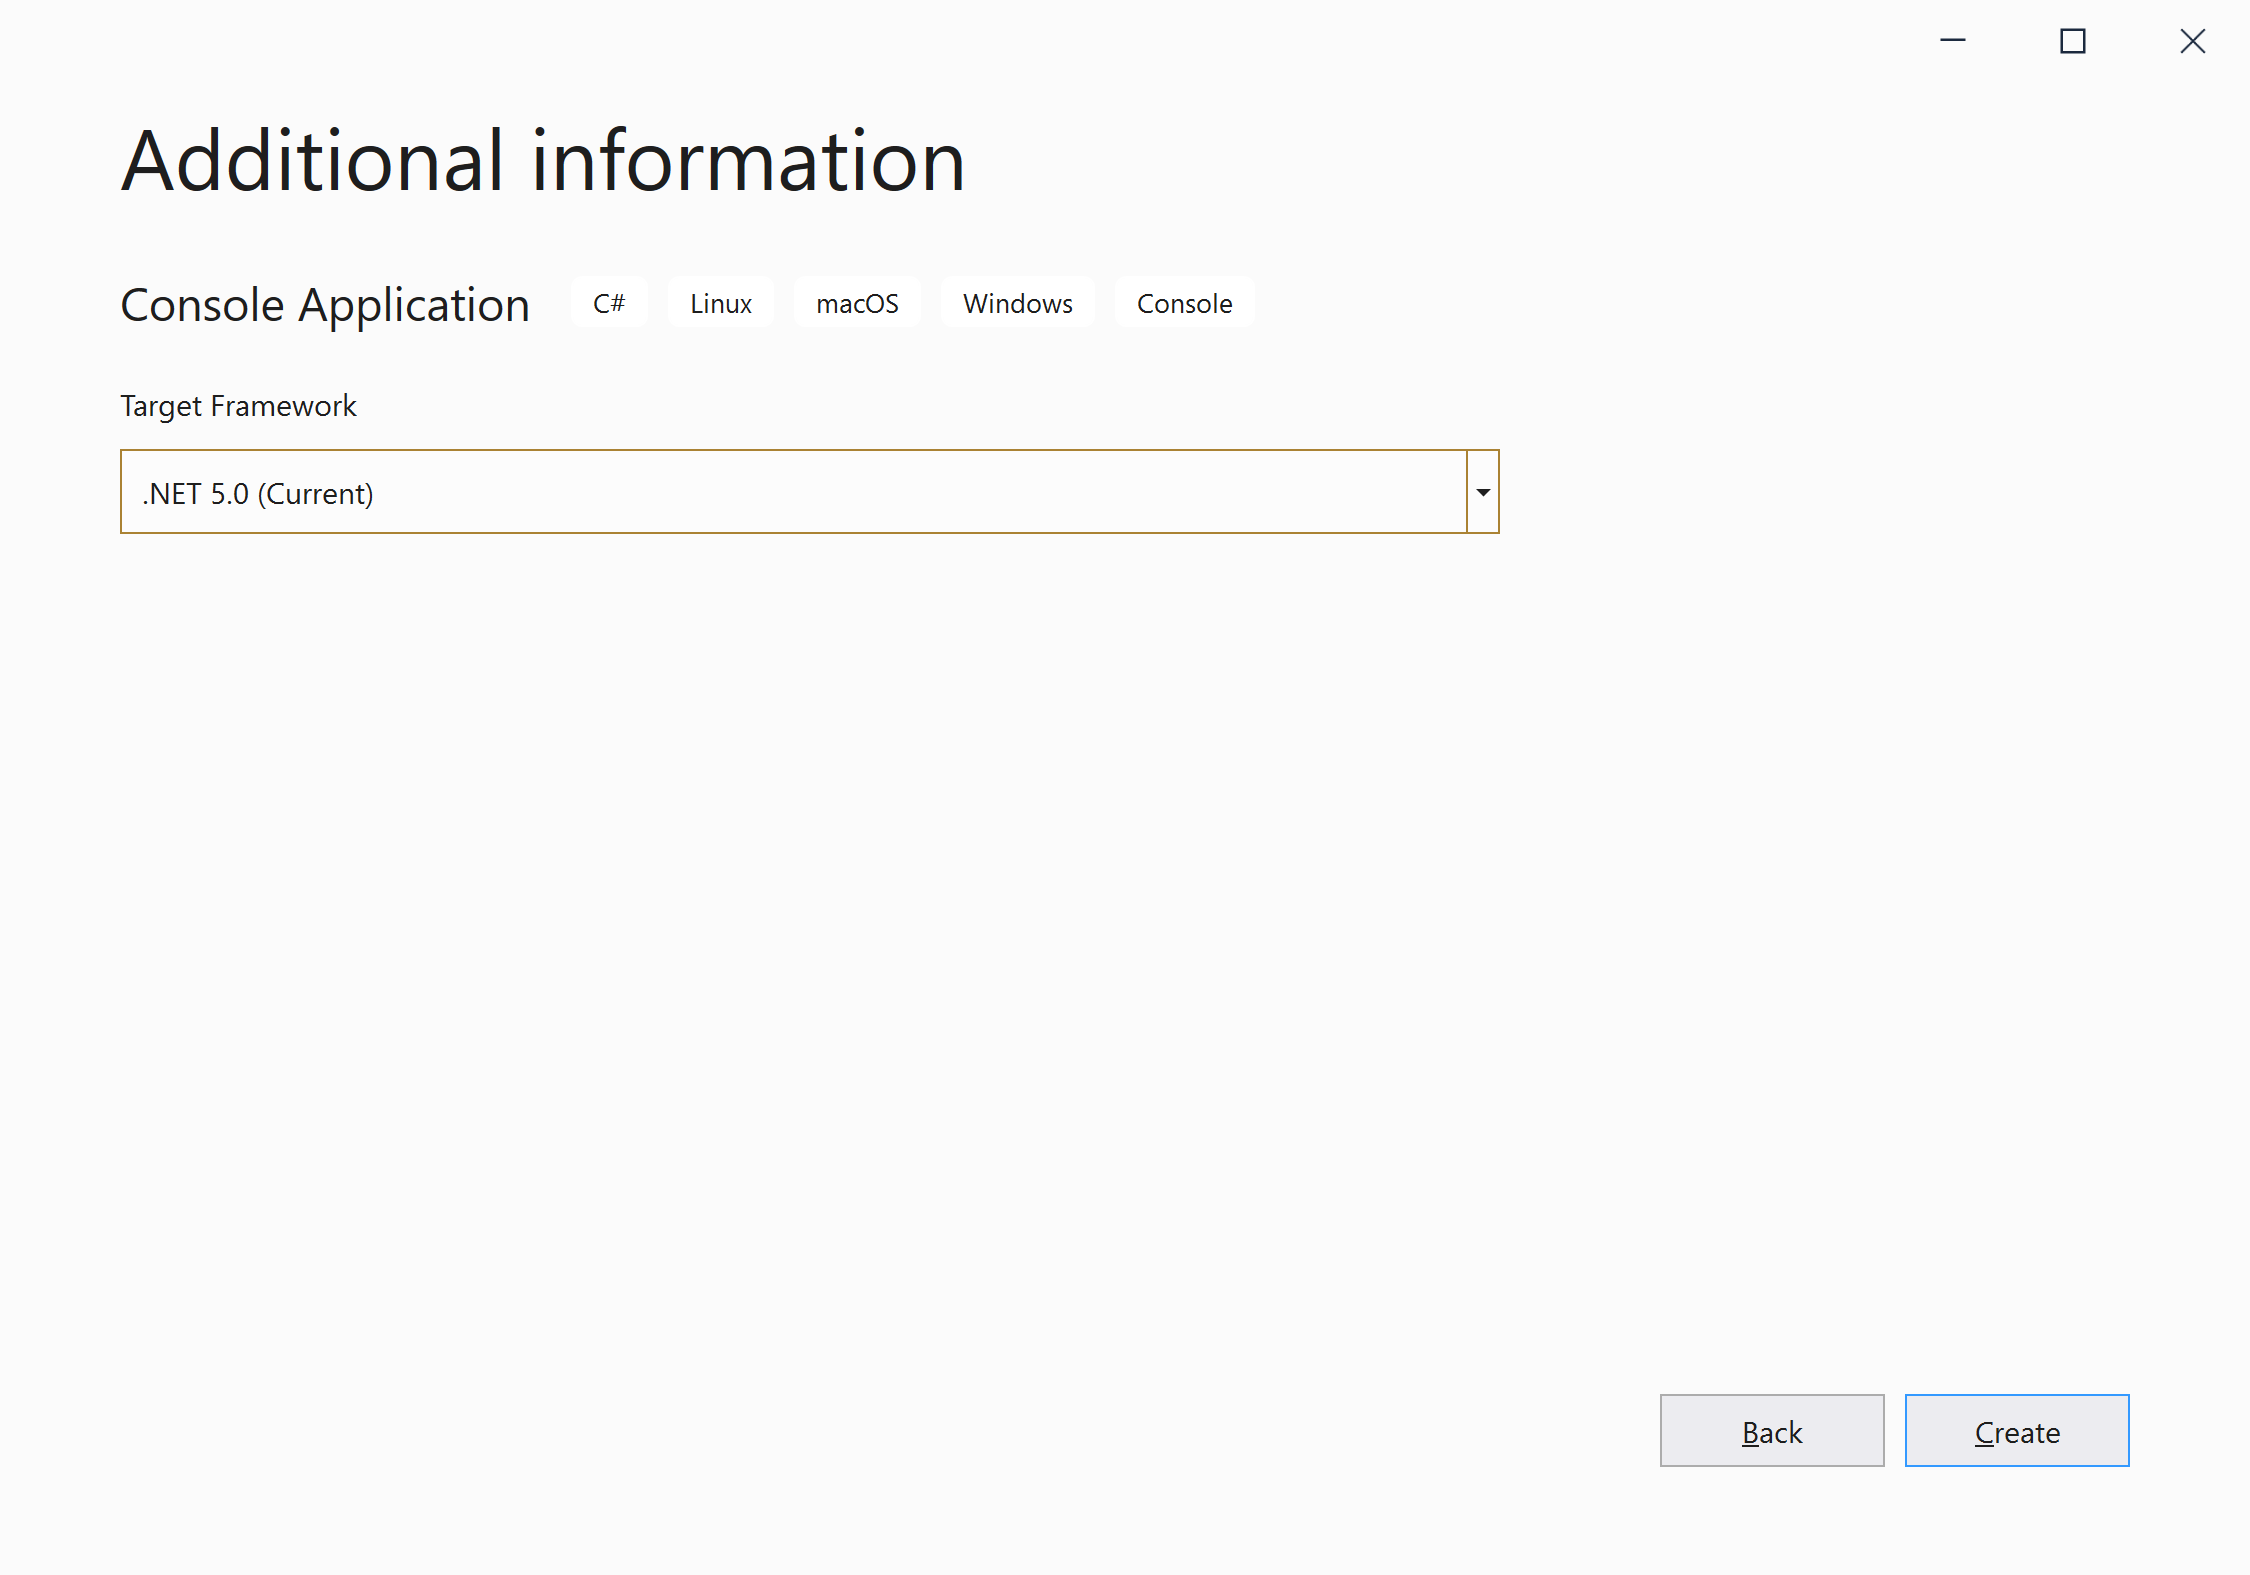
On the Additional Information dialog, select the target framework and then click on the Create button.
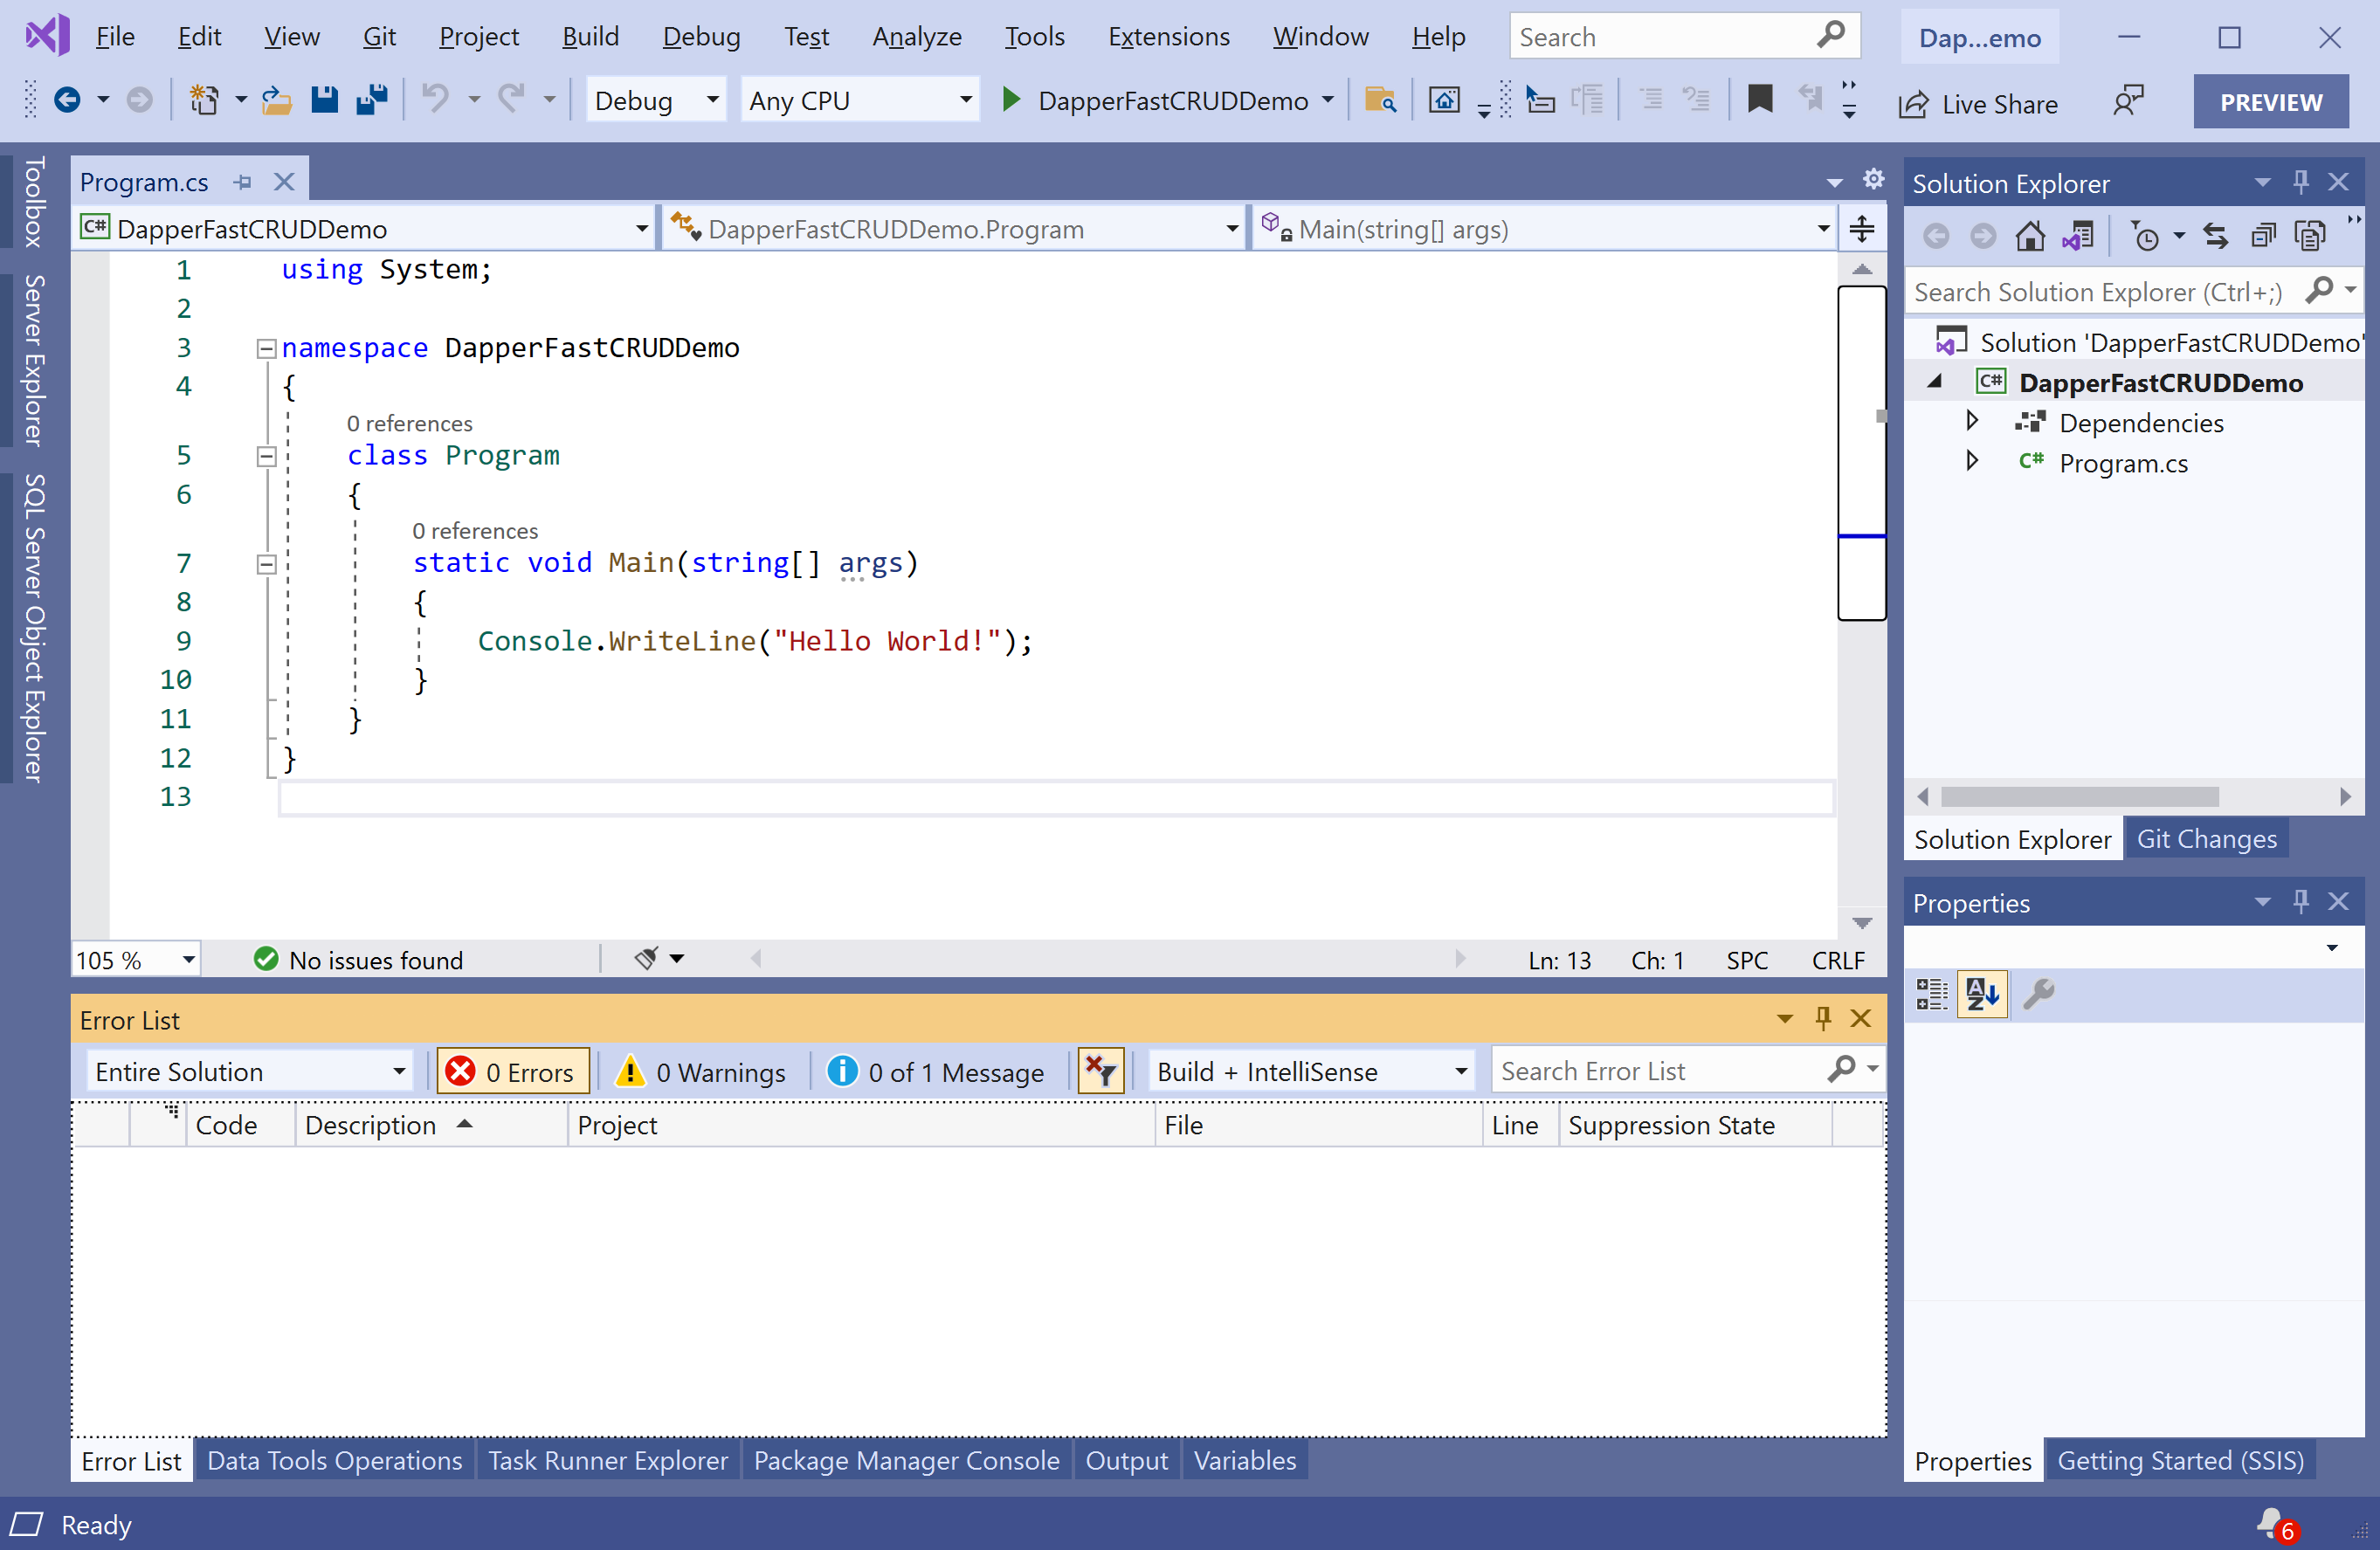
You can see a new console application project is created. Now to install a Dapper.SimpleCRUD, right-click on the Solution Explorer project, and select Manage NuGet Packages...
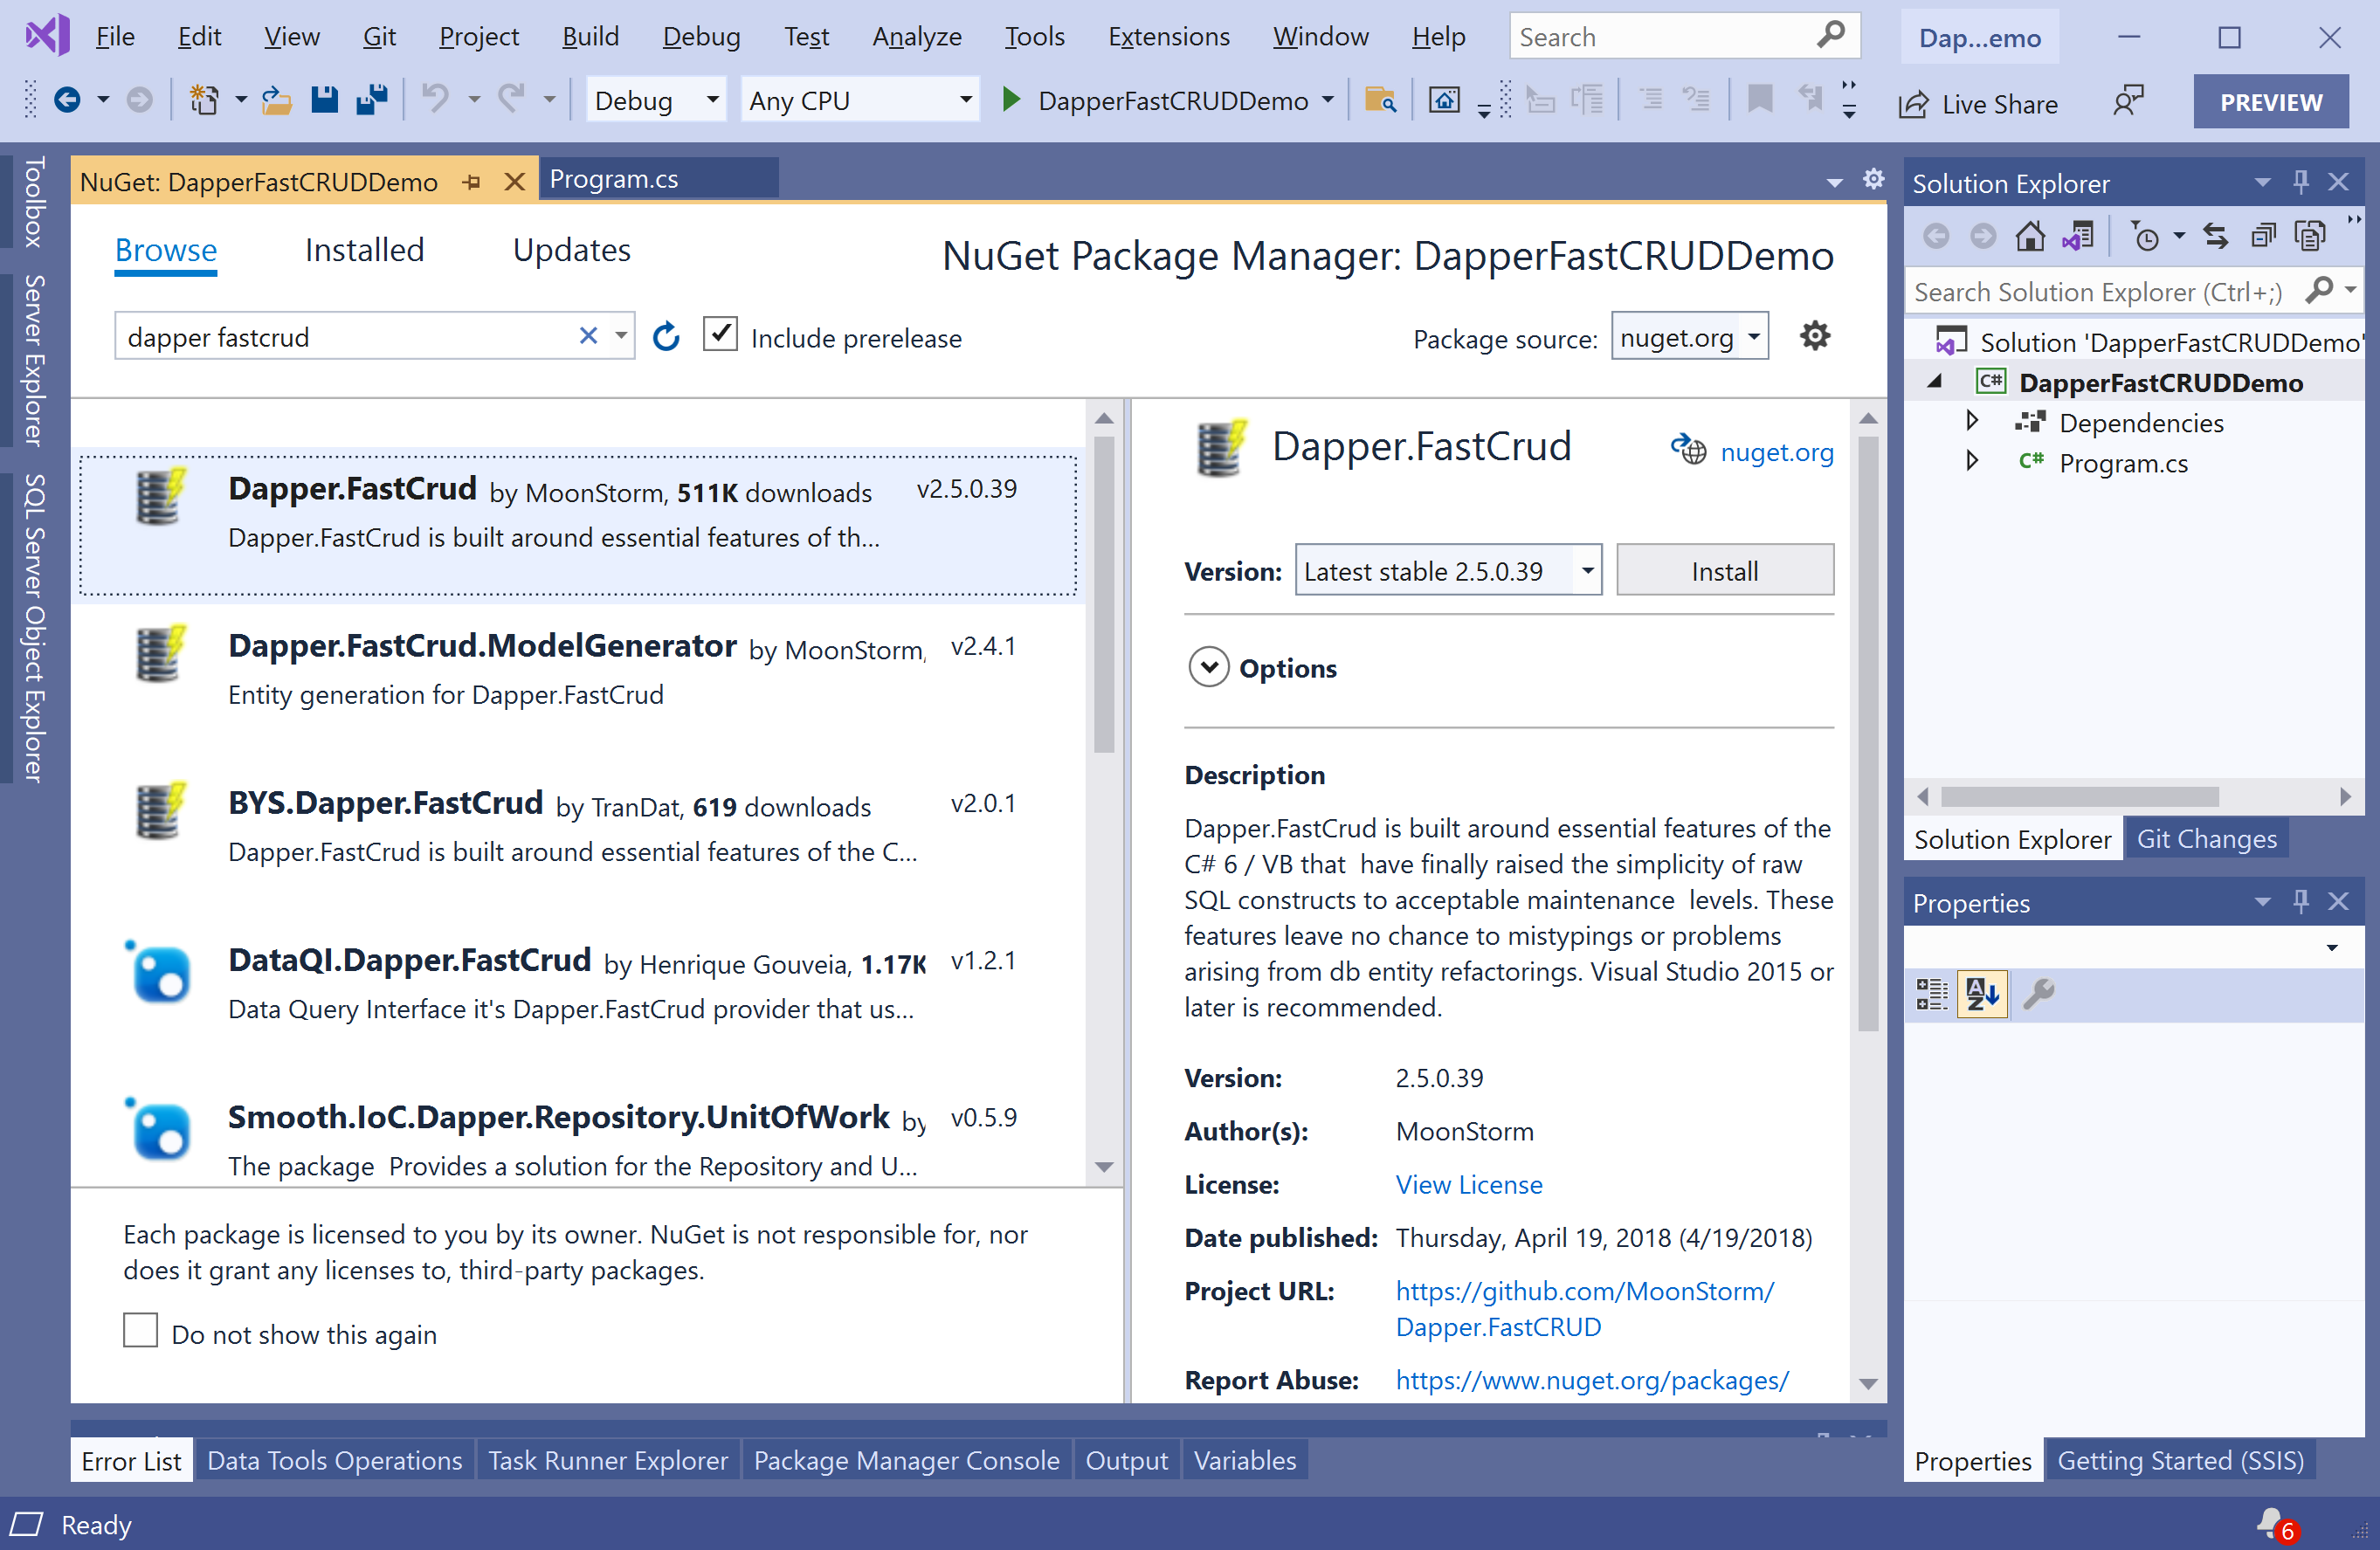
Select the Browse tab and search for Dapper.SimpleCRUD and install the latest version by pressing the Install button.
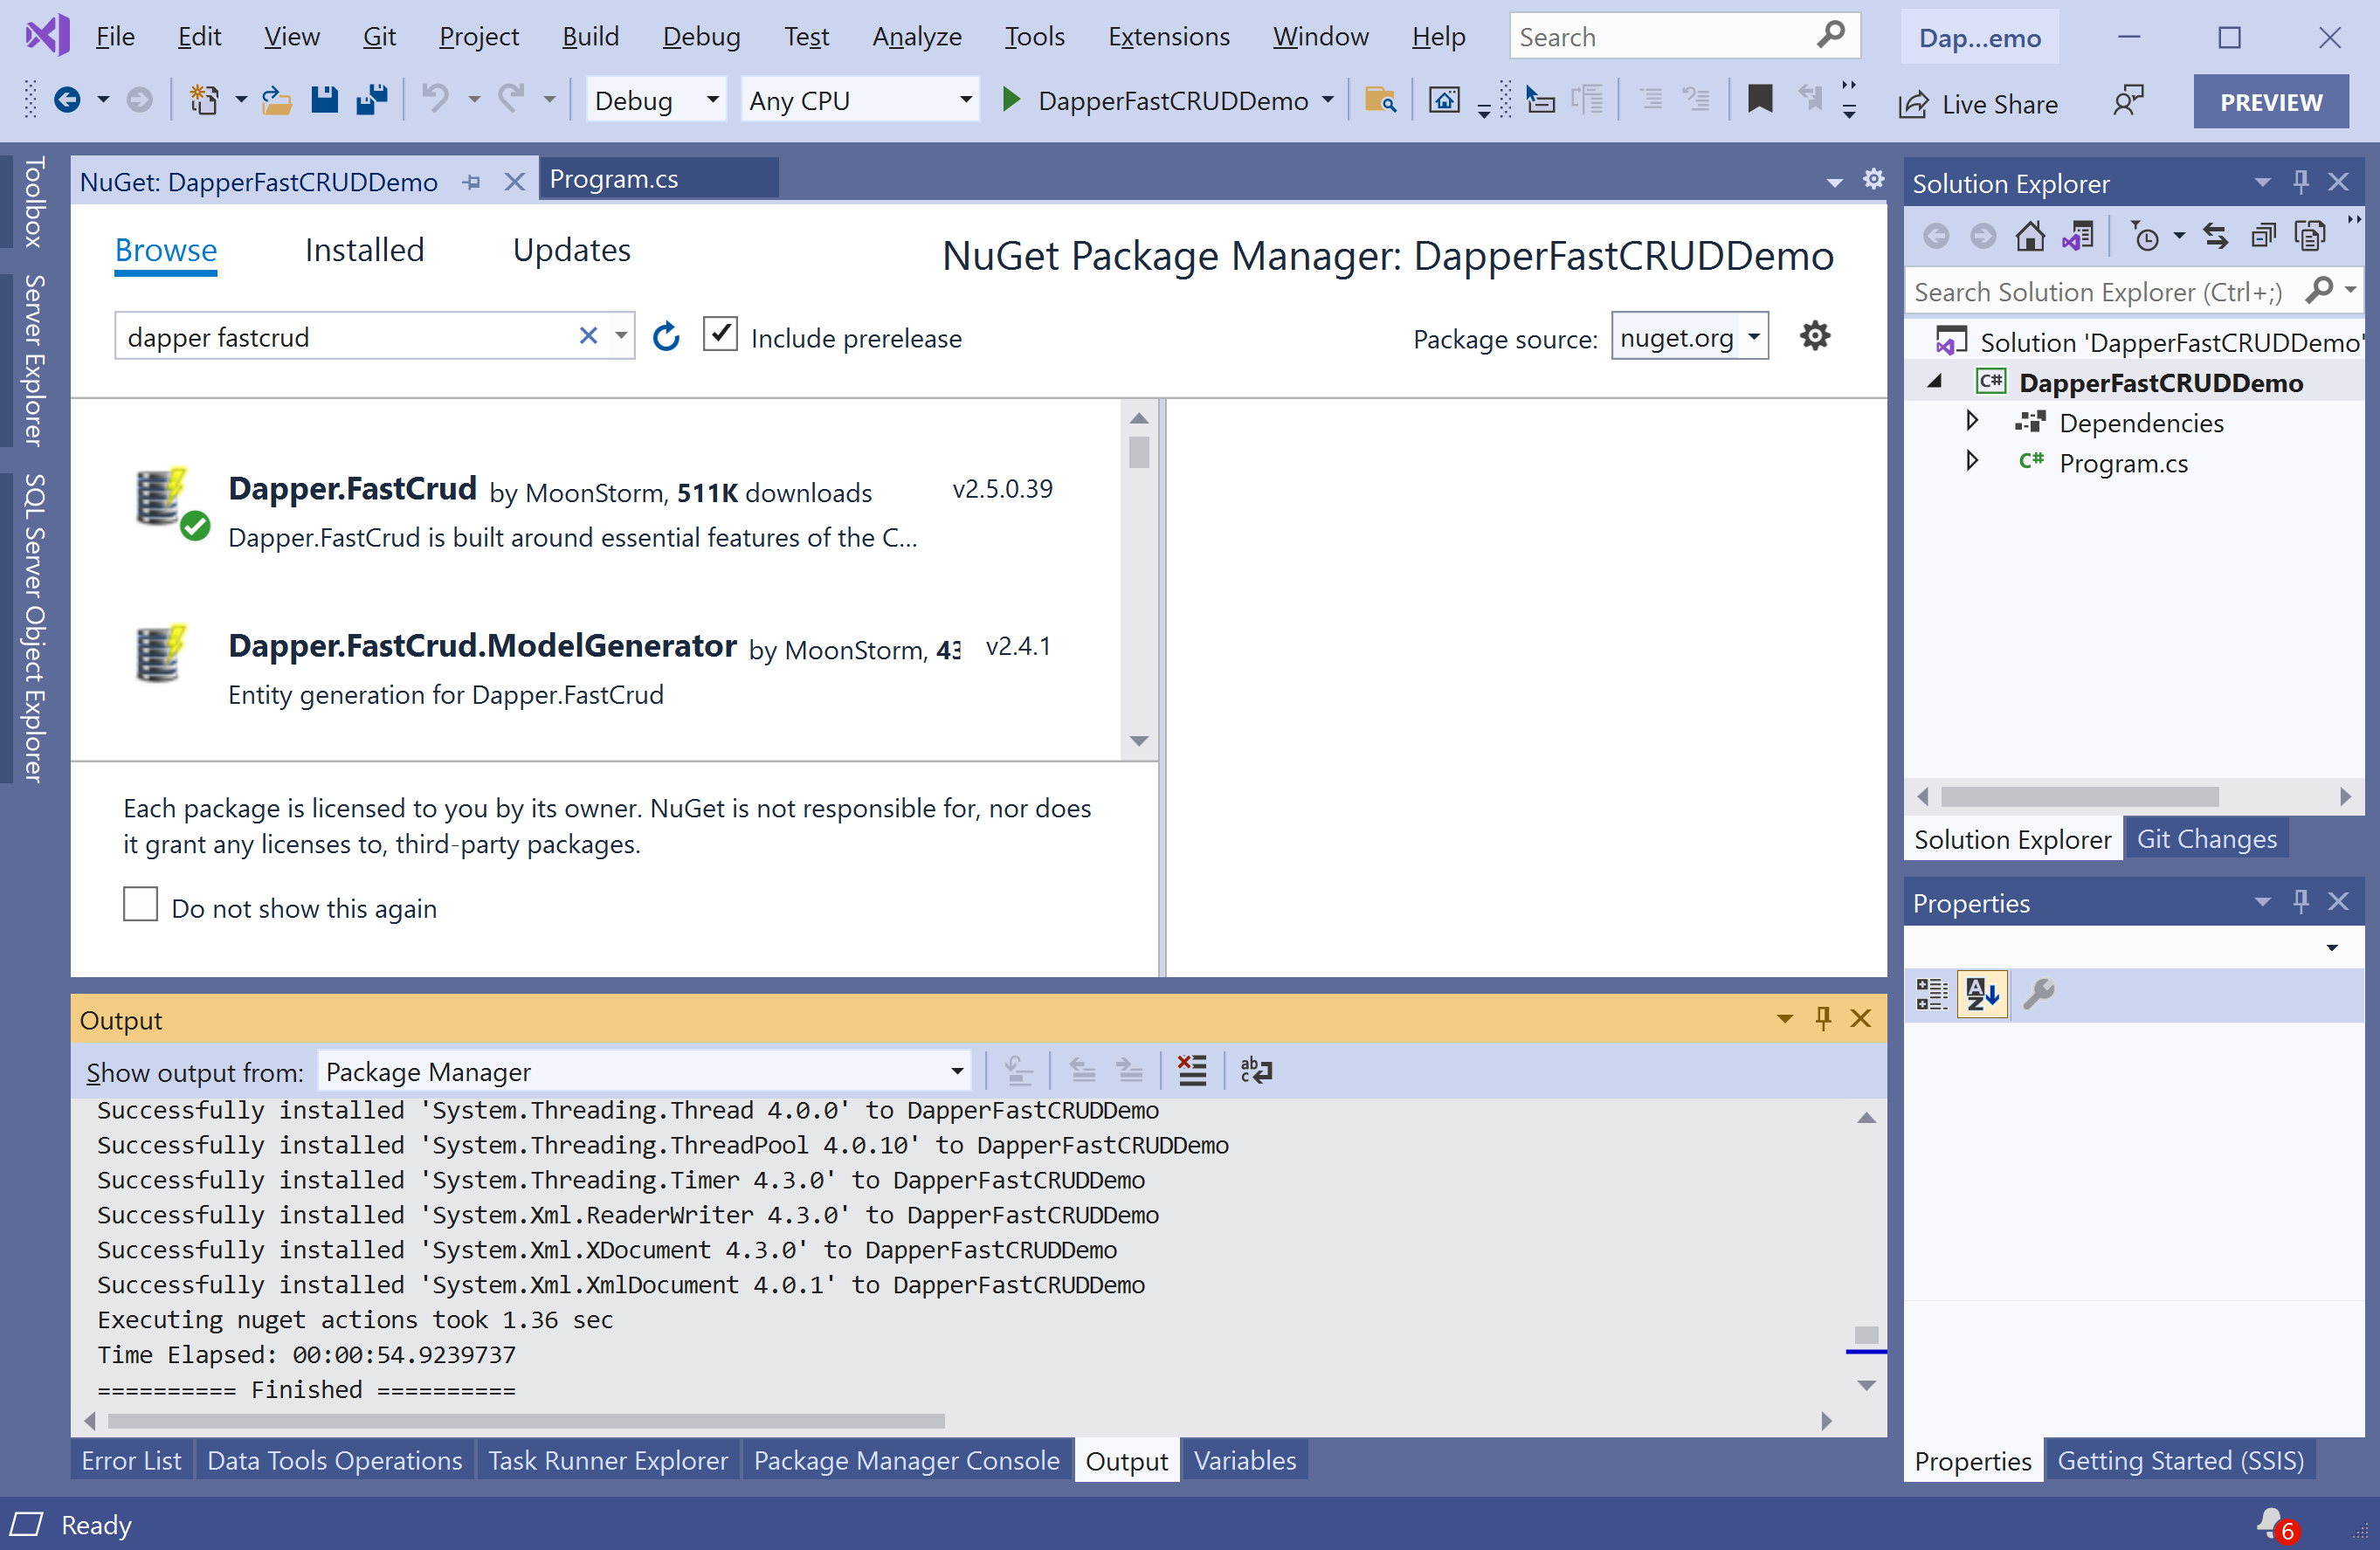
Once Dapper.SimpleCRUD has been successfully installed. You will also need to install System.Data.SqlClient NuGet package.
You are now ready to start your application.