NuGet Create NuGet Package
A NuGet package is just a ZIP file that's been renamed with the *.nupkg extension and whose contents match certain conventions. You use nuget.exe to package that functionality into a component that can be shared with and used by any number of other developers.
Prerequisites
- Install Visual Studio 2017 from visualstudio.com with any .NET-related workload. Visual Studio 2017 automatically includes NuGet capabilities when a .NET workload is installed.
- Install the
nuget.exeCLI by downloading it from nuget.org and add it to your PATH environment variable. - Register for a free account on nuget.org if you don't have one already.
Create Project
You can use an existing .NET Framework Class Library project for the code you want to package or create a new class library project.
- In professional NuGet package, you can implement many useful features with which others can build applications.
- But here we have a simple function in a class library project which will print a string on a console.
namespace SuperLogger
{
    public class Logger
    {
        public void Log(string message)
        {
            Console.WriteLine(message);
        }
    }
}
Select the Project > Properties menu command, then select the Application tab.
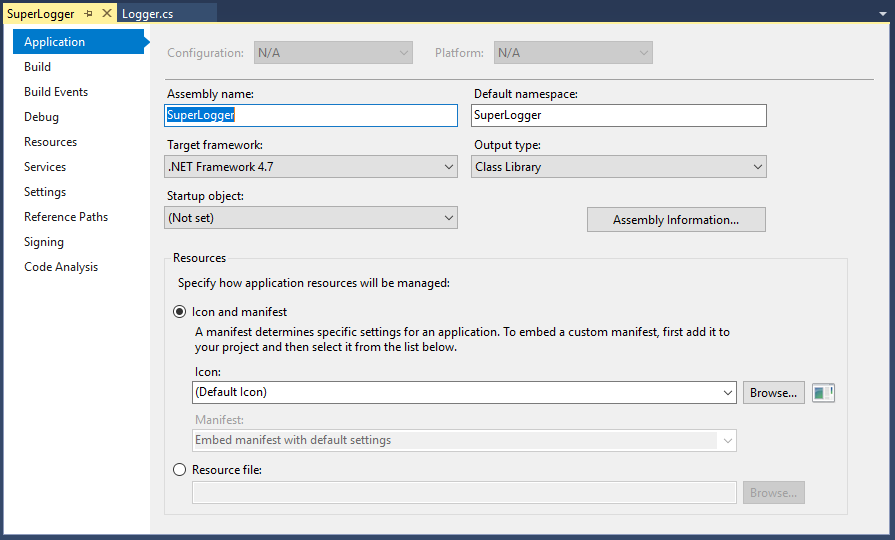
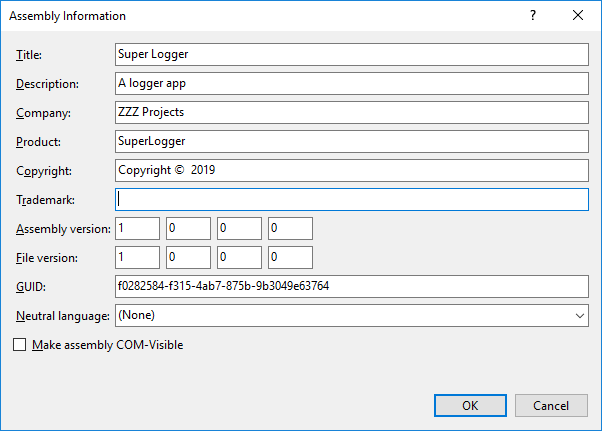
In the Assembly name field, give your package a unique identifier. Select the Assembly Information... button, which brings up a dialog box in which you can enter other properties that carry into the manifest (a .nuspec file).
Once all the properties are set, build the project in Release mode.
Generate Manifest (.nuspec)
You can use the nuget spec command to generate an initial .nuspec file from the project.
- You run
nuget speconly once to generate the initial manifest. - When updating the package, you either change values in your project or edit the manifest directly.
Open a command prompt and navigate to the project folder containing *.csproj file and run the following command.
nuget spec SuperLogger.csproj
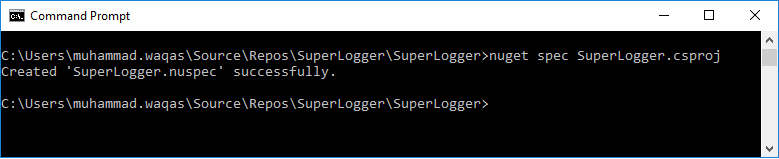
NuGet creates a manifest that matches the name of the project, in this case, SuperLogger.nuspec. It also includes replacement tokens in the manifest.
<?xml version="1.0"?>
<package >
  <metadata>
    <id>$id$</id>
    <version>$version$</version>
    <title>$title$</title>
    <authors>$author$</authors>
    <owners>$author$</owners>
    <licenseUrl>http://LICENSE_URL_HERE_OR_DELETE_THIS_LINE</licenseUrl>
    <projectUrl>http://PROJECT_URL_HERE_OR_DELETE_THIS_LINE</projectUrl>
    <iconUrl>http://ICON_URL_HERE_OR_DELETE_THIS_LINE</iconUrl>
    <requireLicenseAcceptance>false</requireLicenseAcceptance>
    <description>$description$</description>
    <releaseNotes>Summary of changes made in this release of the package.</releaseNotes>
    <copyright>Copyright 2019</copyright>
    <tags>Tag1 Tag2</tags>
  </metadata>
</package>
Change Manifest (.nuspec)
NuGet produces an error if you try to create a package with default values in your .nuspec file, so you must change the following fields before proceeding.
- licenseUrl
- projectUrl
- iconUrl
- releaseNotes
- tags
For packages built for public consumption, you must define Tags property, as tags help others find your package on sources like nuget.org and understand what it does.
You can also add any other elements to the manifest at this time, as described on .nuspec file reference.
Create Package
You can create a package by running nuget pack command.

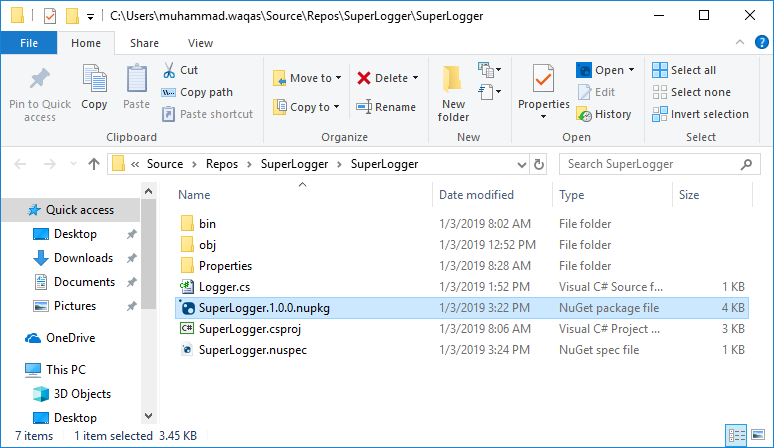
NuGet generates a identifier-version.nupkg file in your project folder.
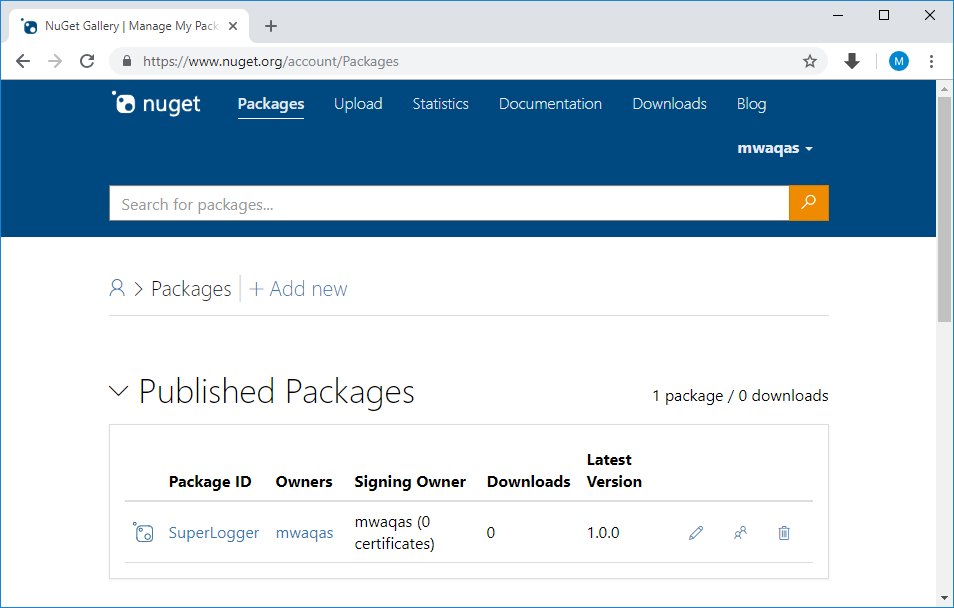
Publish Package
Once you have a .nupkg file, you publish it to nuget.org using nuget.exe with an API key acquired from nuget.org. For nuget.org you must use nuget.exe 4.1.0 or higher. To publish your package, you will need to follow the following steps.
- Sign into your nuget.org account or create an account if you don't have one already.
- Click on your username which is on the upper right, and select API Keys and then on webpage click on Create.
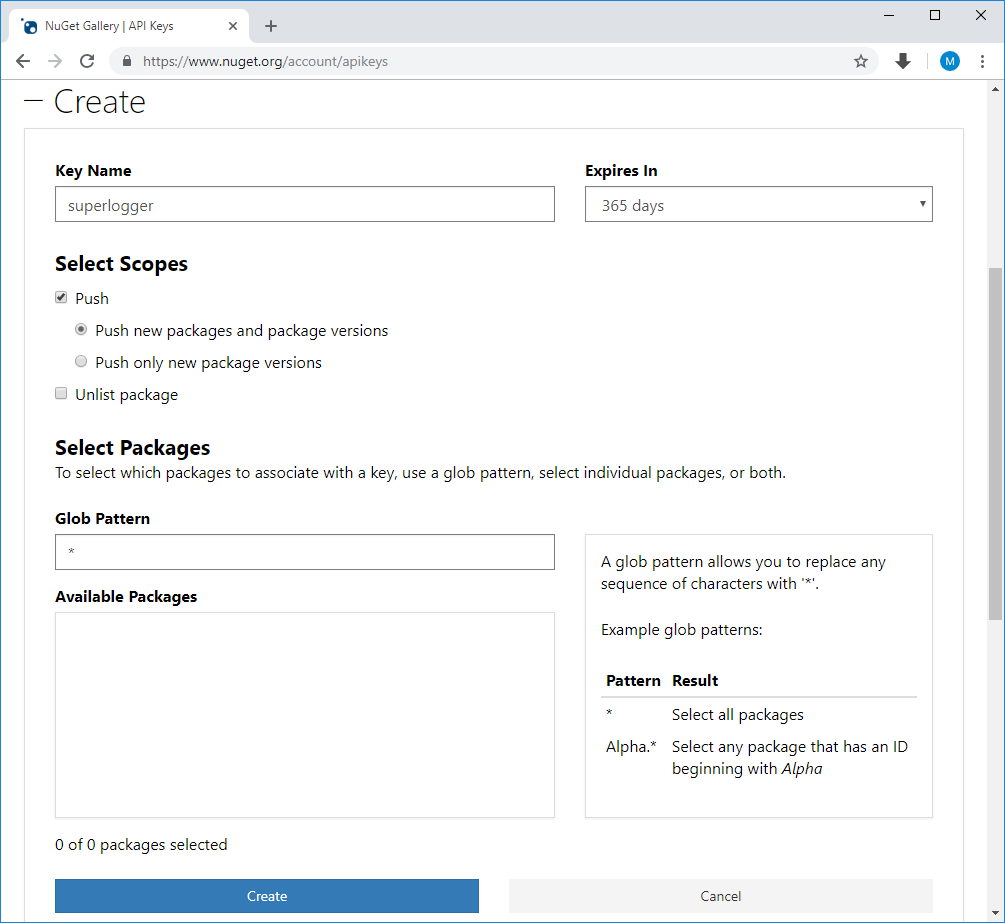
Provide a name for your key, and enter * for Glob pattern, and then click on the **Create button.
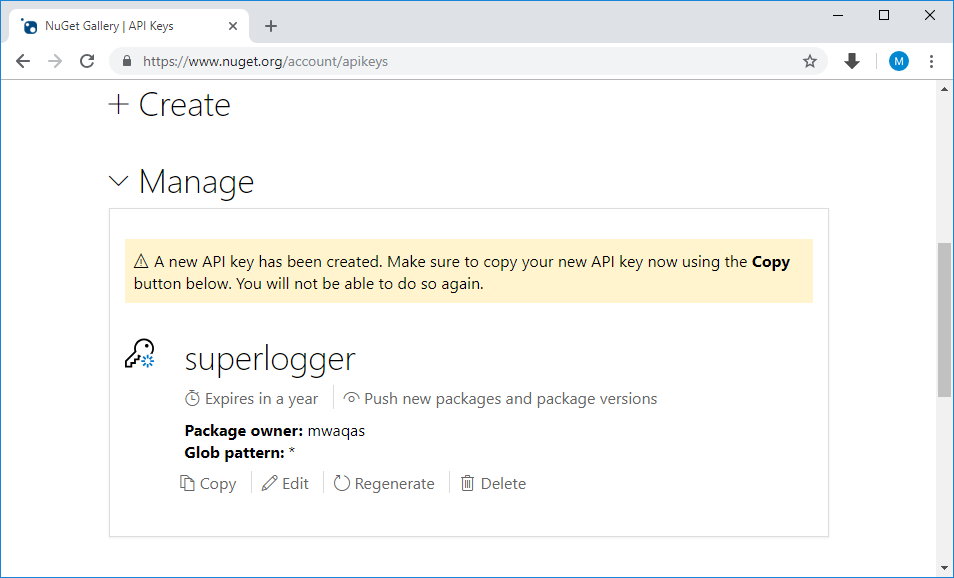
Once the key is created, select Copy to retrieve the access key you need in the CLI.
Important: Save your key in a secure location because you cannot copy the key again later on. If you return to the API key page, you need to regenerate the key to copy it. You can also remove the API key if you no longer want to push packages via the CLI.
Run the nuget push command to publish your package to nuget.org by specifying your package name and replacing the key value with your API key.
nuget push SuperLogger.1.0.0.nupkg oy2edepystx5fzm45guqybyr7vgmnboudmnxr5e2gsy36a -Source https://api.nuget.org/v3/index.json

The nuget.exe displays the results of the publishing process, and you will see a warning because we didn't provide the license information, but that's ok.