Blazor Routing
What are the Route and Routing?
A Route is a URL pattern, and Routing is a pattern matching process that monitors the requests and determines what to do with each request.
- Blazor provides a client-side router.
- The Microsoft.AspNetCore.Blazor.Routing.Router class provides Routing in Blazor.
- In Blazor, the
<Router>component enables routing, and a route template is provided to each accessible component. - The
<Router>component appears in theApp.cshtmlfile.
<!--
    Configuring this here is temporary. Later we'll move the app config
    into Program.cs, and it won't be necessary to specify AppAssembly.
-->
<Router AppAssembly=typeof(Program).Assembly />
Route Templates
In Blazor, you define routes using route templates. You can define a route template by adding the @page directive to the top of a component.
@page "/"

<h1>Hello, world!</h1>

Welcome to your new app.
The above component would be loaded when the user navigated to www.mydomaim.com/
Multiple Routes
It is also valid to specify multiple route templates for a component. You can achieve this by defining multiple @page directives.
@page "/"
@page "/index"

<h1>Hello, world!</h1>

Welcome to your new app.
The above component would be loaded when the user navigated to www.mydomaim.com/ or www.mydomaim.com/index.
Define Route for pure C# Component
If you are defining your component as a pure C# class, then you can specify its route template by decorating it with the route attribute.
[Route("/counter")]
public class CounterClass : BlazorComponent
{
    // code here
}
It is ultimately what the @page directive gets compiled to.
- When a *.cshtml file with an @page directive is compiled, the generated class is given a RouteAttribute specifying the route template.
- At runtime, the router looks for component classes with a RouteAttribute and renders whichever component has a route template that matches the requested URL.
Route parameters
The Blazor client-side router uses route parameters to populate the corresponding component parameters with the same name (case insensitive).
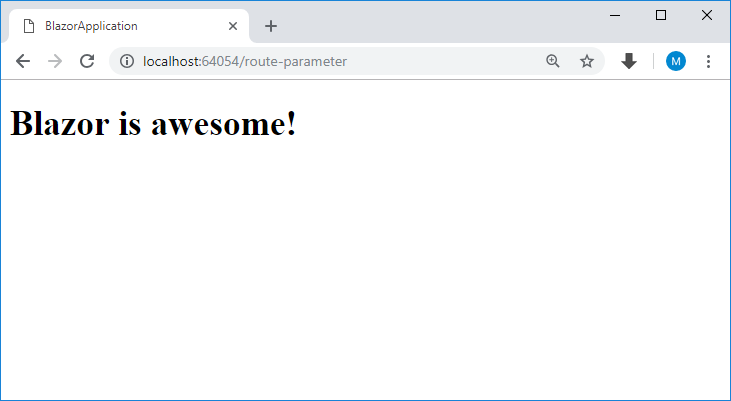
@page "/route-parameter"
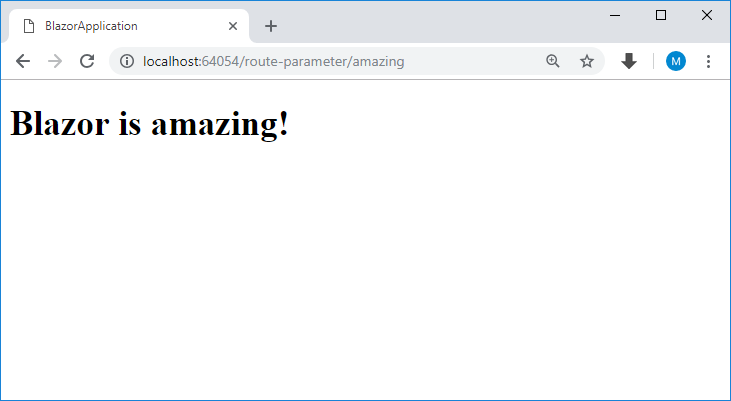
@page "/route-parameter/{text}"

<h1>Blazor is @Text!</h1>

@functions {
    [Parameter]
    private string Text { get; set; } = "awesome";
}
Optional parameters aren't supported yet, so two @page directives are applied in the above example.
The first @page directive permits navigation to the component without a parameter.

The second @page directive takes the {text} route parameter and assigns the value to the Text property.

