Selenium WebDriver Setup Selenium
Let's talk about how to set up web driver resources to get you prepared so that you can begin playing with the tool.
Prerequisites
- You must have the latest Chrome browser installed.
- You must have a good understanding of C#, and from this point forward, we are going to be using Visual Studio.
Common Issues
When you start using selenium, you will notice a bunch of issues when it comes to browser and driver combination because the browsers get updated at a specific frequency.
- They may break the driver implementation and so that may cause some issues in your test.
- That is probably one of the most common issues in the selenium world; the browser and the driver in incapability.
Installation
Create a Project
Now let's open up your Visual Studio and create a new project.

Select a unit test project and click Next. Enter the name in the Project Name field and click on the Create button. Once the project is created, you will see a class is added to the project, let's change the name of the class to 'SeleniumTests'.
Install Selenium.WebDriver
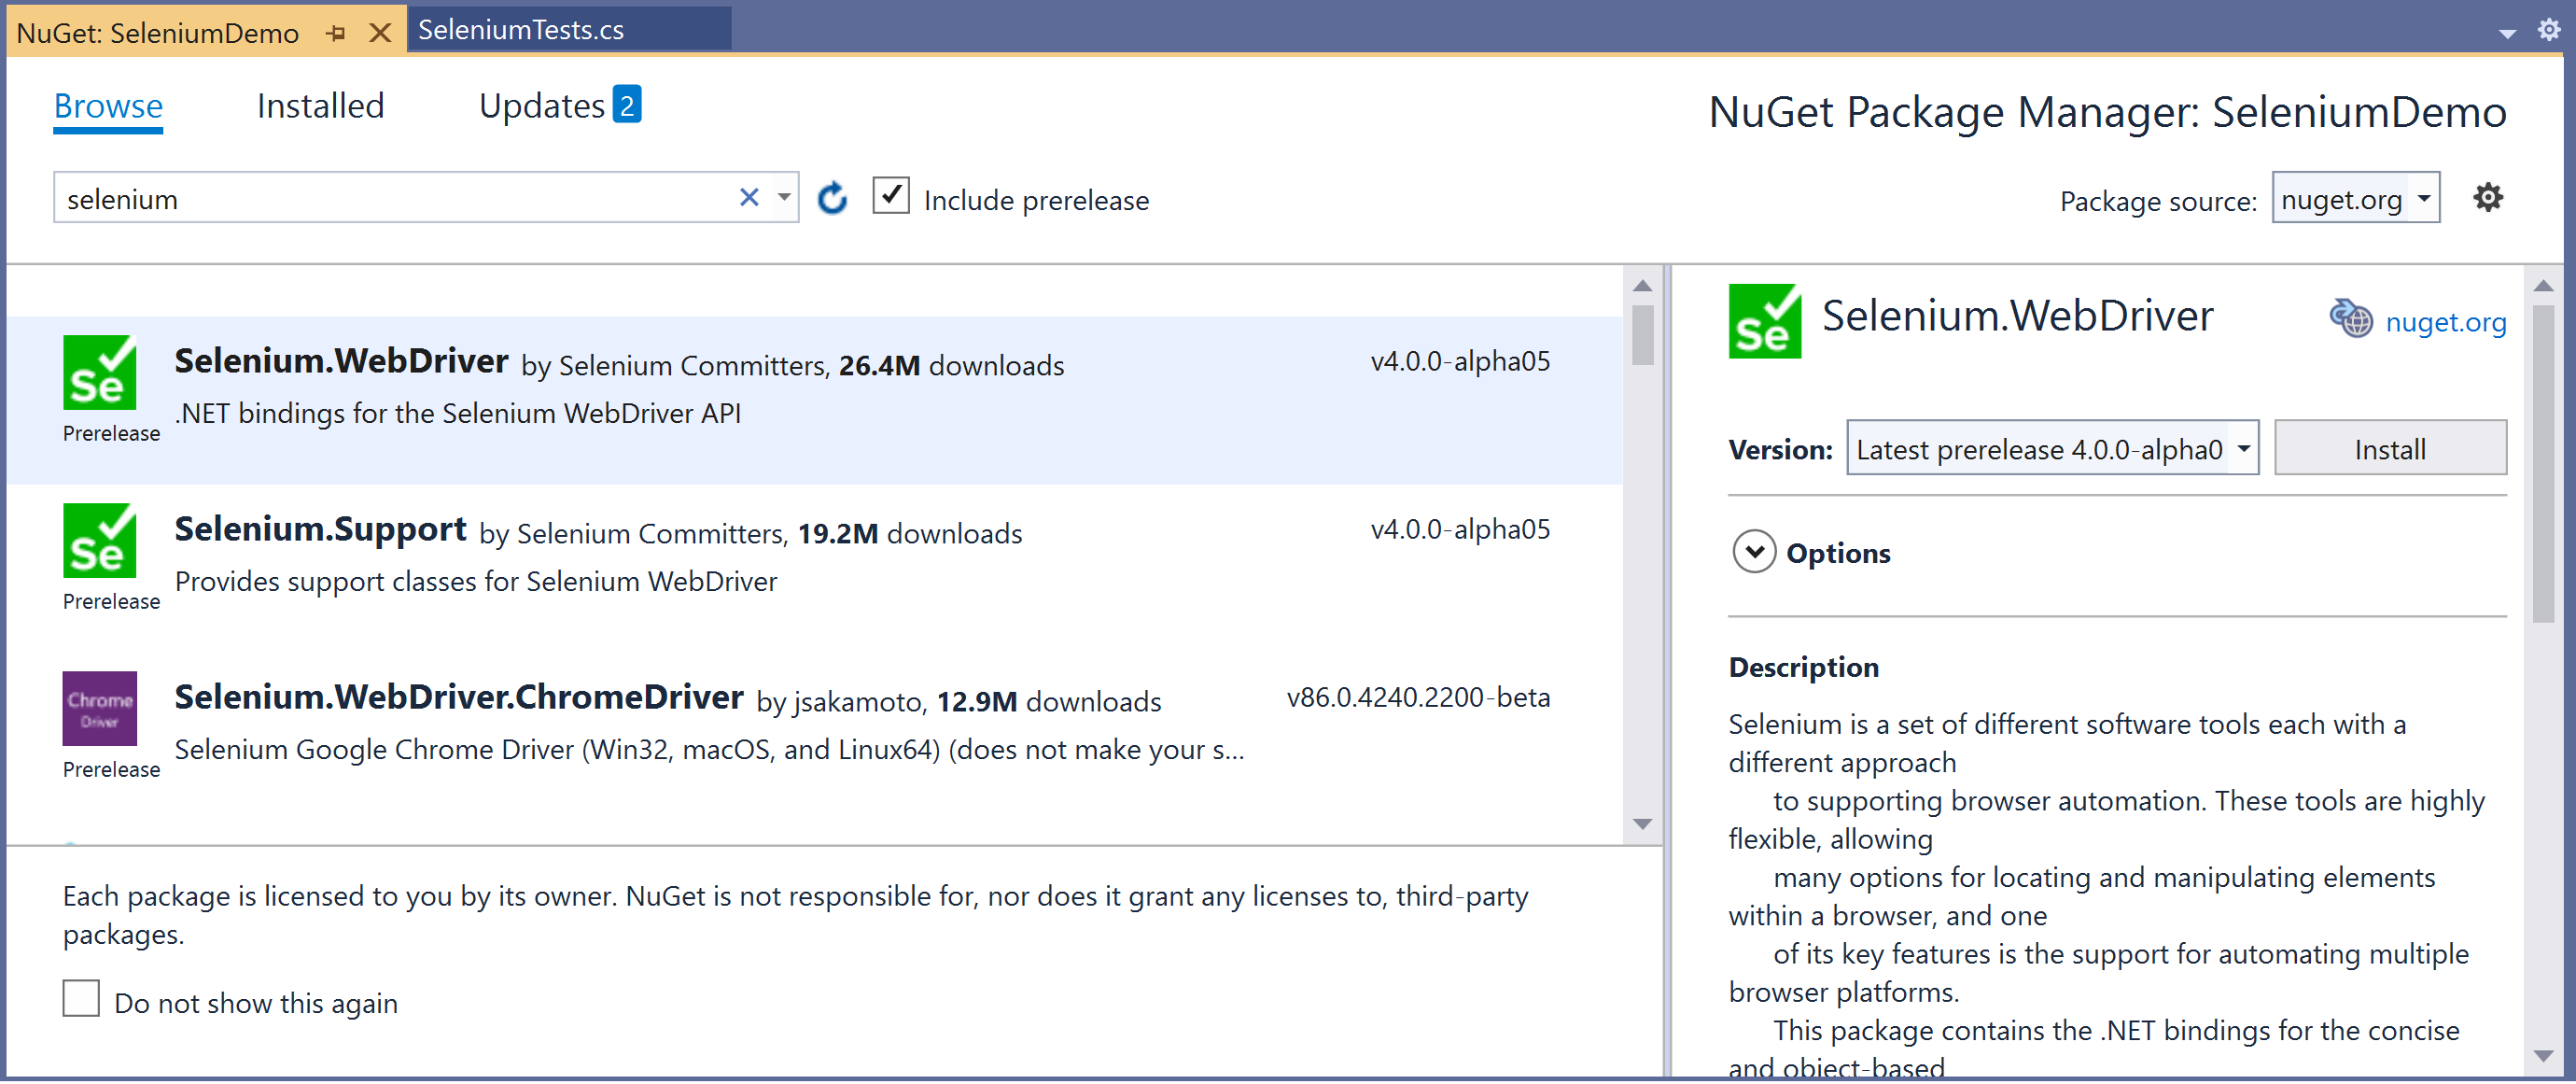
Now that we have a unit test project, we are ready to install the selenium web driver. So let's right-click on your project in Solution Explorer and select Manage NuGet Packages...

Click on the Browse, search for selenium web driver, and install the latest stable version of the Selenium.WebDriver.
Install ChromeDriver
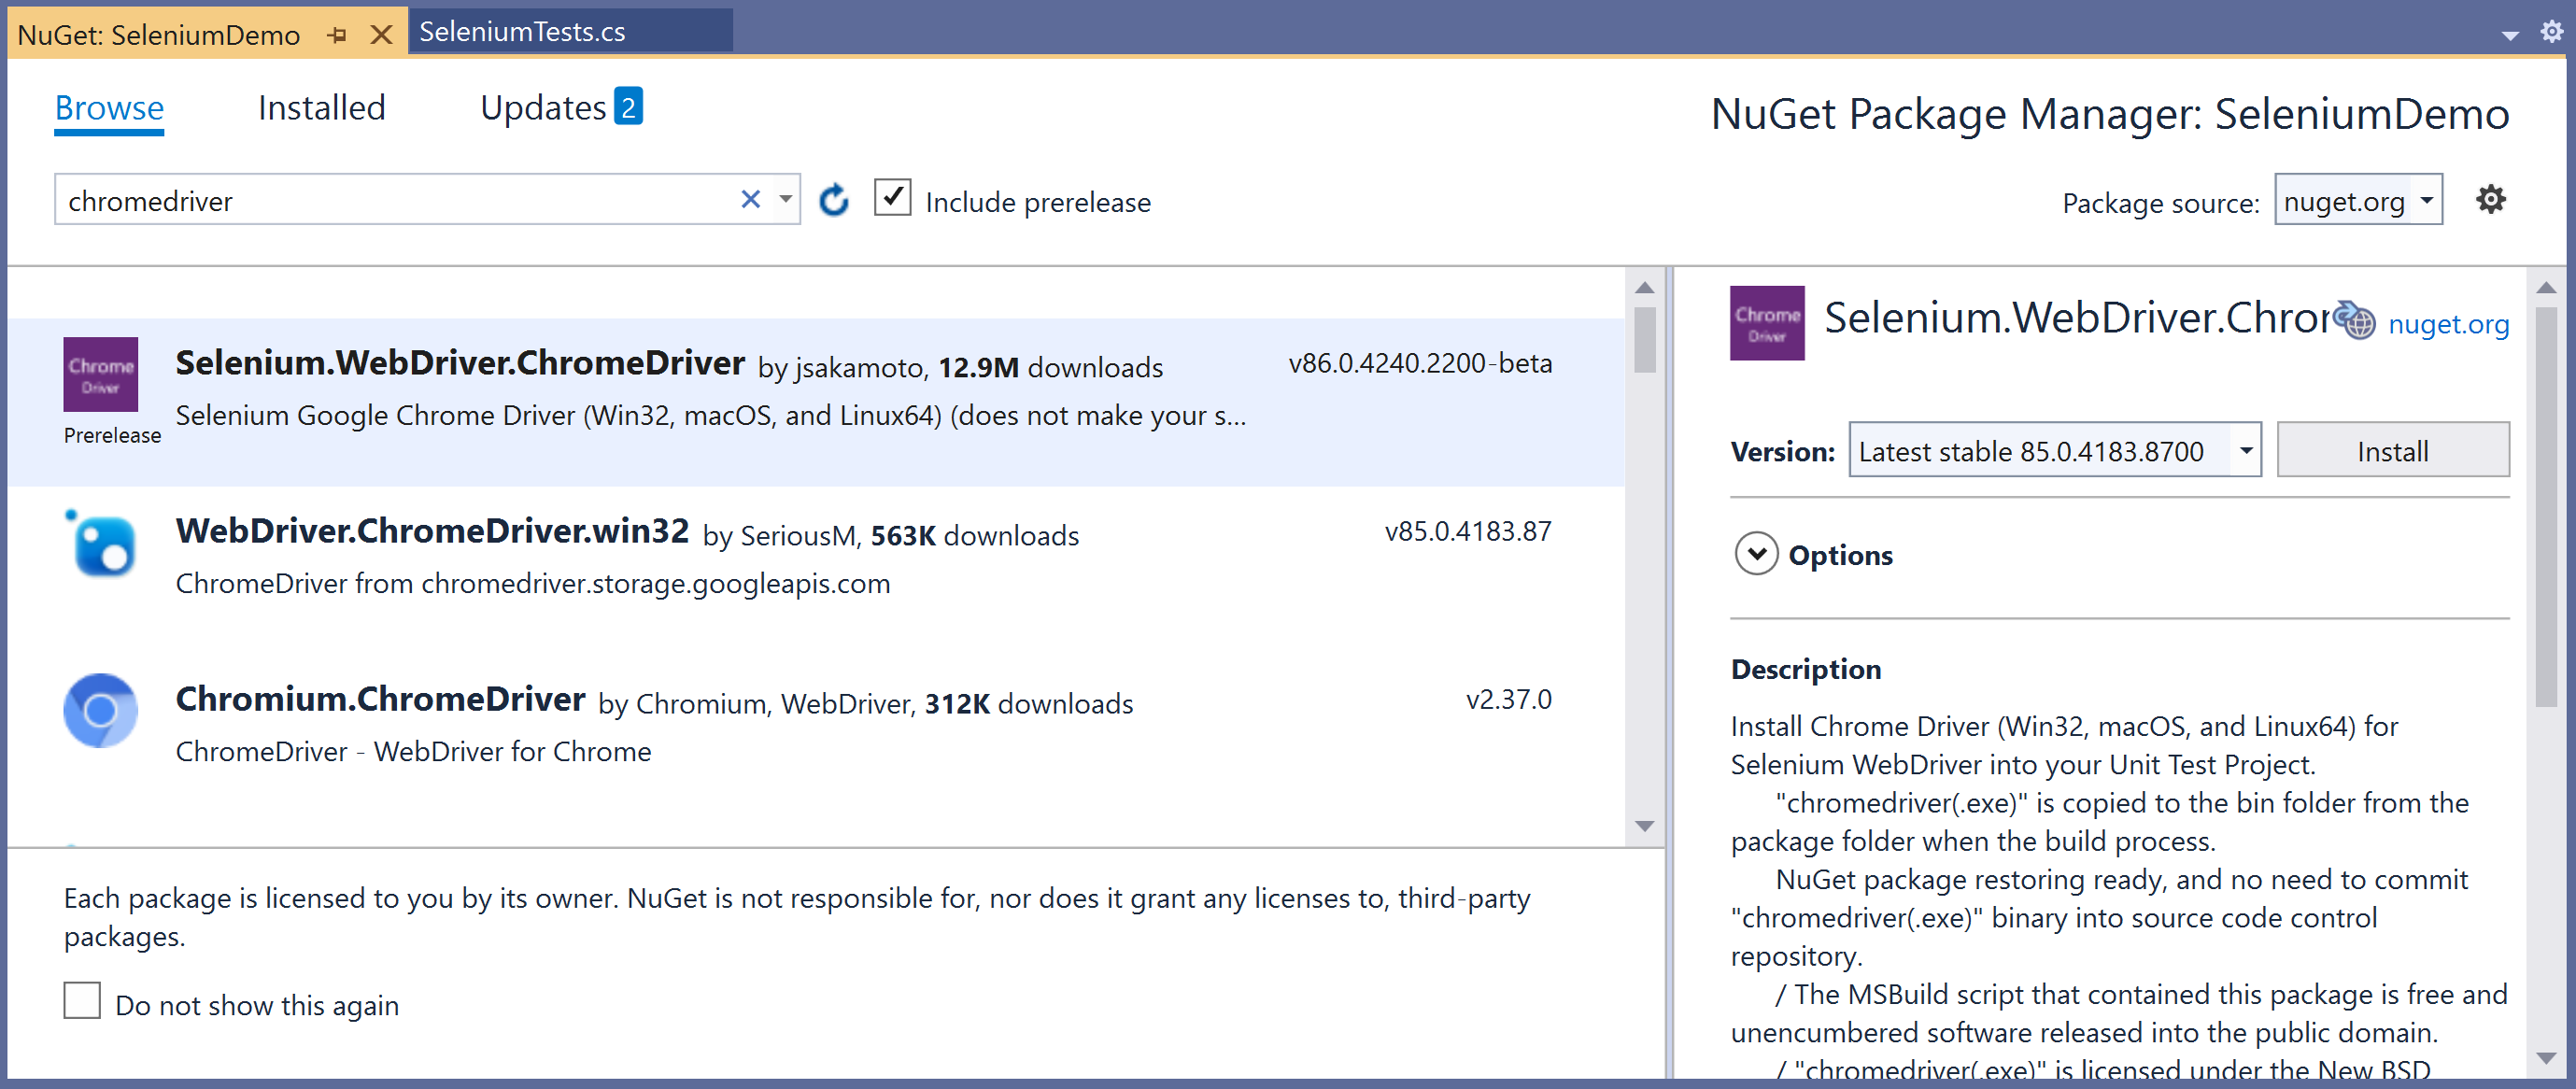
So, let's install the ChromeDriver so that we can utilize it in our automated functional testing. The easiest way to install it is by using NuGet Package Manager.

Search for chrome driver on the Browse tab, and install the latest stable version of the Selenium.WebDriver.ChromeDriver.
Now that we have installed all the required NuGet packages, let's write a simple code to make sure that everything is working. Add the following to the 'TestMethod1'.
[TestClass]
public class SeleniumTests
{
    [TestMethod]
    public void TestMethod1()
    {
        IWebDriver driver = new ChromeDriver();
        driver.Navigate().GoToUrl("https://www.google.com/");
    }
}
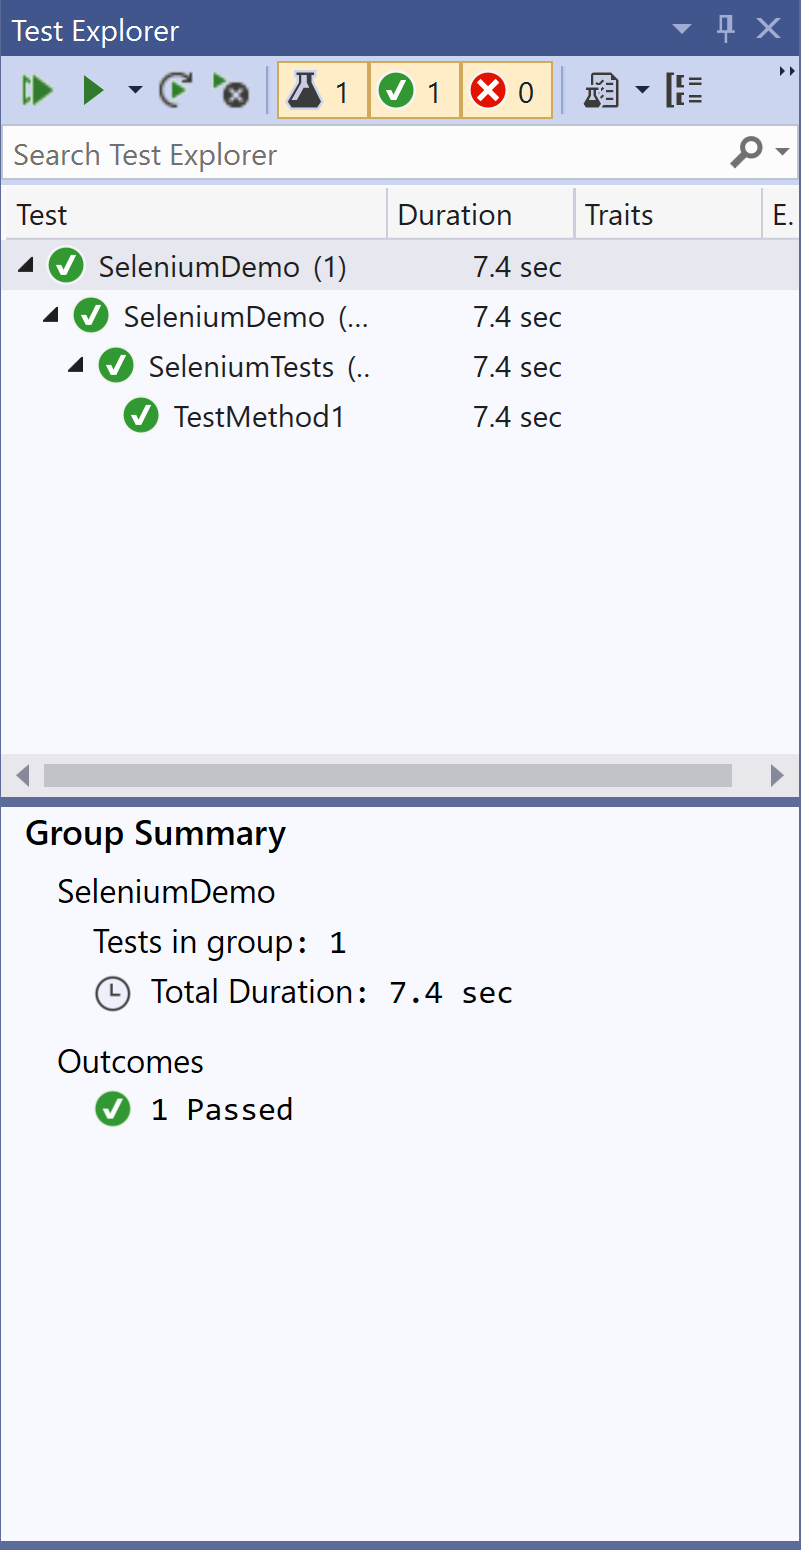
This code will open the google home page in the chrome browser. Then let's run the test and if everything is good you will see a passing test on the Test Explorer.

References
- Documentation - https://www.selenium.dev/documentation/en/
- Selenium.WebDriver - https://www.nuget.org/packages/Selenium.WebDriver/
- Selenium.WebDriver.ChromeDriver - https://www.nuget.org/packages/Selenium.WebDriver.ChromeDriver/
- DotNetSeleniumExtras.WaitHelpers - https://www.nuget.org/packages/DotNetSeleniumExtras.WaitHelpers/
