Dapper + MVC Getting Started
In this article, we will discuss how to create ASP.NET Core 5.0 MVC web applications using Dapper. Before creating your application, you must install the latest .Net Core SDK.
Create ASP.NET MVC Application
The easiest way to create an ASP.NET Core Web Application is to open Visual Studio and create a C# web project using the ASP.NET Core Web Application template.
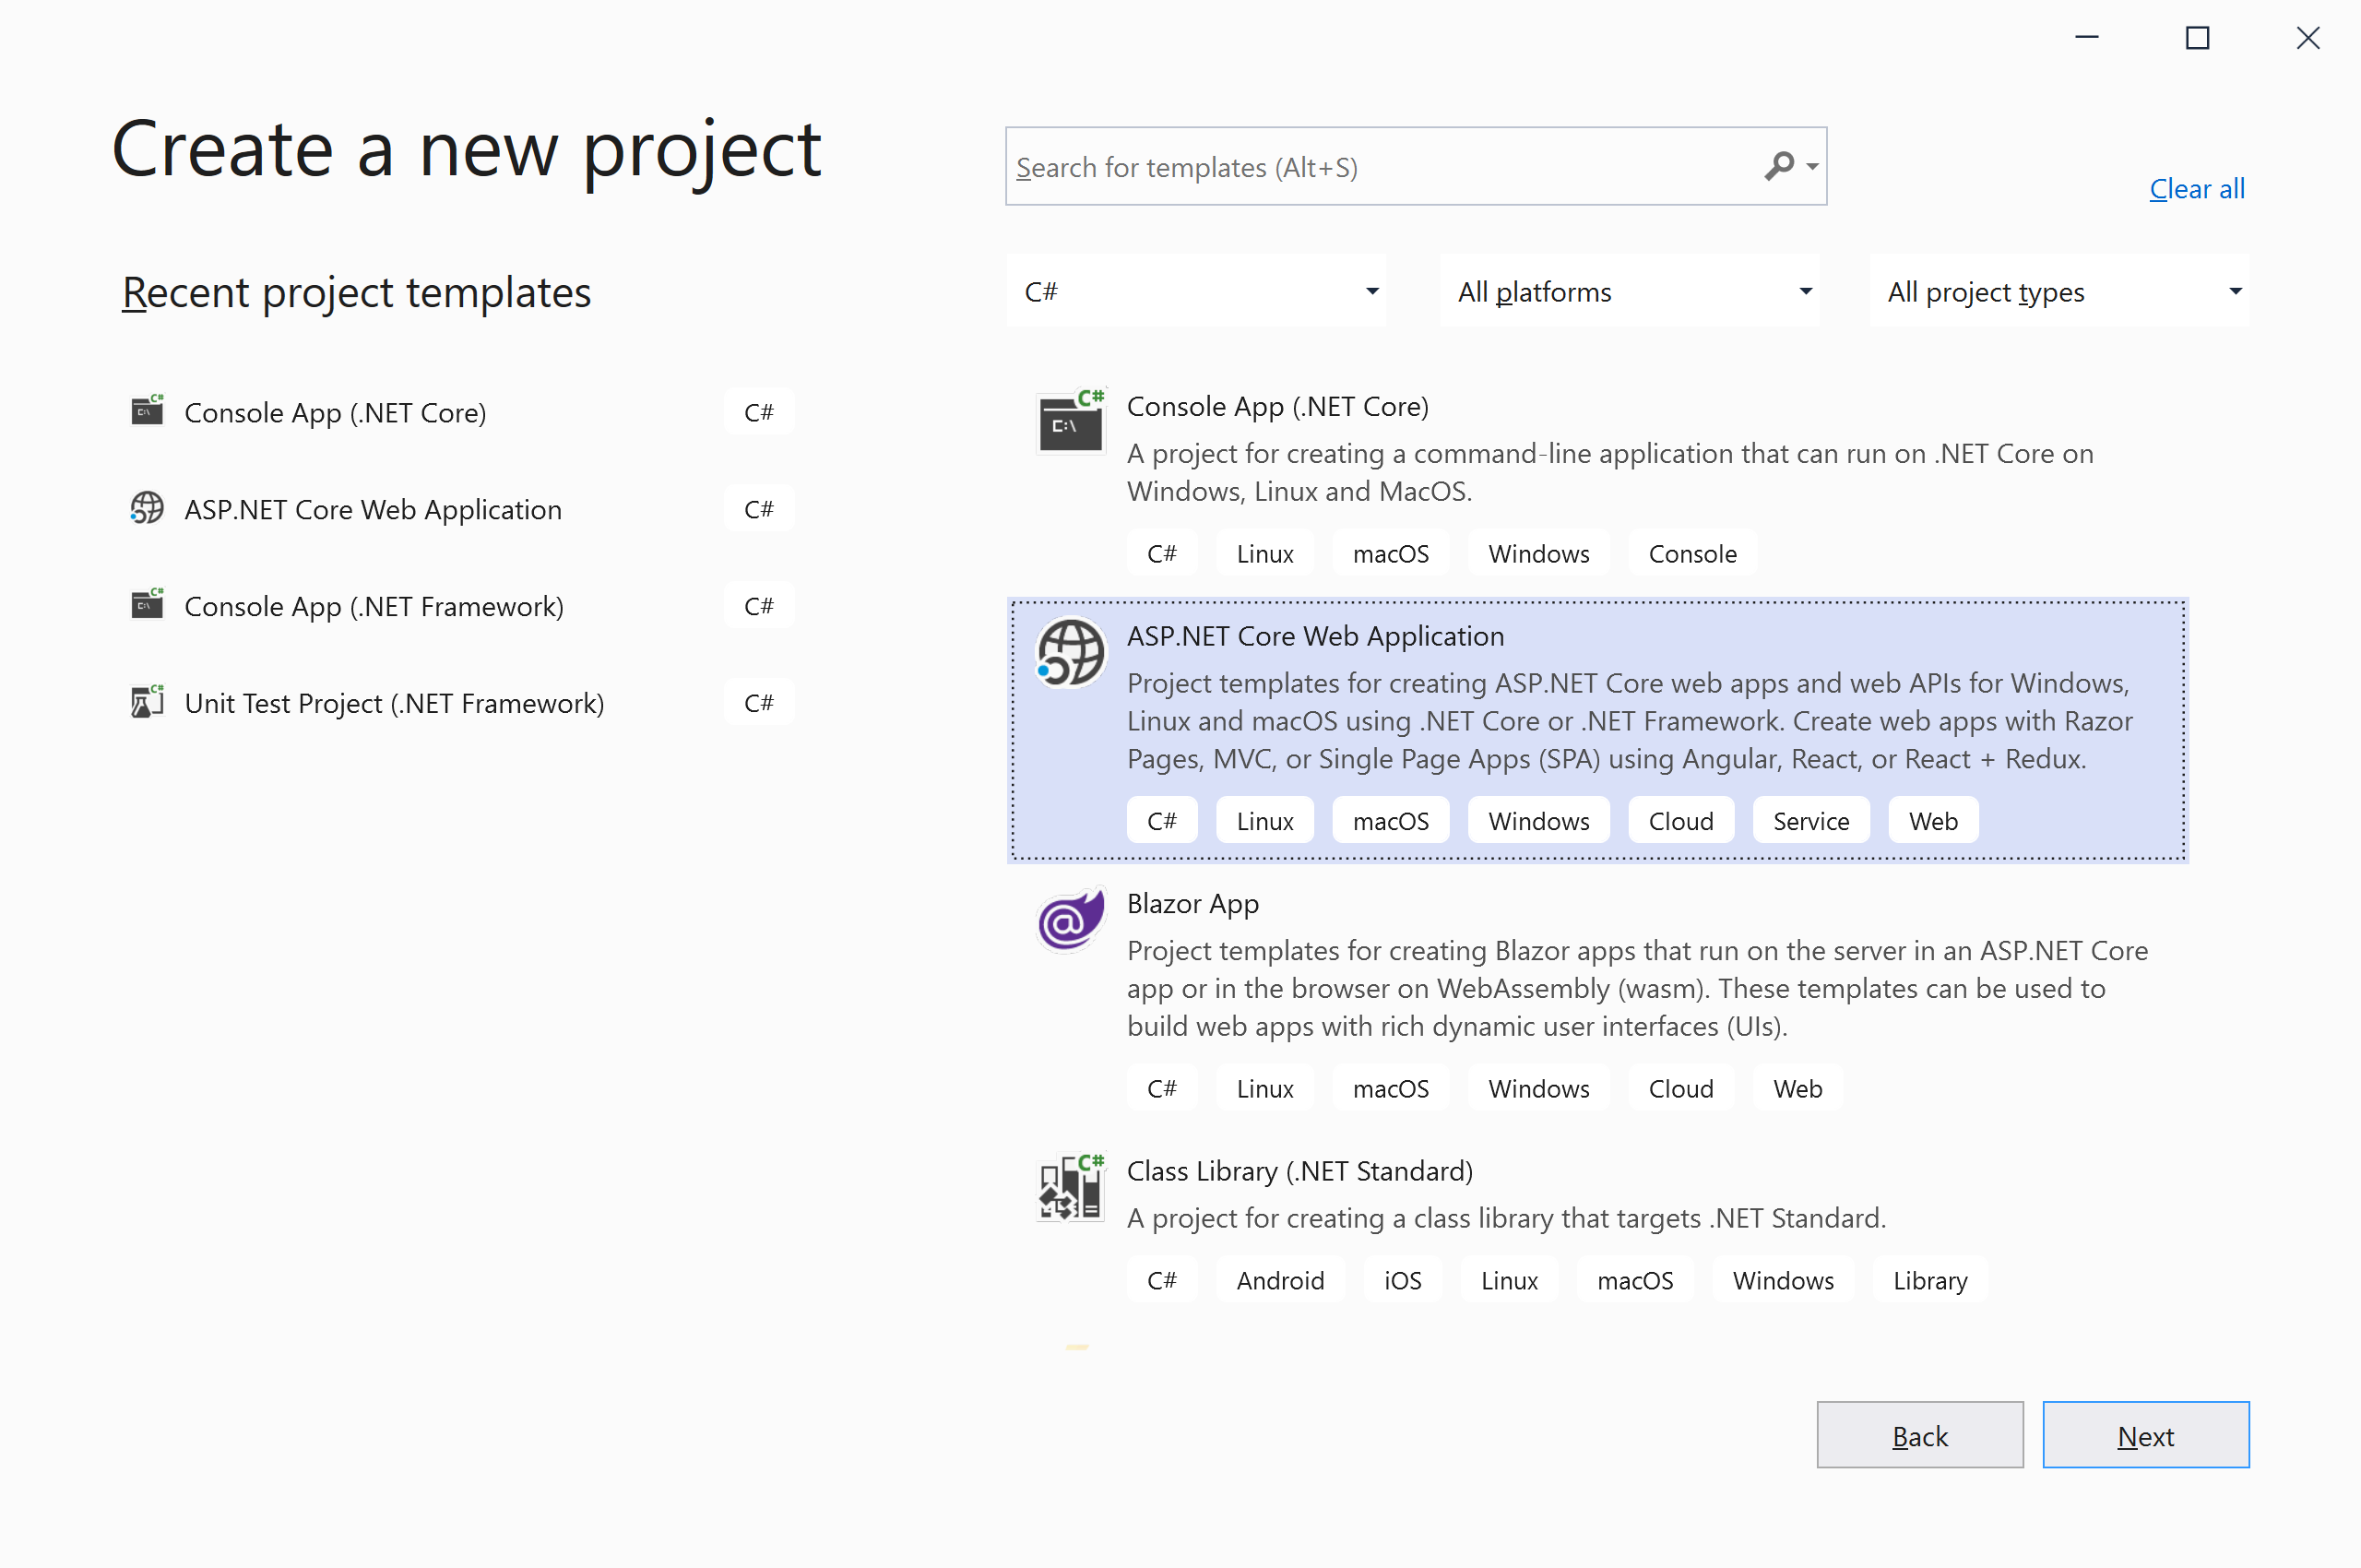
Click the Next button, and it will open the Configure your new project page.
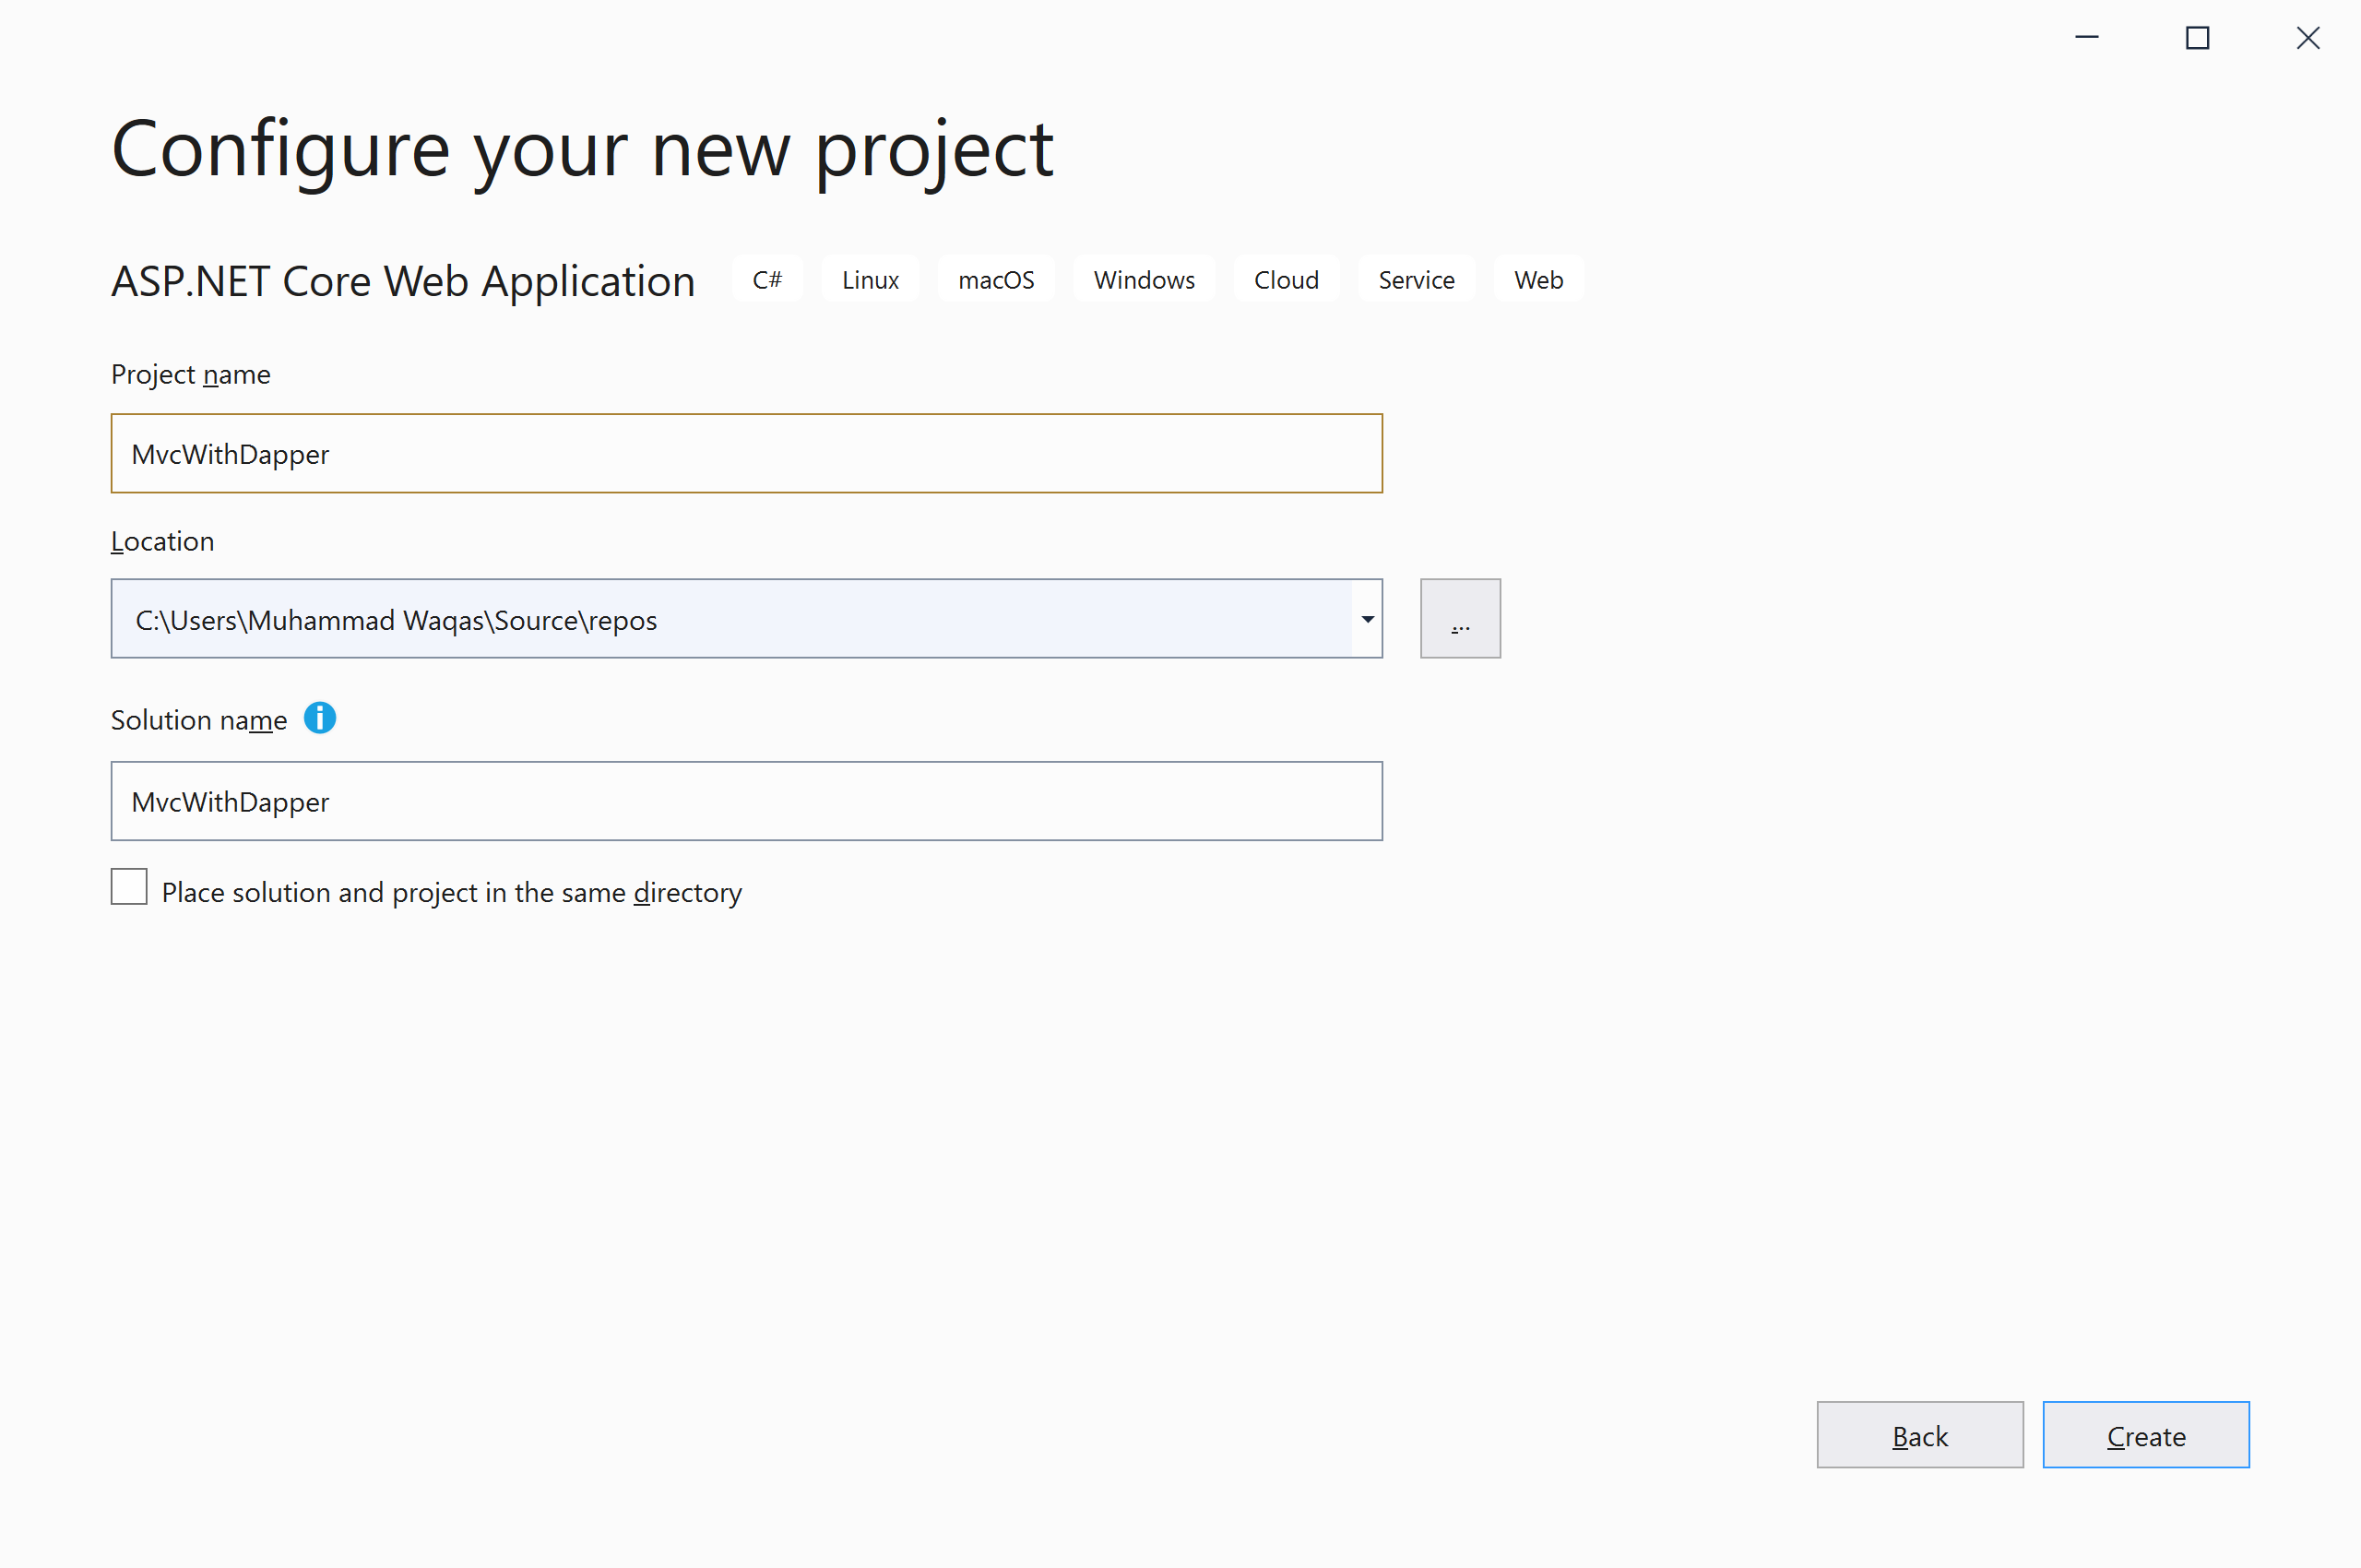
Enter the name of the project MvcWithDapper; you can also change the Location and Solution name. Click the Create button, and it will open the Create a new ASP.NET Core web application page.
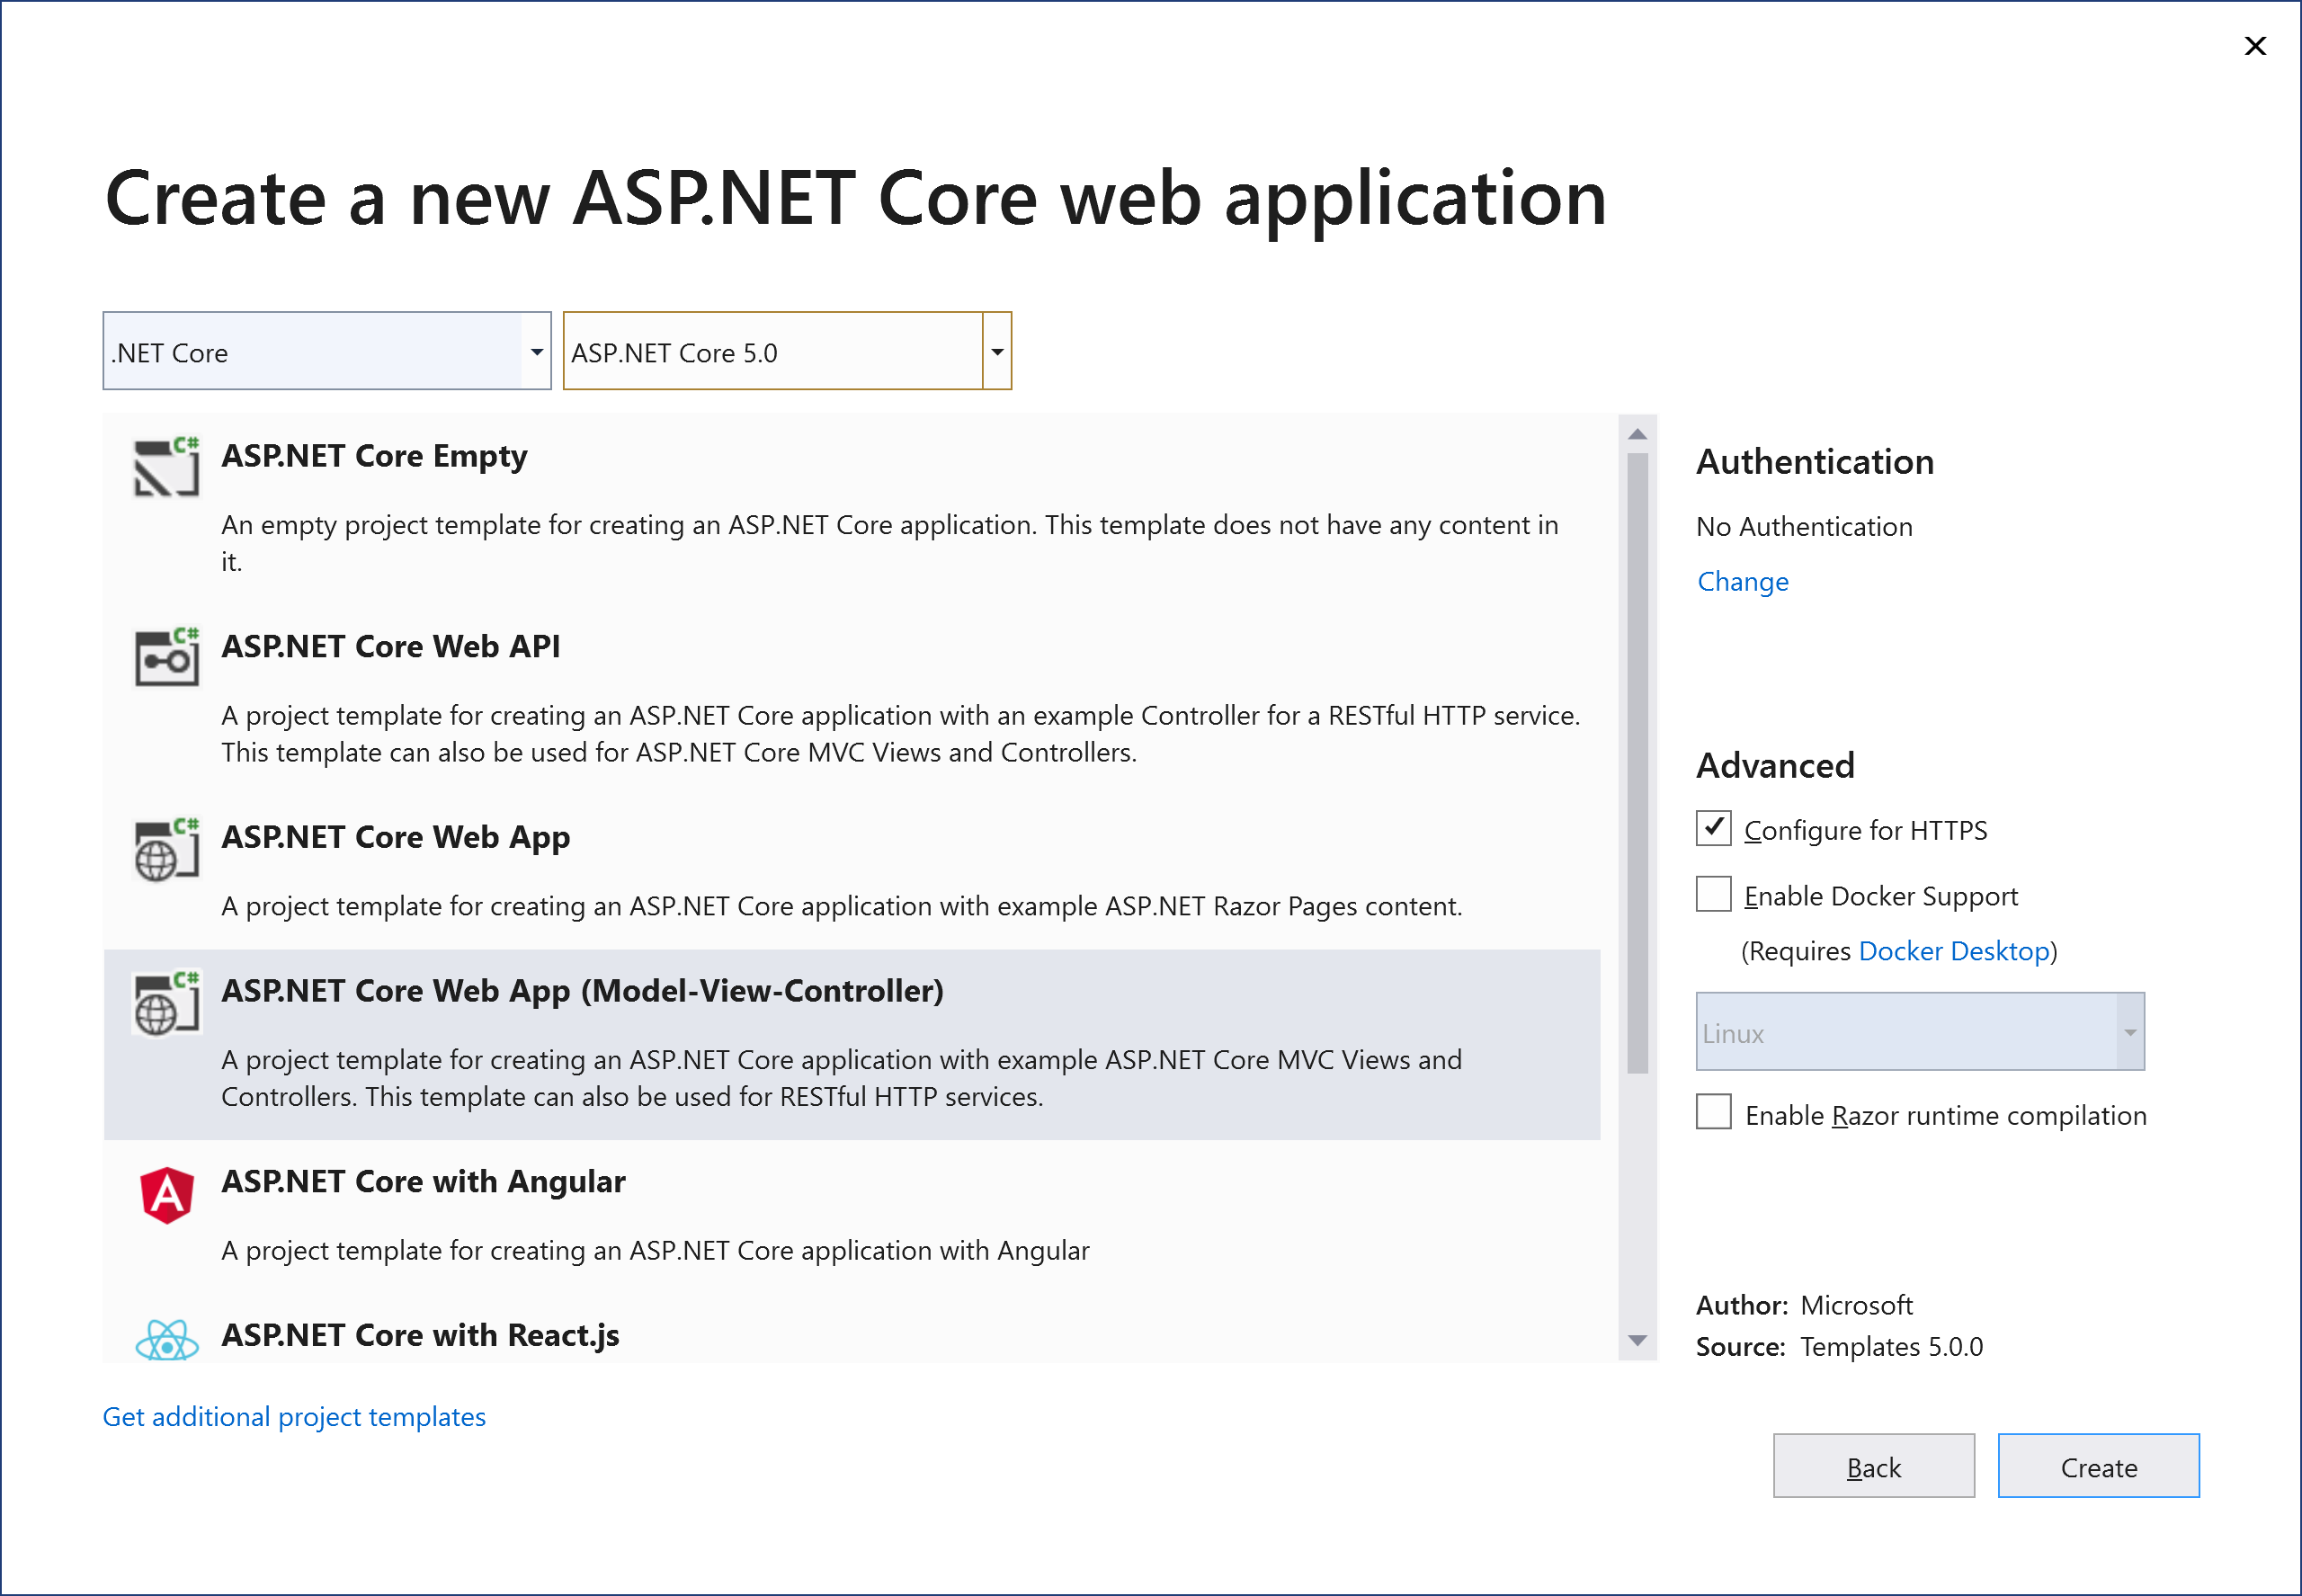
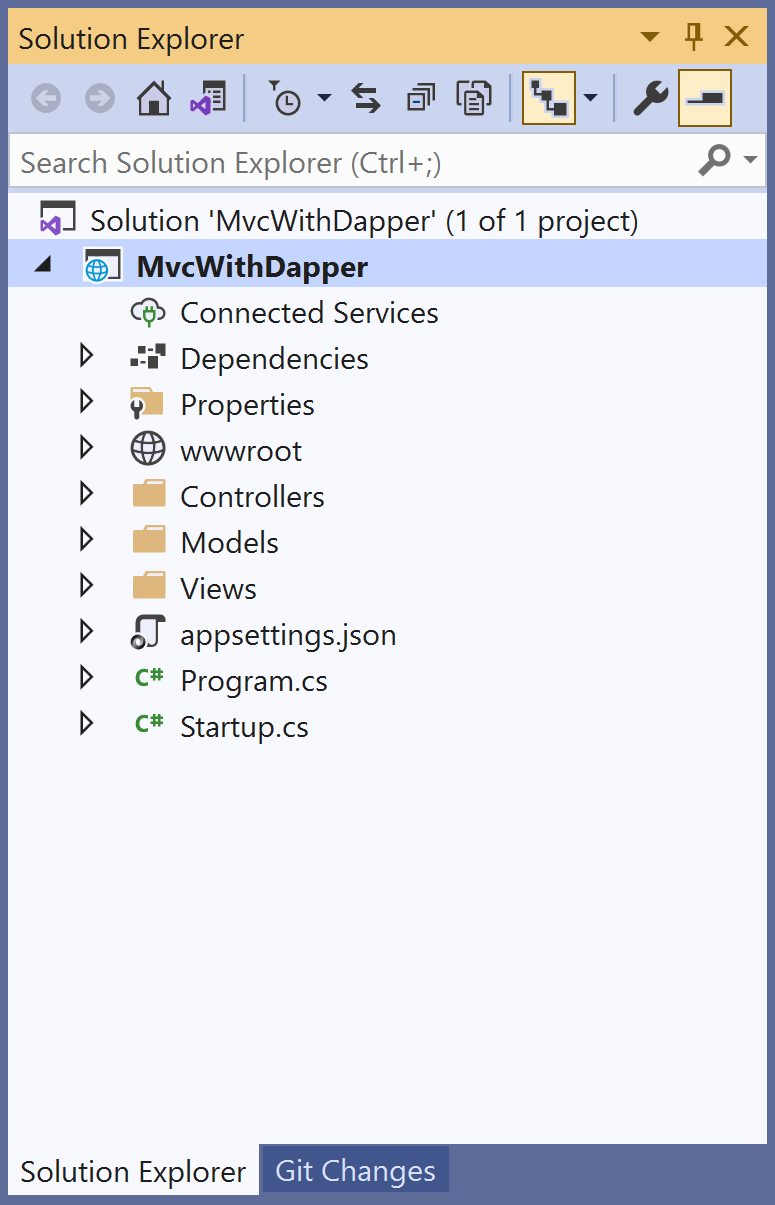
Select ASP.NET Core 5.0 and the ASP.NET Core Web App (Model-View-Controller) template, and ensure Authentication is set to No Authentication. Click the Create button, and it will create a project containing the following files.
Install Dapper
To install a Dapper into your project, open the Package Manager Console window, enter the following command.
PM> Install-Package Dapper
You can also install Dapper by selecting the project in Solution Explorer. Right-click on your project and select Manage Nuget Packages....
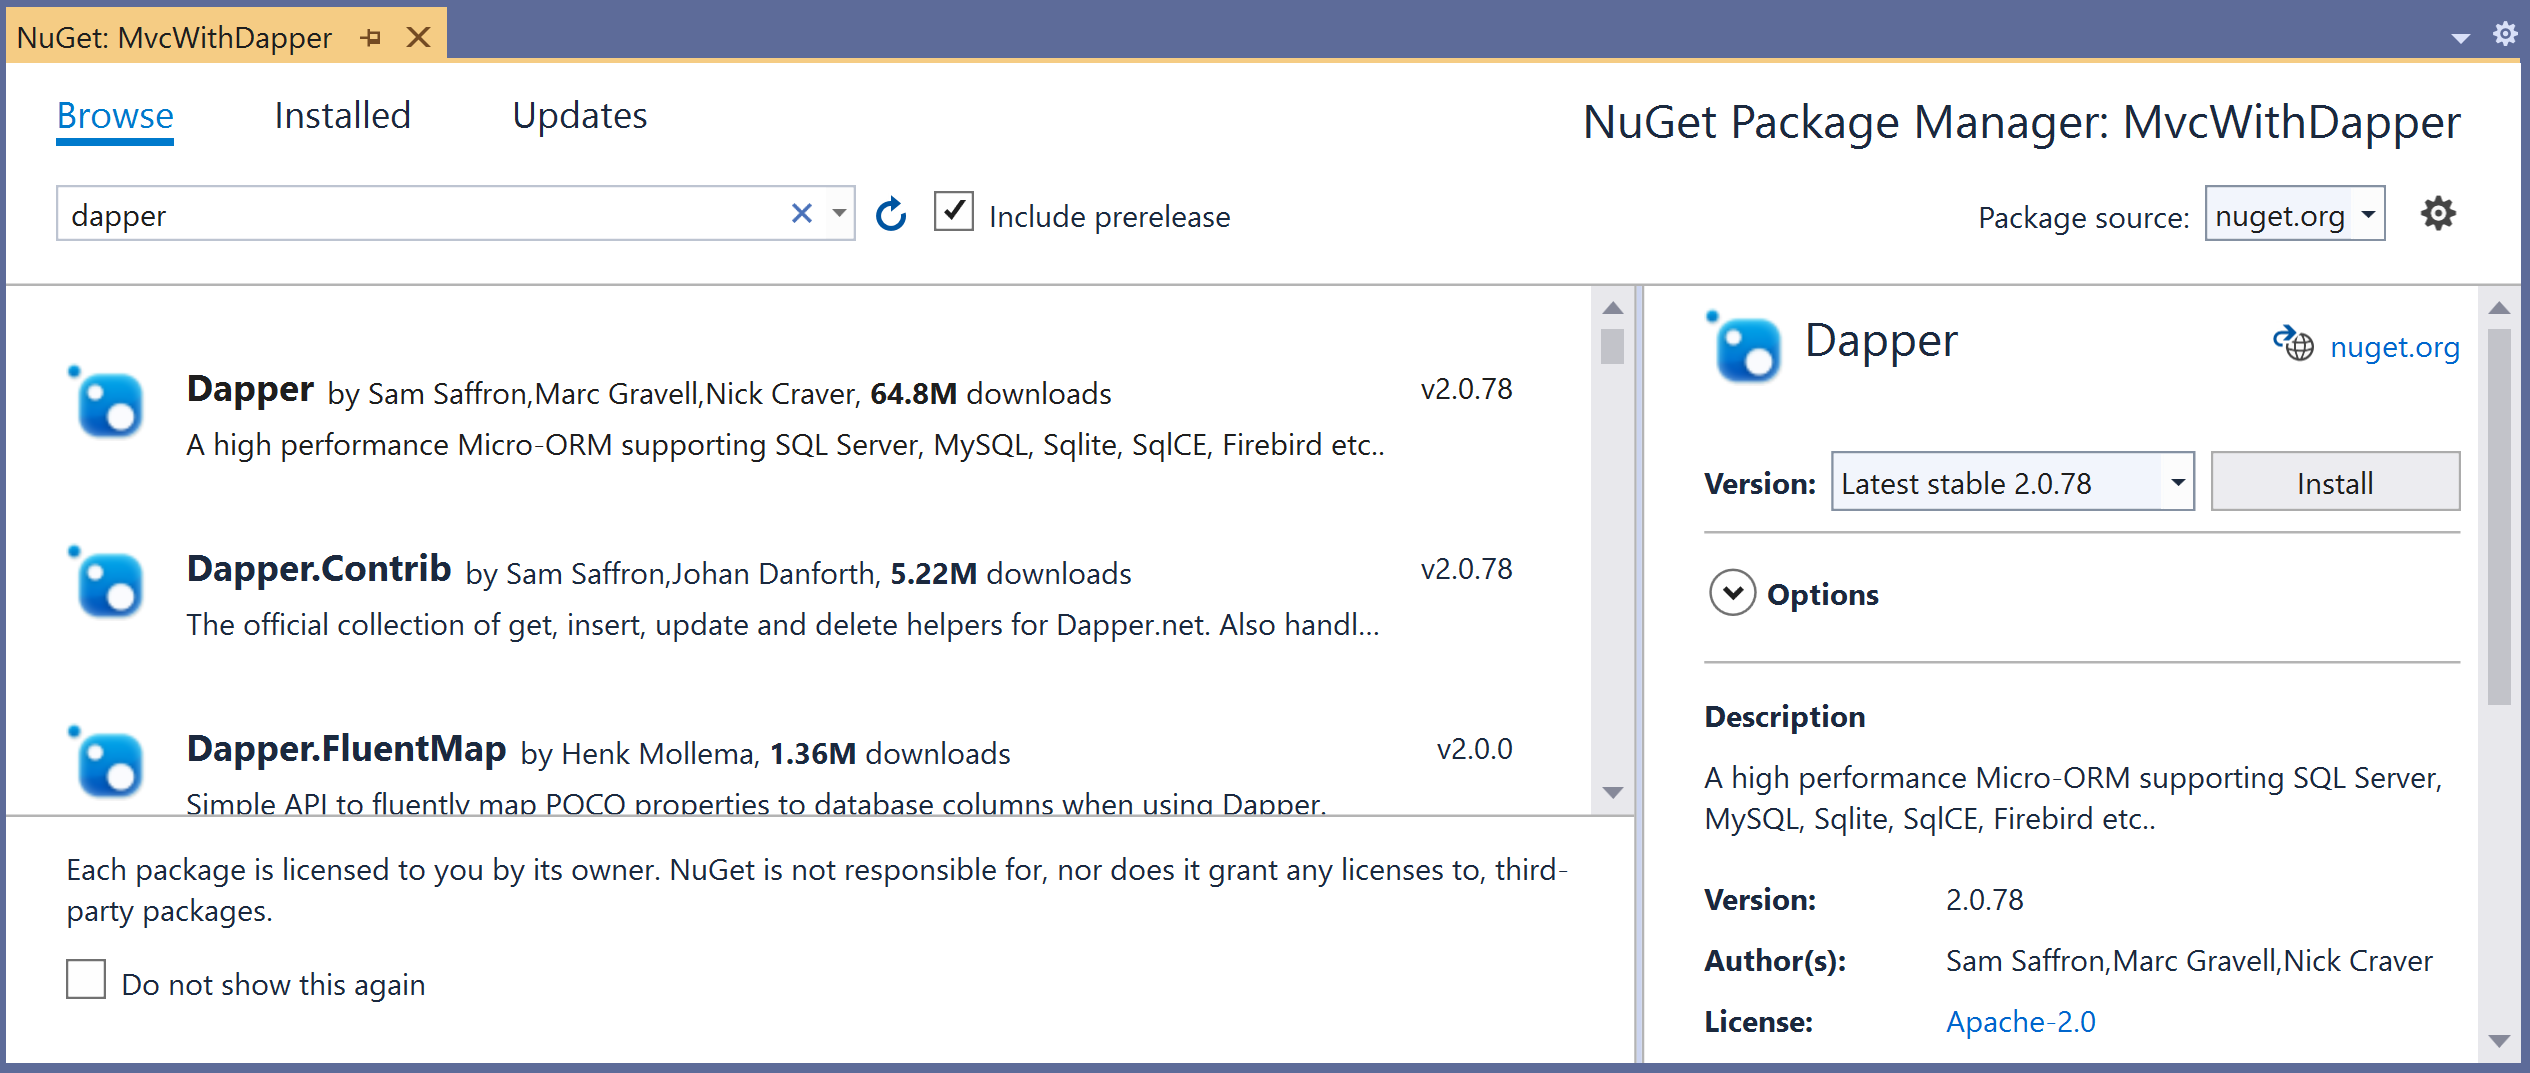
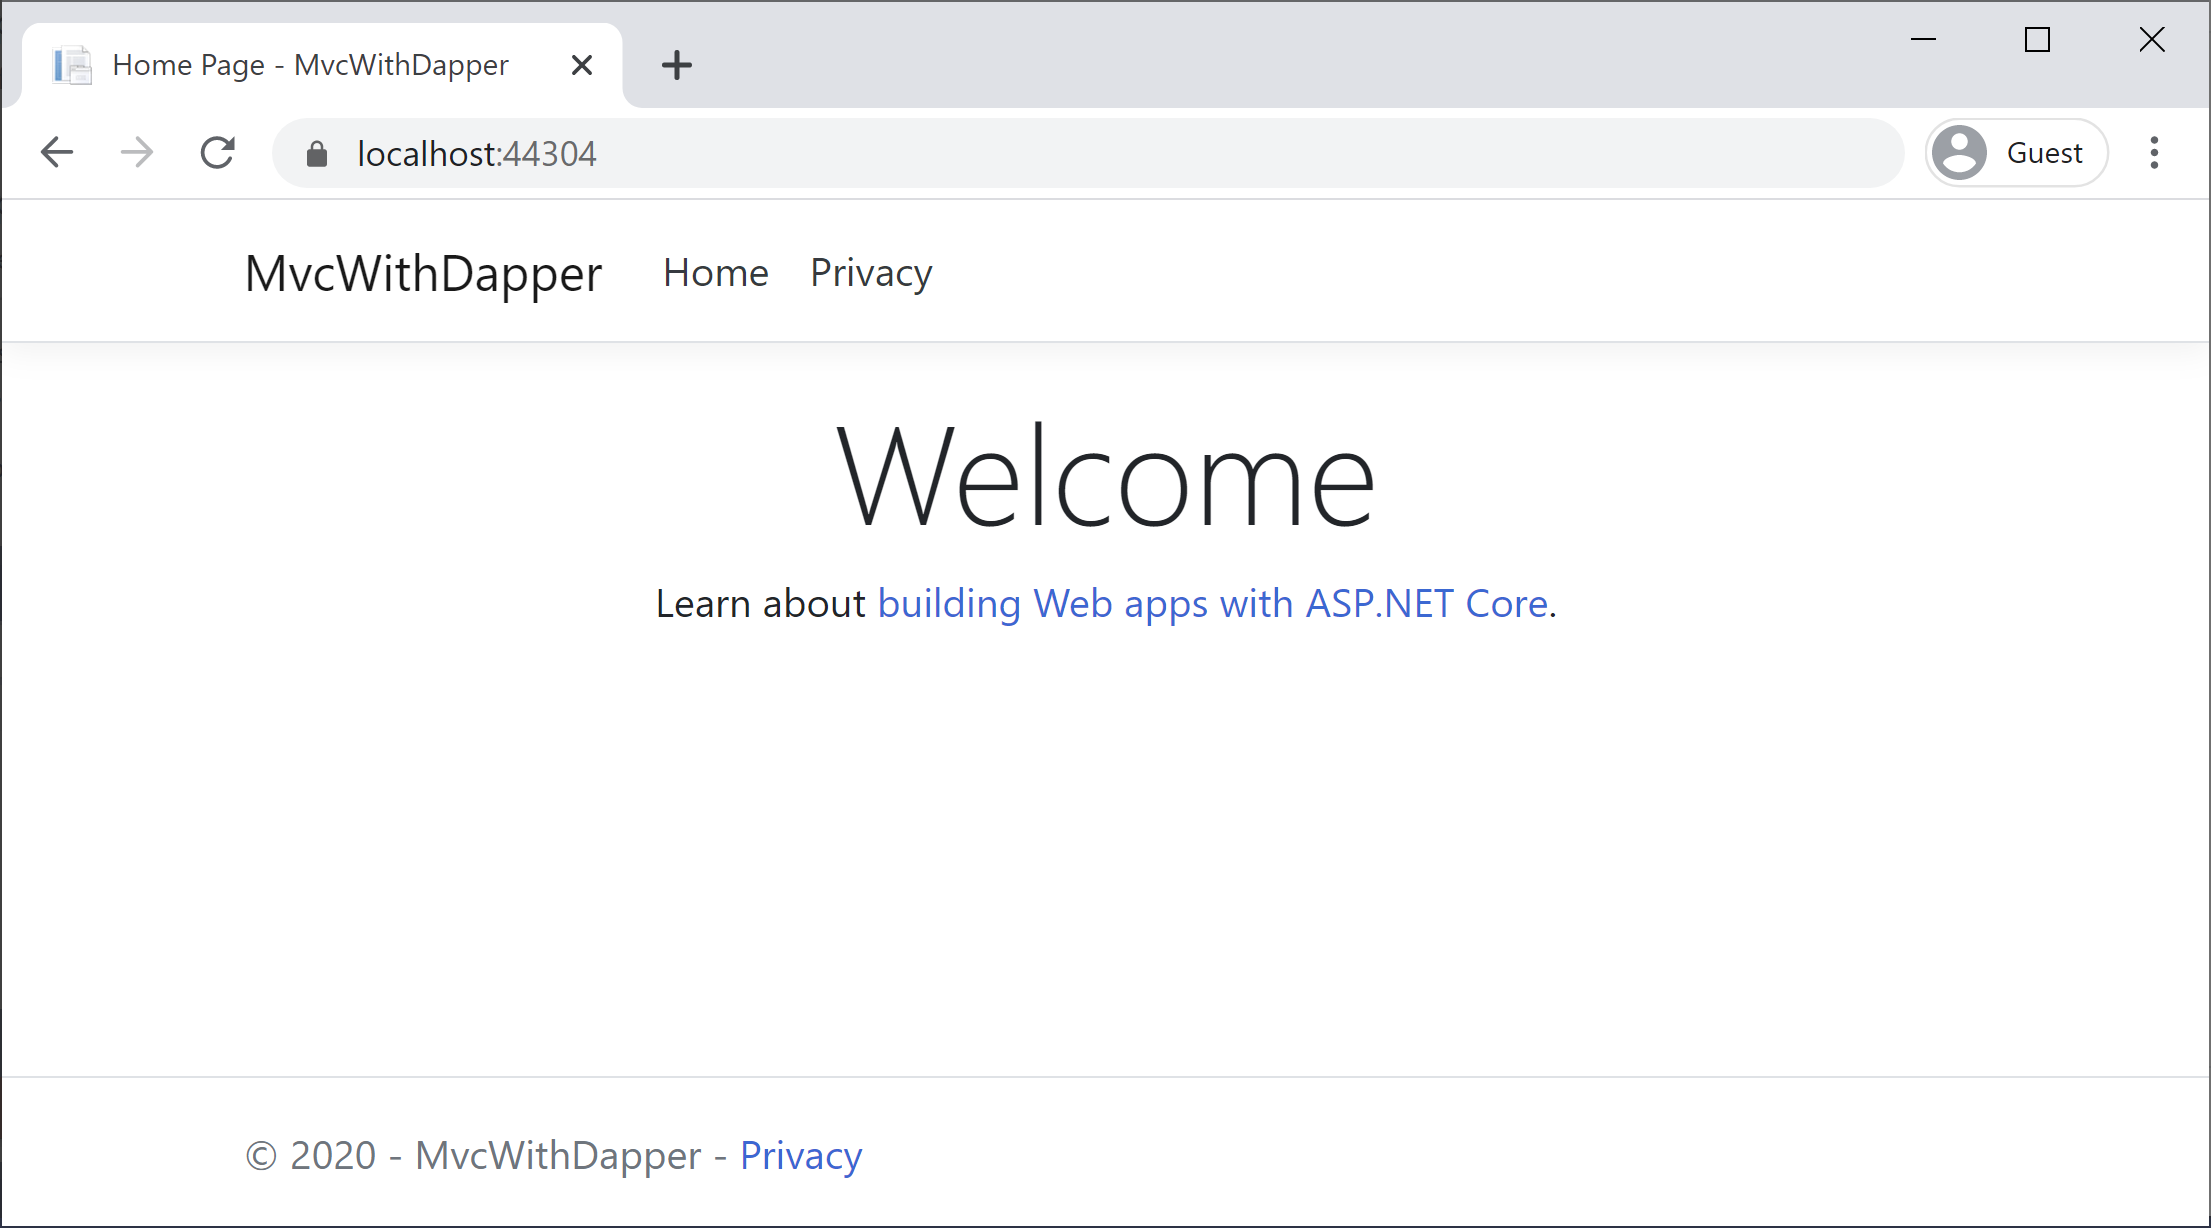
Search for dapper and install the latest version by pressing the install button. You are now ready to start your application. Let's run your application and make sure everything is working fine.
We also need to install the following NuGet packages.
PM> Install-Package System.Data.SqlClient
PM> Install-Package Microsoft.VisualStudio.Web.CodeGeneration.Design