Visual Studio Installation
In Visual Studio 2019, it is very easy to choose and install only those features you need and that's why it installs quickly and with less system impact.
Installation On Windows
To download and install Visual Studio on Windows, go to the Visual Studio download page https://visualstudio.microsoft.com/downloads/.

You can select one of the following editions.
- Visual Studio 2019 Community (Free download)
- Visual Studio 2019 Professional (Free trial)
- Visual Studio 2019 Enterprise (Free trial)
In this tutorial, we will use the Visual Studio 2019 Community Edition. It is a streamlined version of Visual Studio, specially created for people learning programming. It has a simplified user interface and omits advanced features of the professional edition to avoid confusion.
So click on the Free download button, and once the *.exe file is downloaded, right-click and select the Run as administrator on the downloaded file to begin the installation.
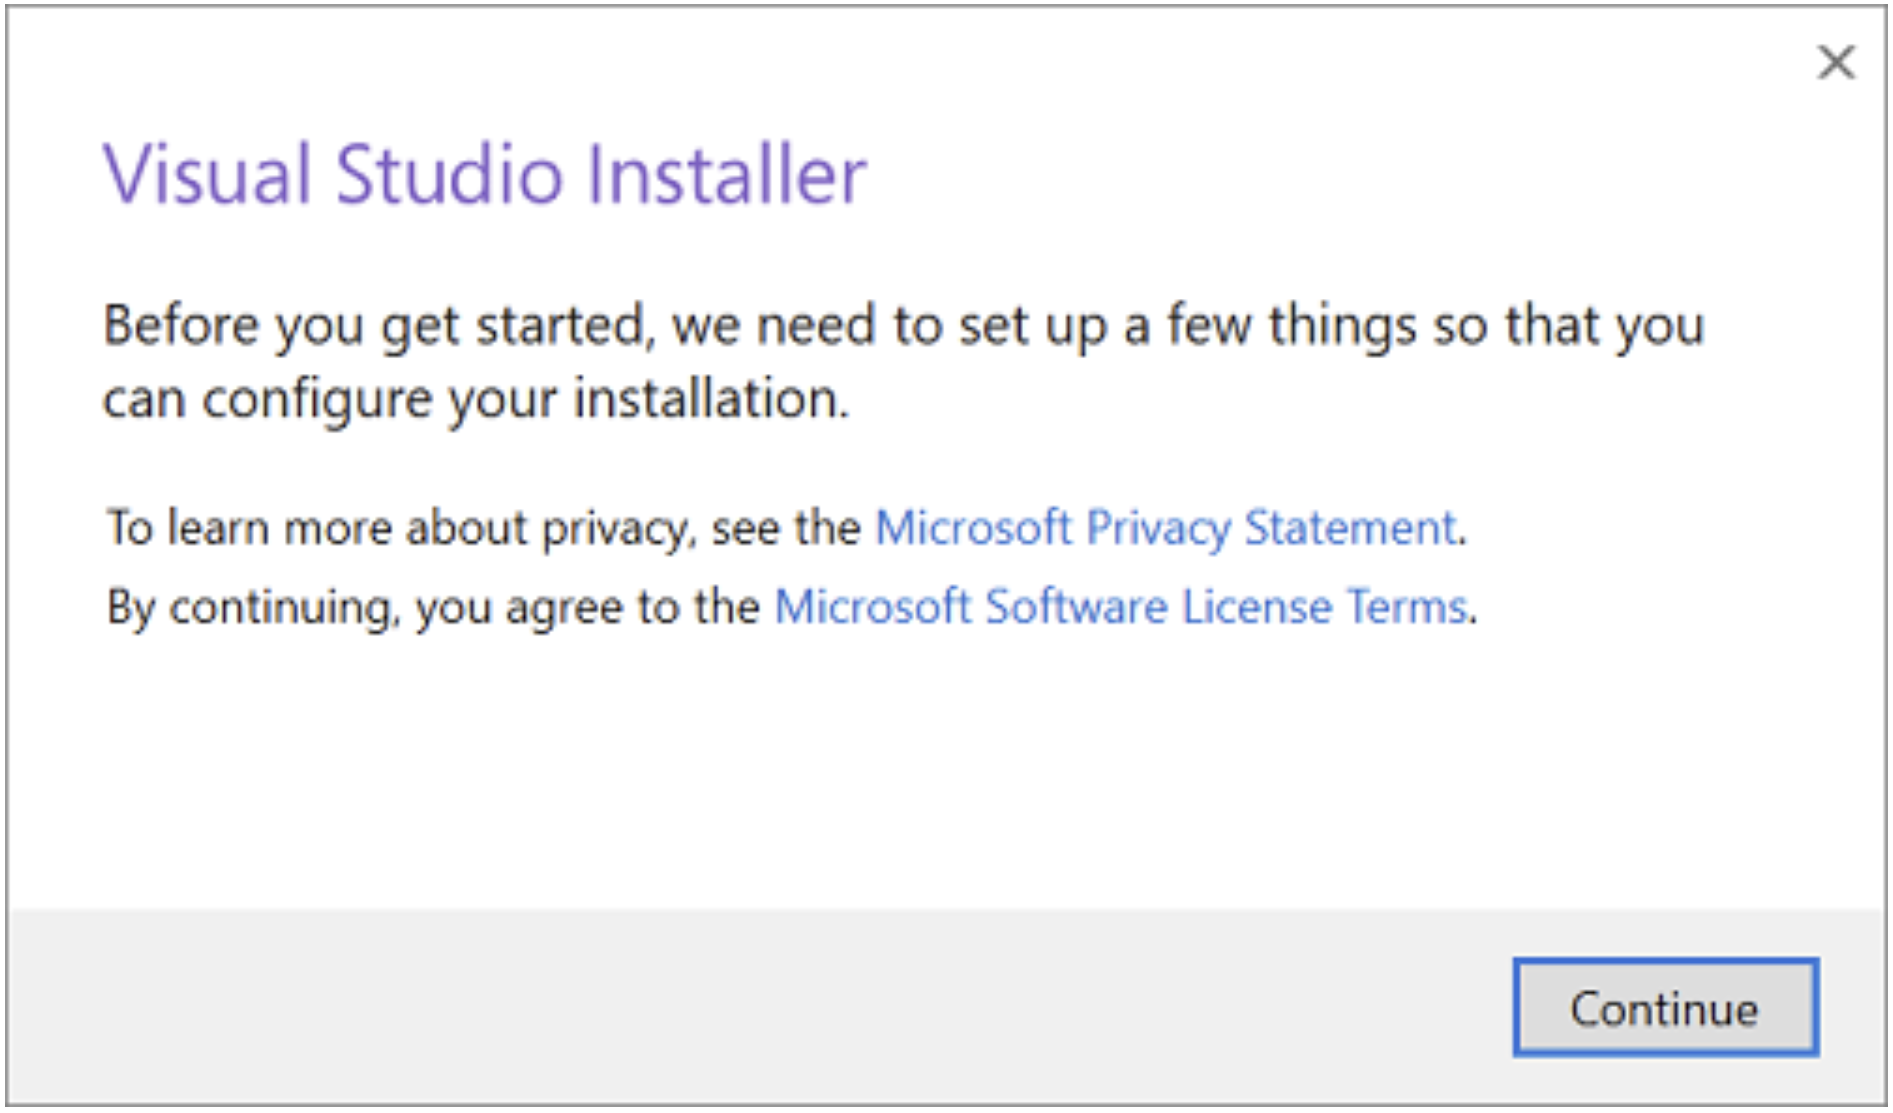
It will ask you to acknowledge the Microsoft Privacy Statement and the Microsoft Software License Terms. Choose Continue.
You can customize your installation by selecting the features or workloads that you want.
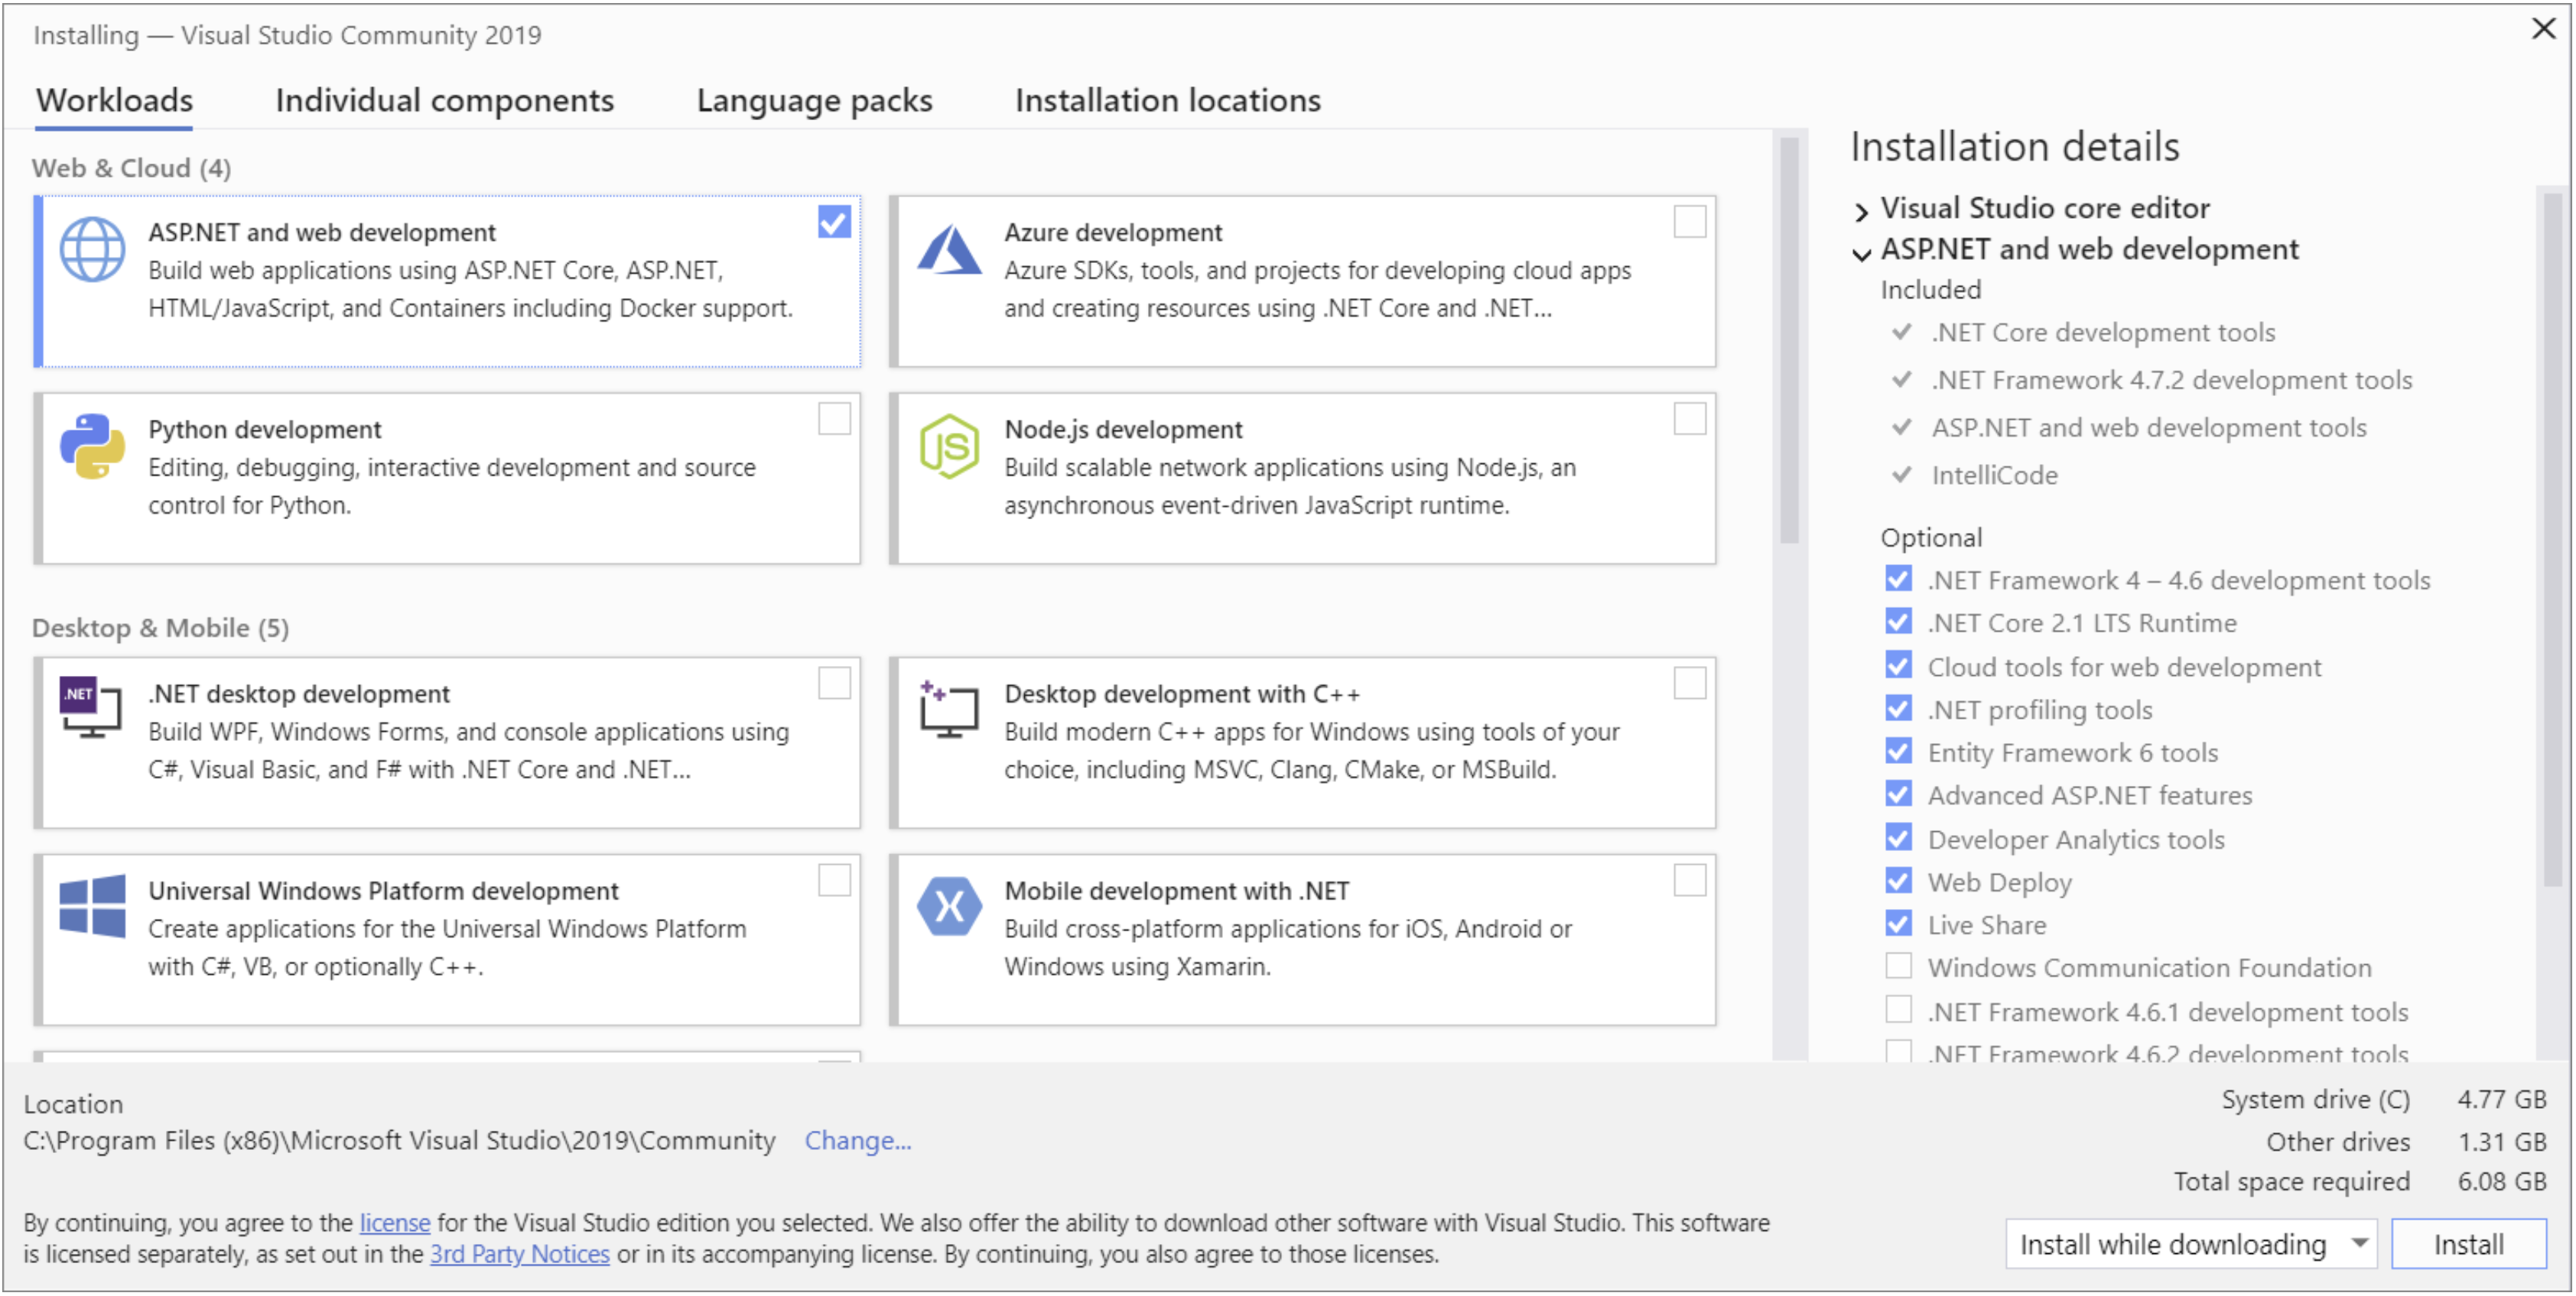
After you choose the workload(s) you want, click the Install button.
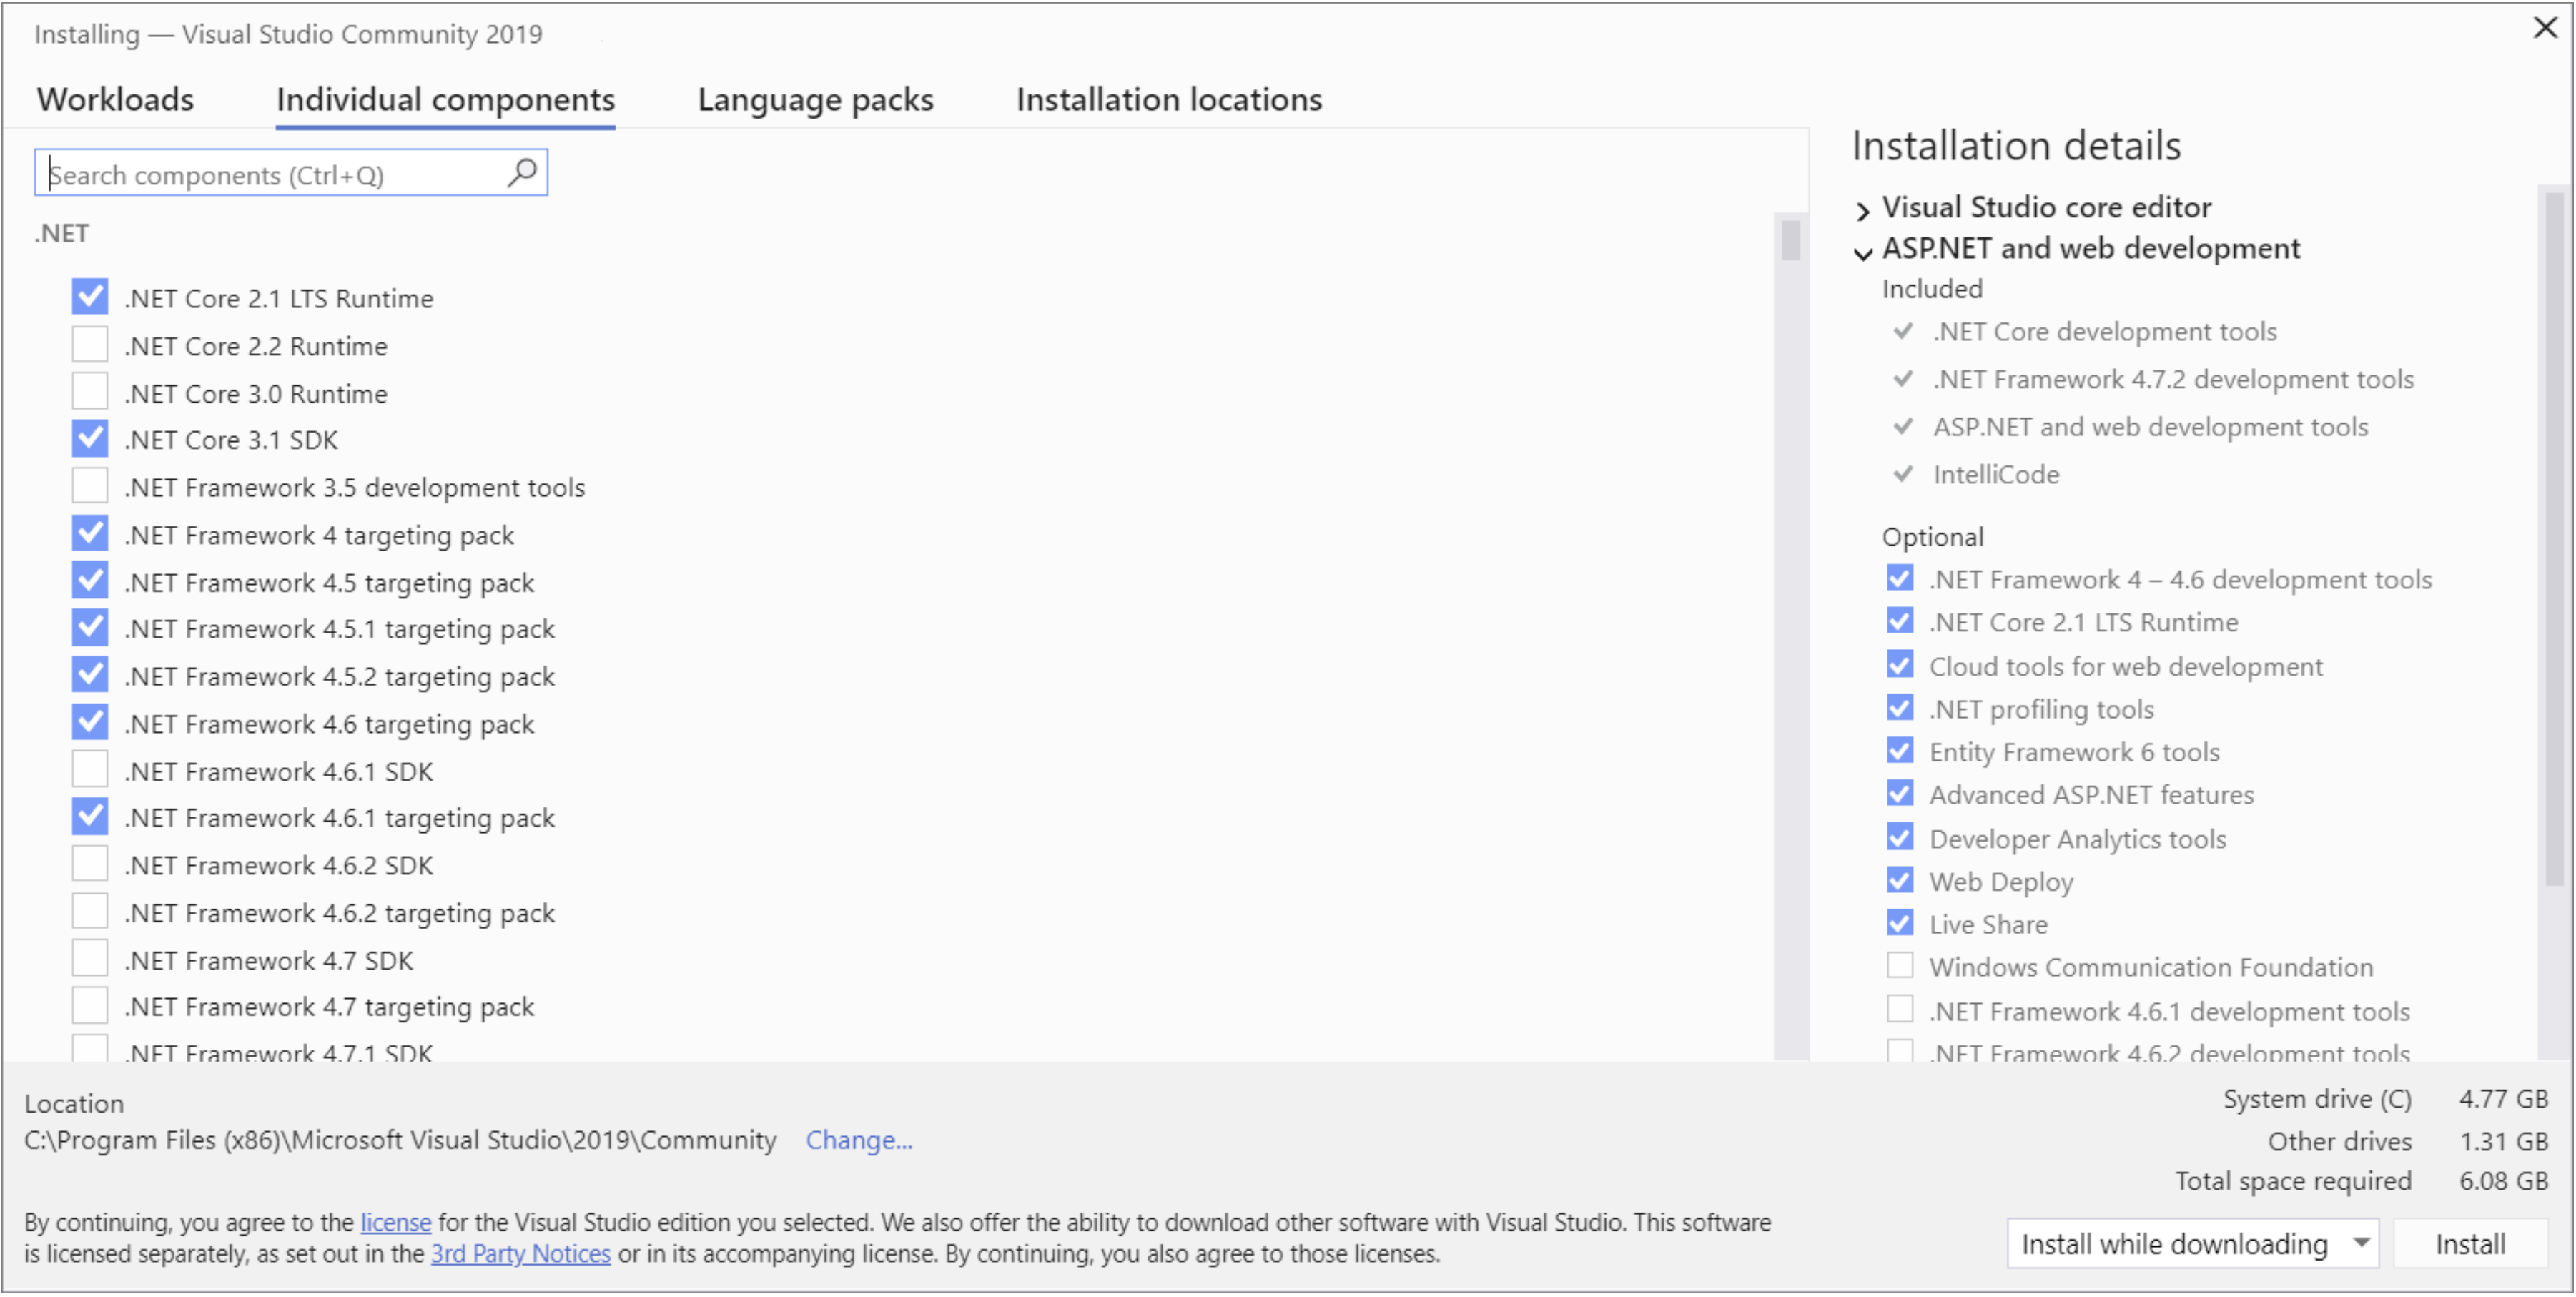
But if you want to add more components than a workload installs, go to the Individual components tab and add individual components.
By default, the installer program tries to match the language of the operating system when it runs for the first time.
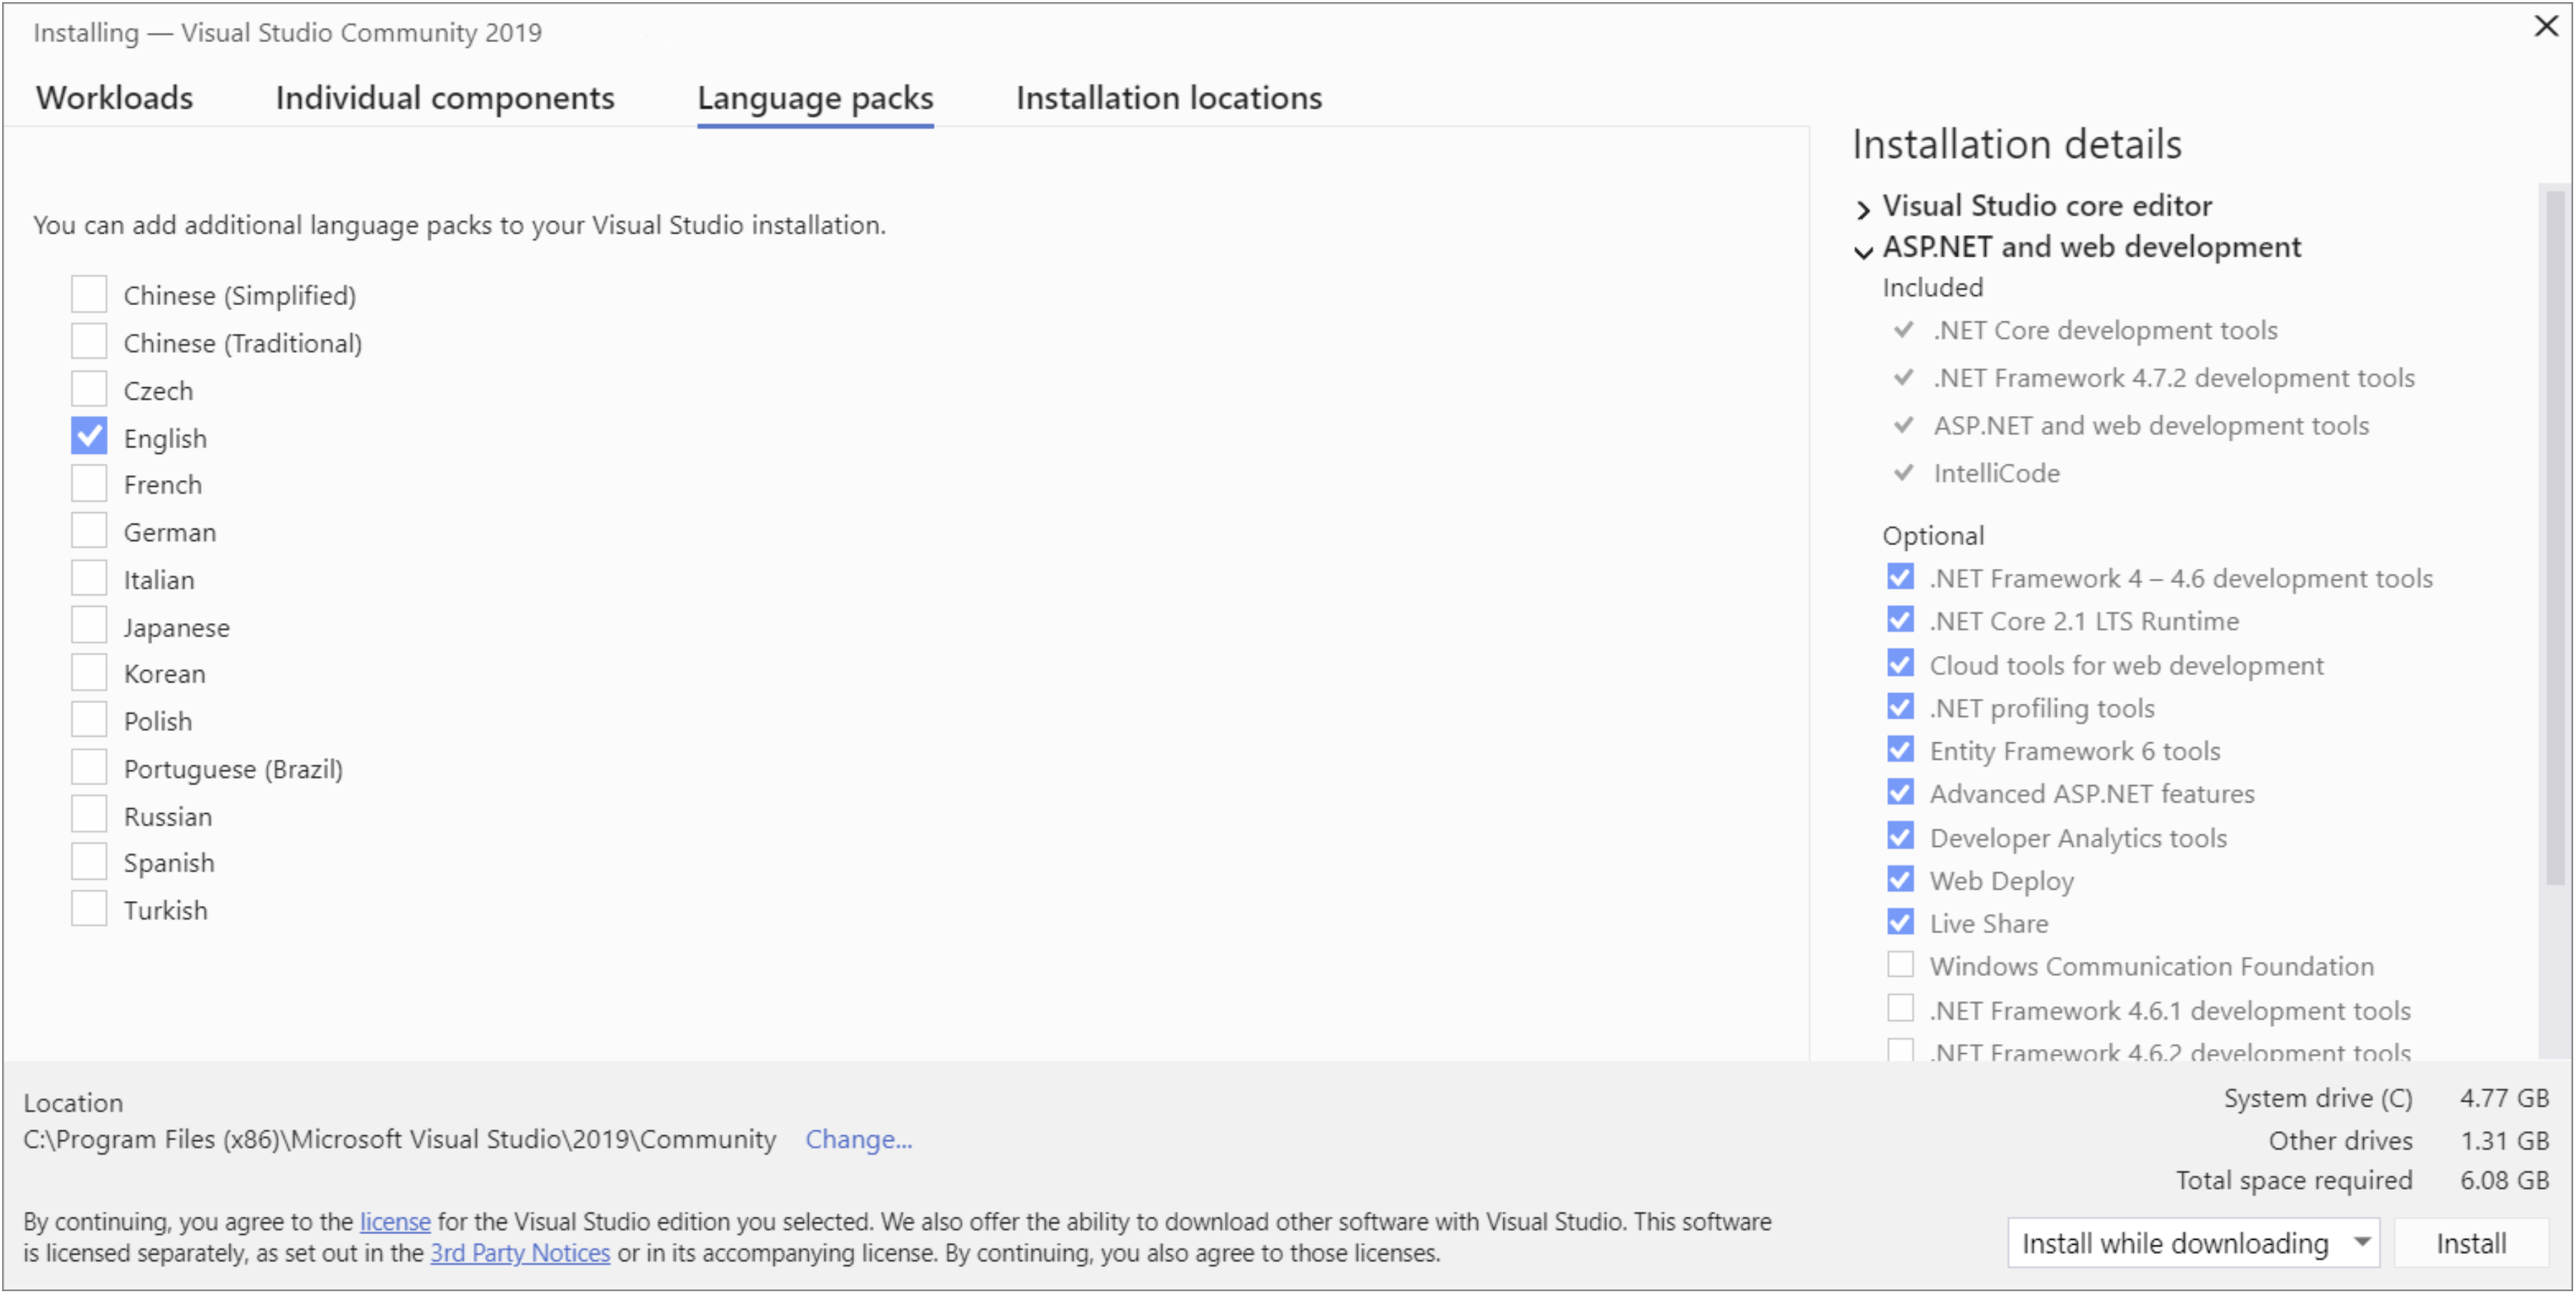
To install Visual Studio in a language of your choosing, go to the Language packs tab.

Choose the language you want, and then follow the prompts.
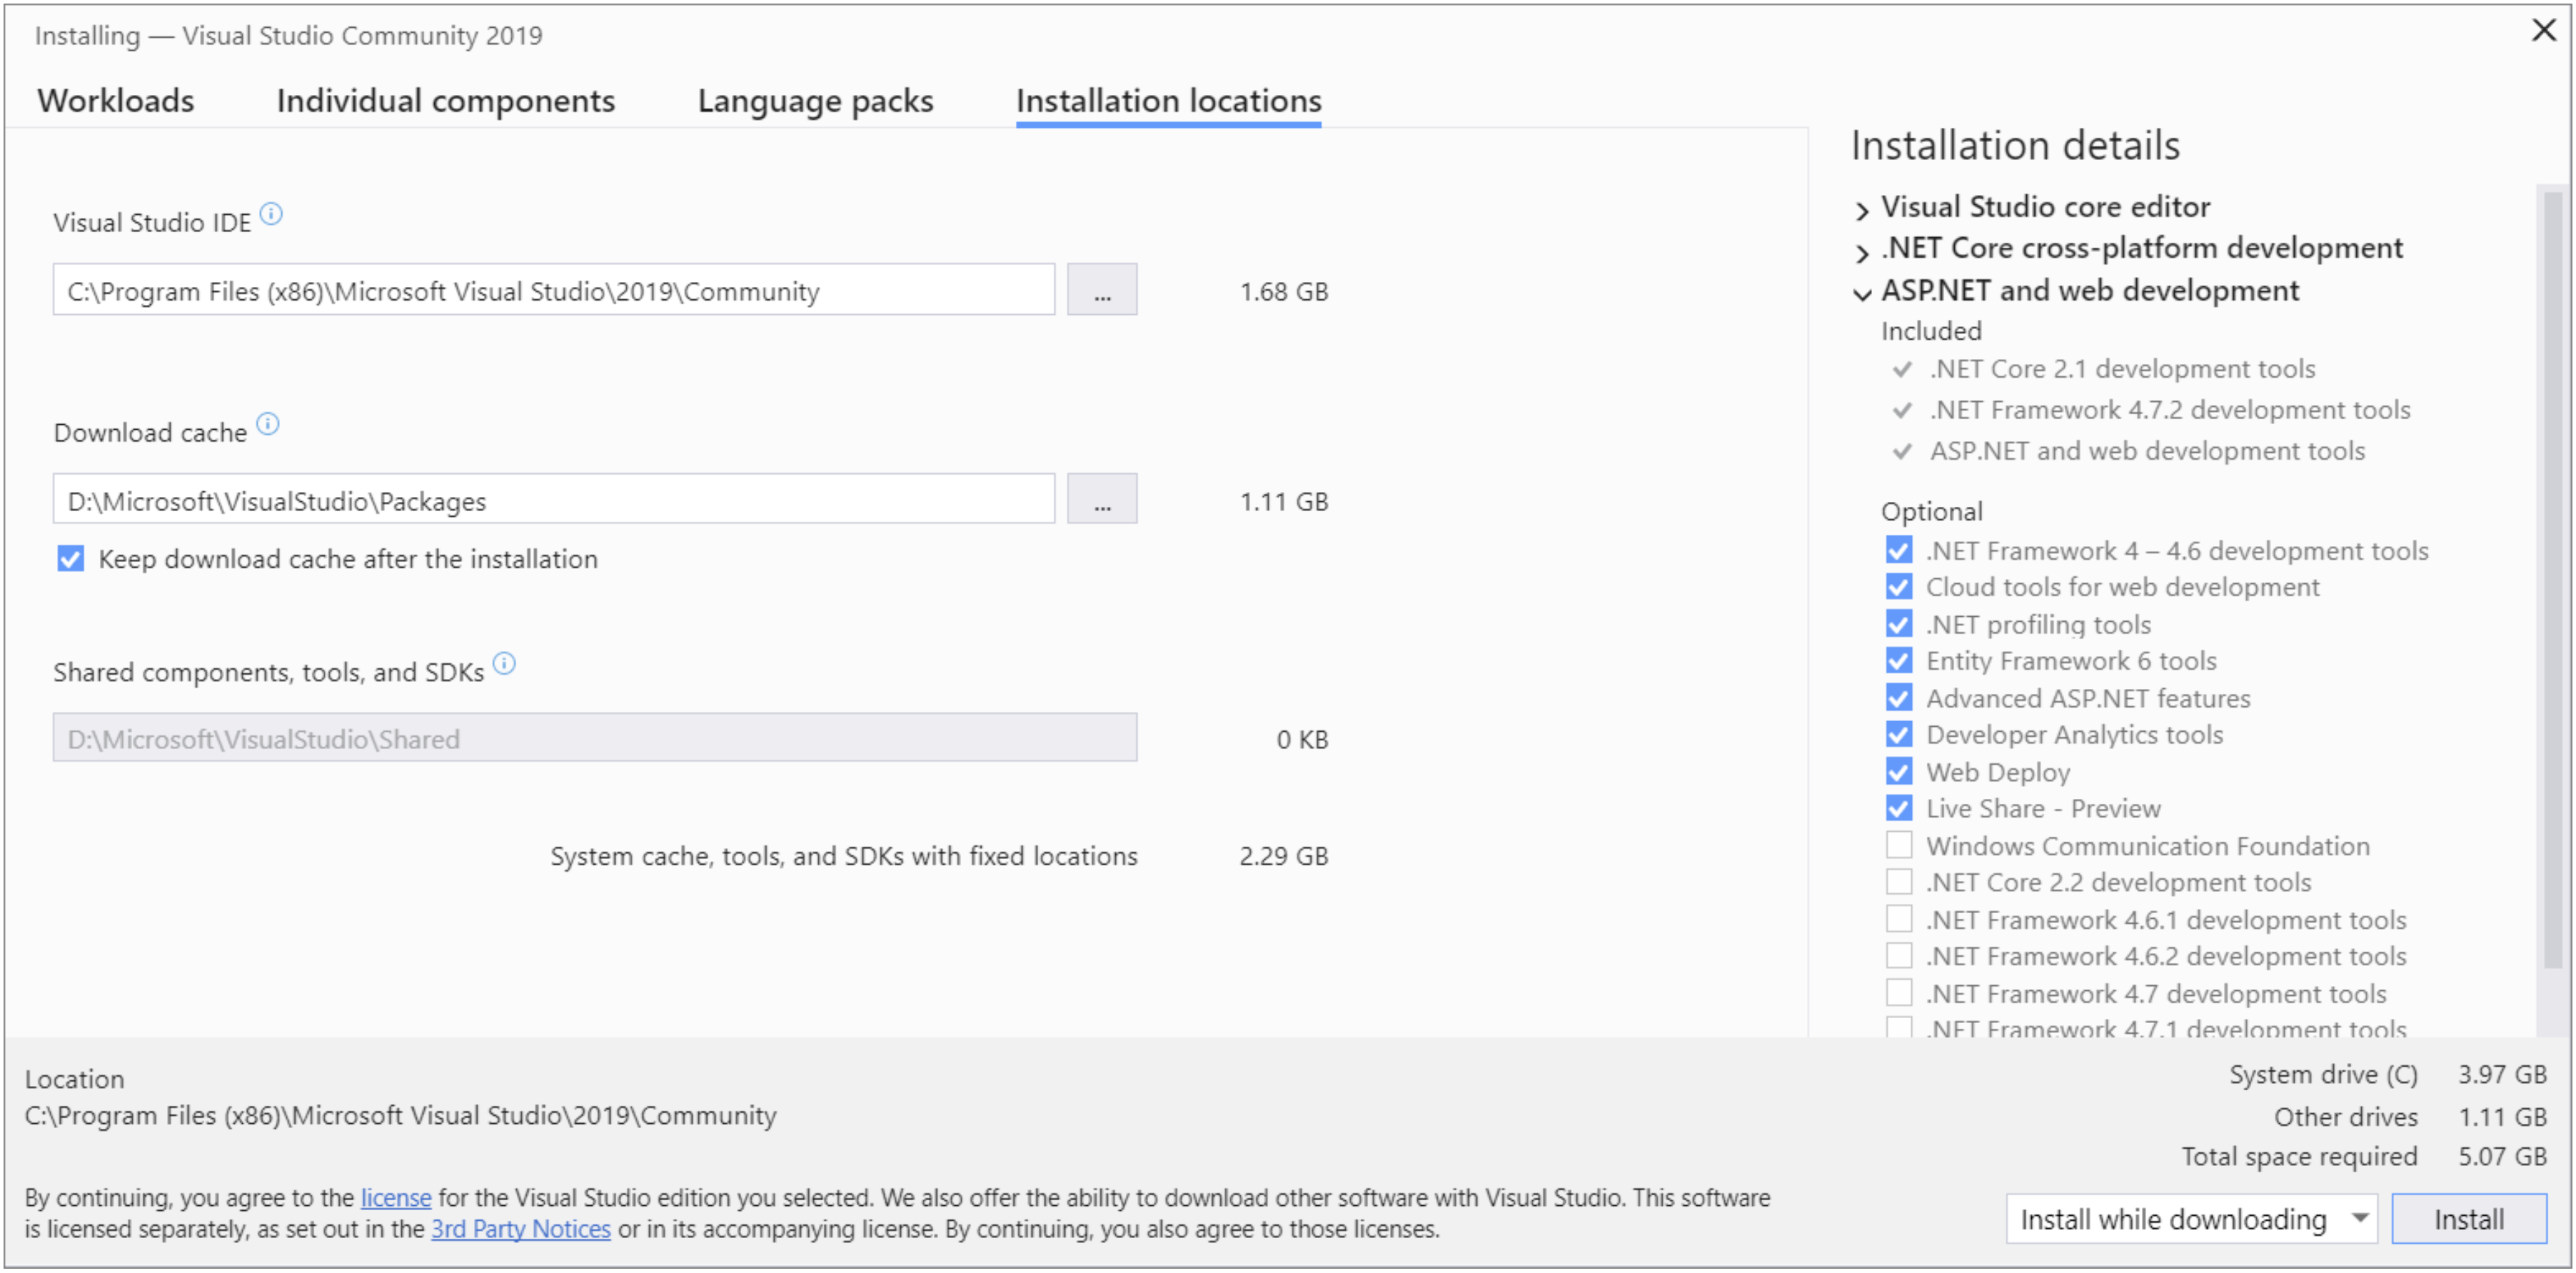
You can reduce the installation footprint of Visual Studio on your system drive by choosing to move the download cache, shared components, SDKs, and tools to different drives, and keep Visual Studio on the drive that runs it the fastest.
After Visual Studio installation is complete, choose the Launch button to get started developing with Visual Studio.
Installation On Mac
You can start developing native, cross-platform .NET apps on macOS by simply installing Visual Studio 2019 for Mac.
Requirements
- The macOS High Sierra 10.13 or above.
- Xcode 10.0 or above. The latest stable version is usually recommended.
- An Apple ID, you can create a new one at https://appleid.apple.com. It is necessary to have an Apple ID for installing and signing into Xcode.
You can download the installer from the Visual Studio for Mac download page https://visualstudio.microsoft.com/vs/mac/.
Once the download is complete, click the VisualStudioforMacInstaller.dmg to mount the installer.
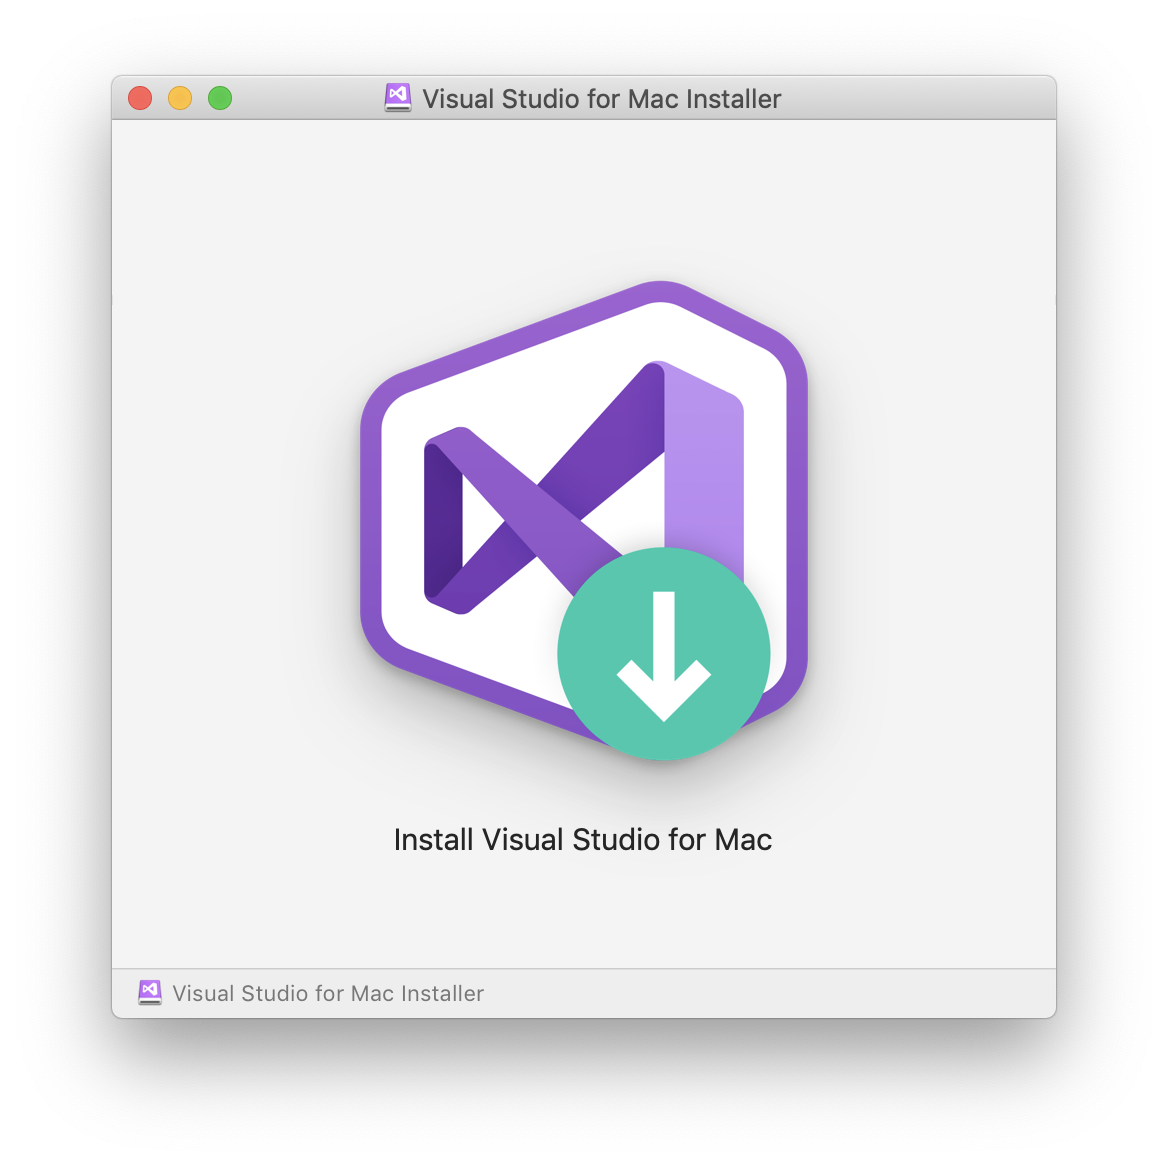
To start the installation, double-clicking the arrow logo.
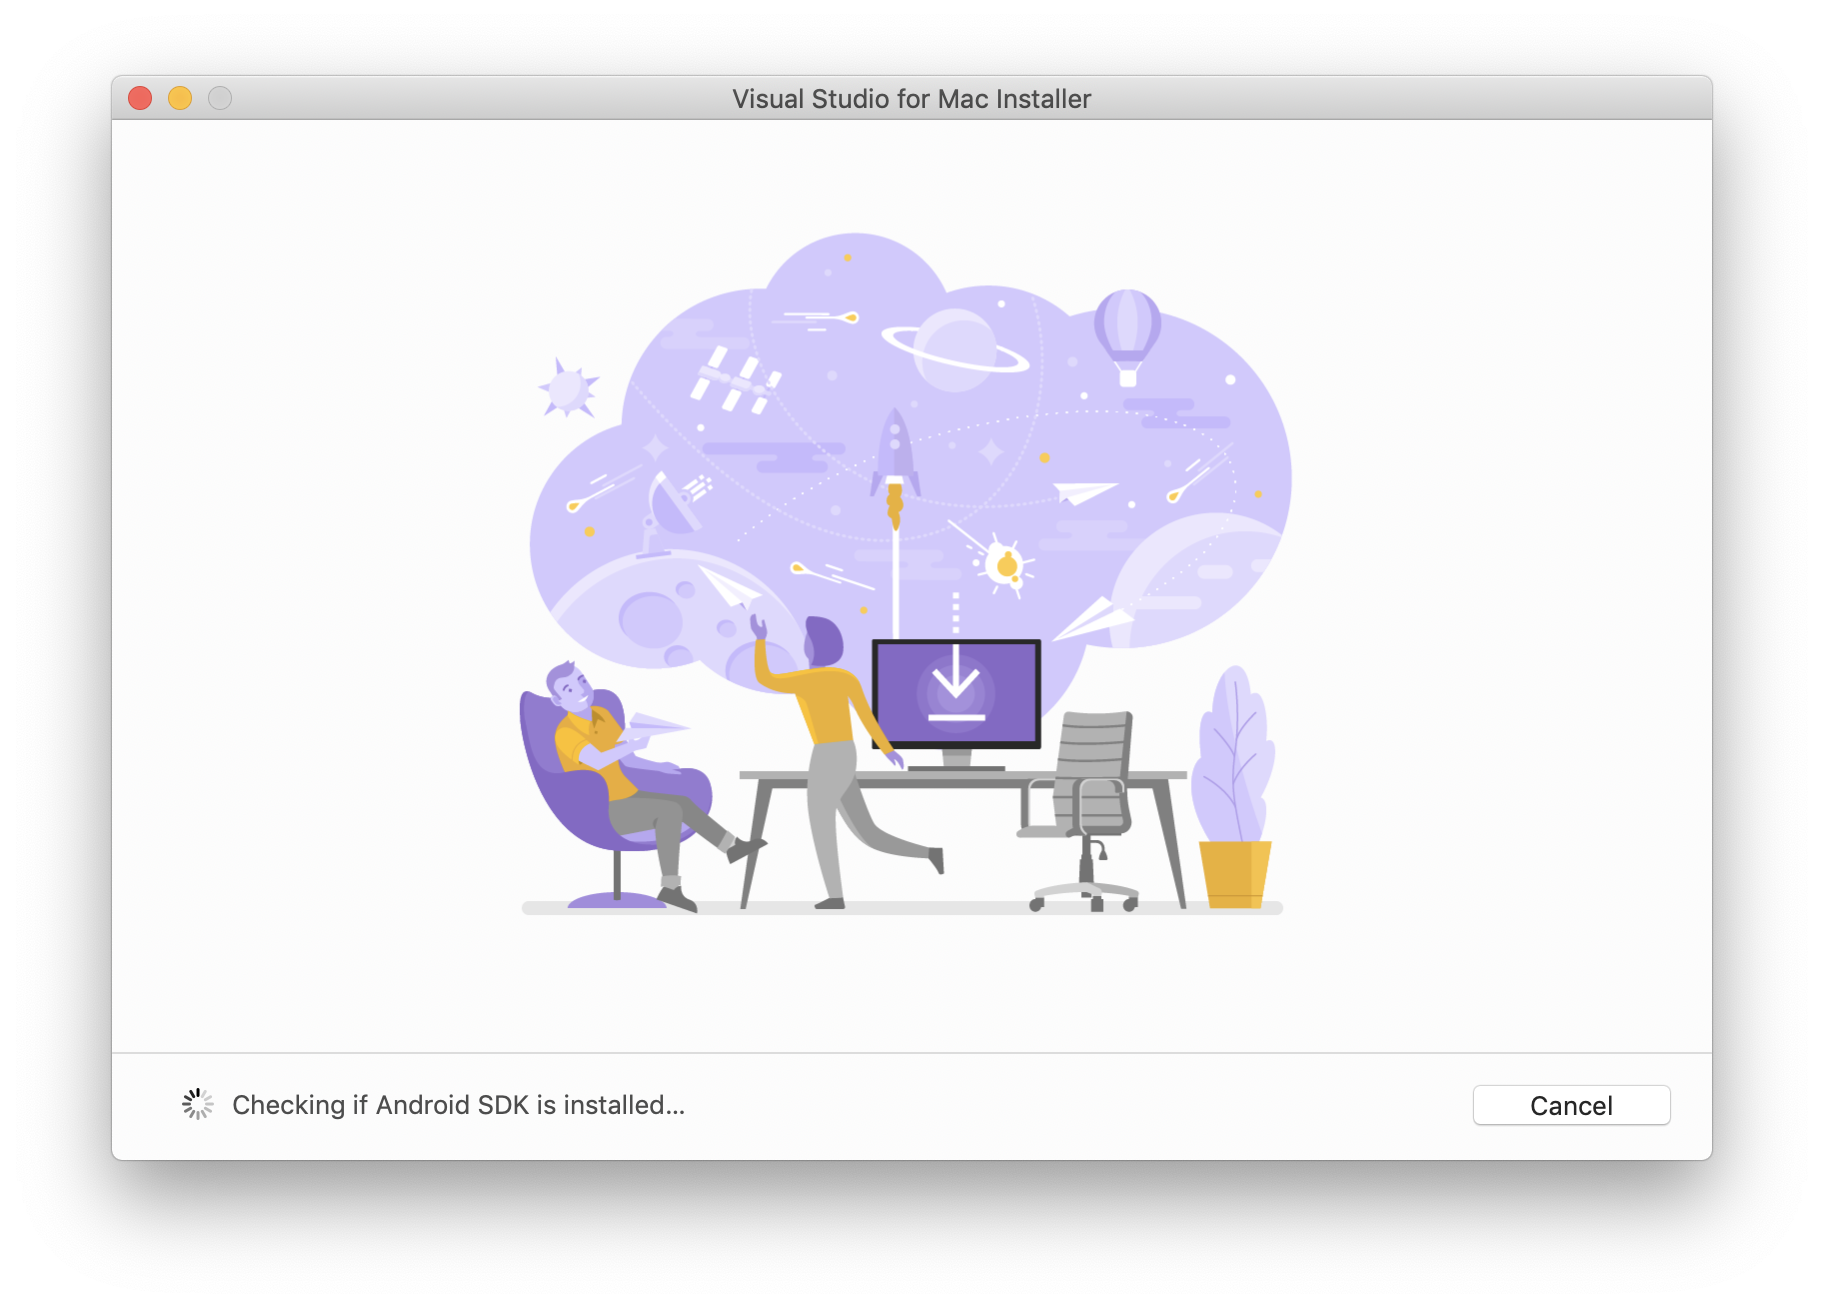
The installer checks your system, so you will need to wait for some moments and you will an alert asking you to acknowledge the privacy and license terms.
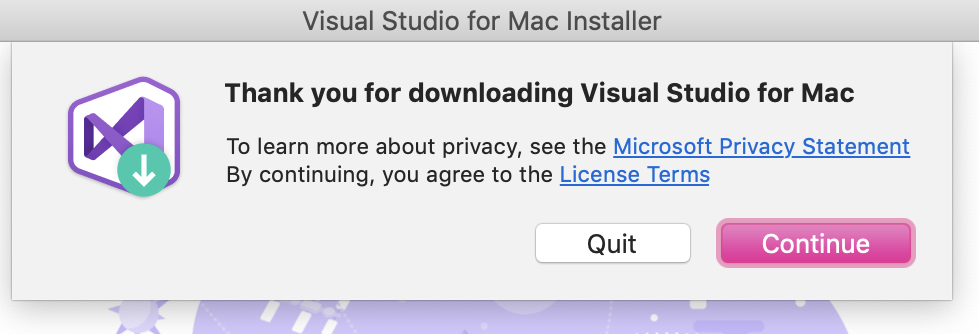
You can read to read them on the links provided, then press the Continue button.
You will see a list of available workloads, select the components you want to install.
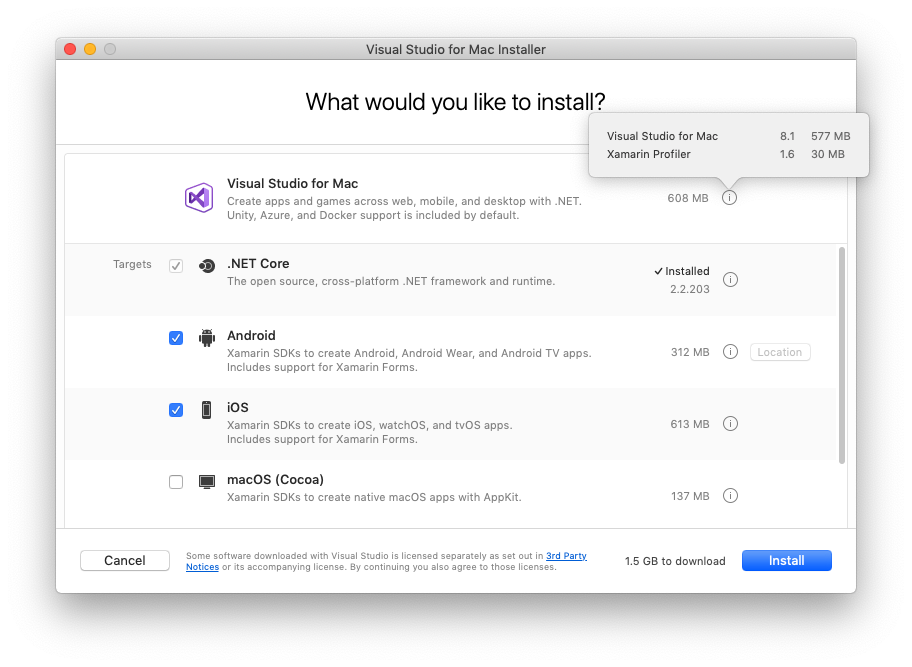
Click the Install button. The installer will display progress as it downloads and installs Visual Studio for Mac and the selected workloads.
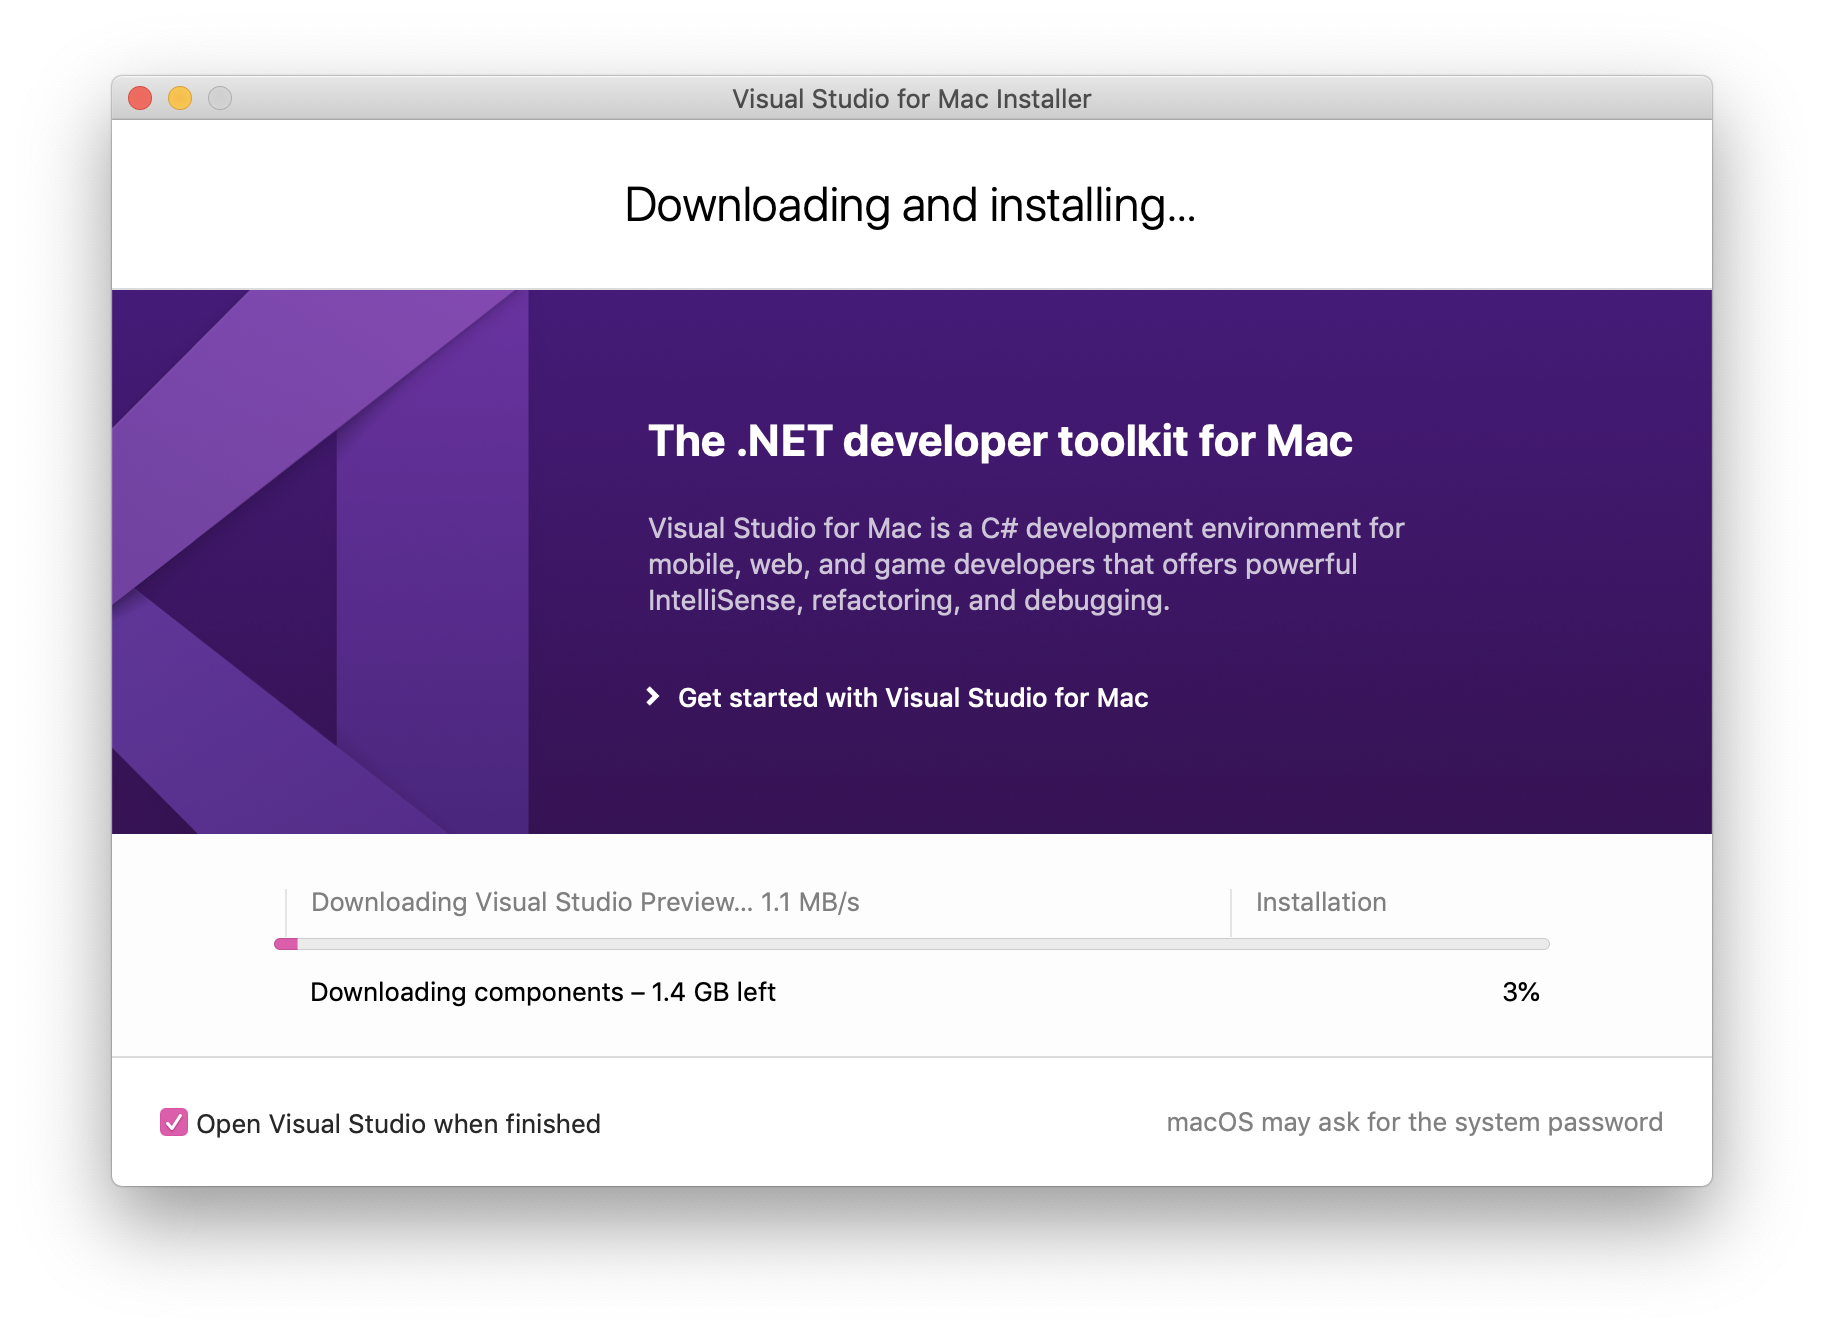
You will be prompted to enter your password to grant the privileges necessary for installation.
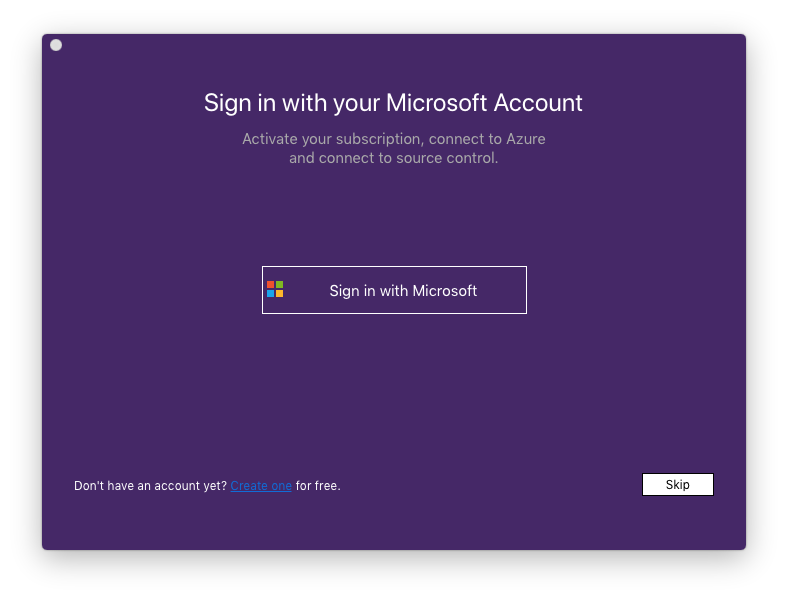
Once it is installed, it will prompt you to personalize your installation by signing in
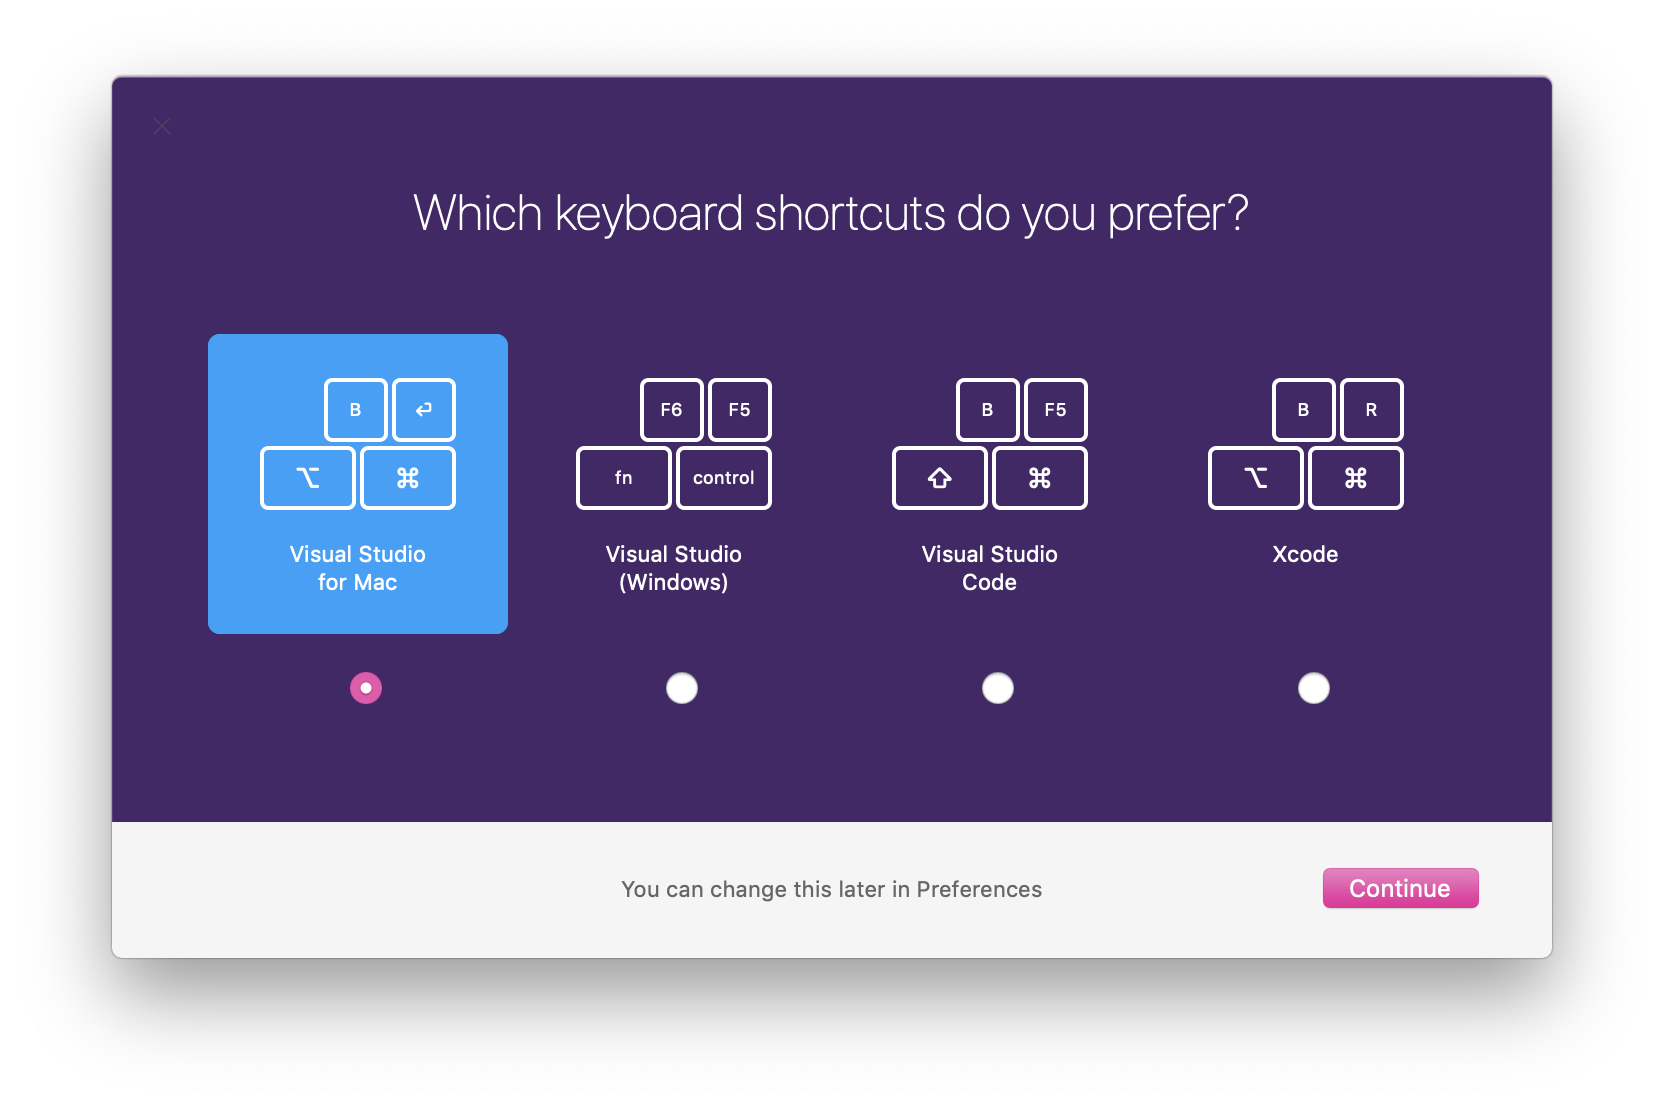
It will also prompt you to select the key bindings.
