Visual Studio Code Installation on macOS
To install Visual Studio Code on macOS, download Visual Studio Code for macOS from the official download page. Open the browser's download list and locate the downloaded archive.
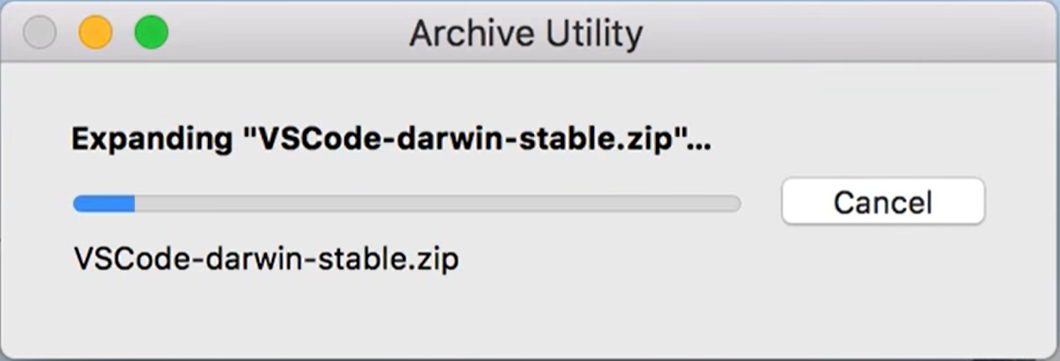
Double-click on the downloaded archive to expand its contents.
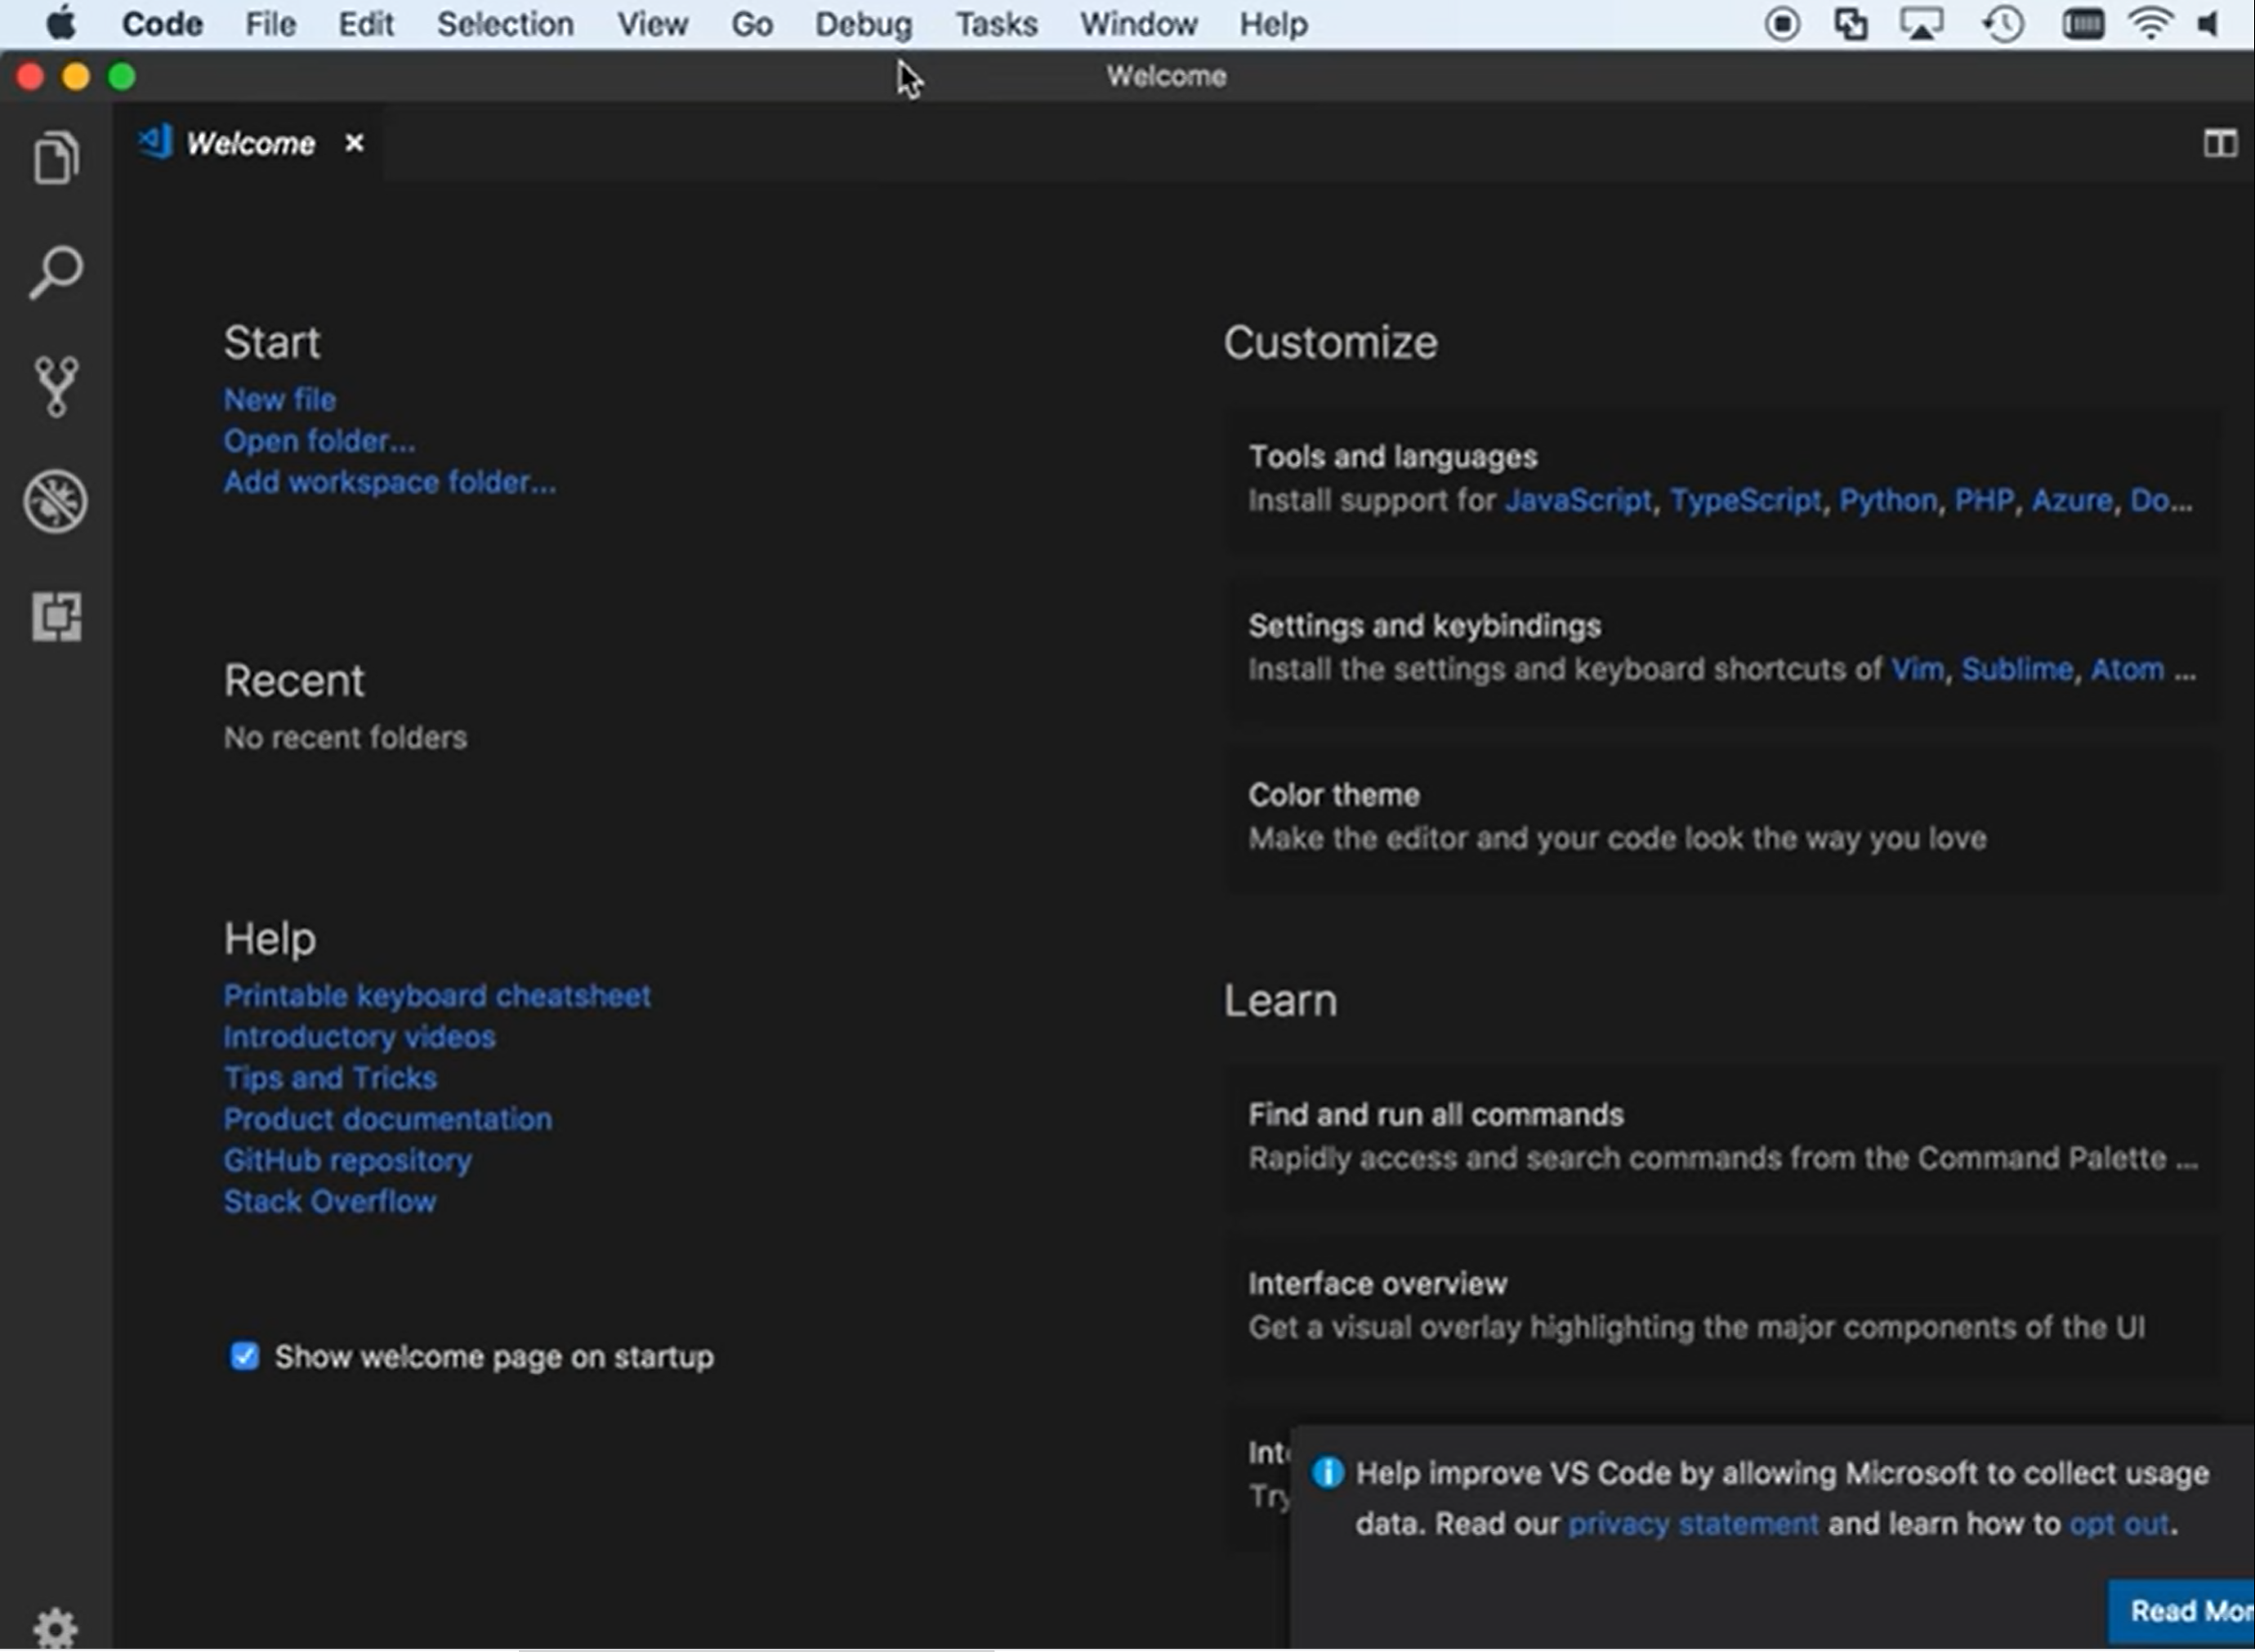
Double-click on the Visual Studio Code.app file, and it will open the Visual Studio code.
Drag Visual Studio Code.app to the Applications folder, making it available in the macOS Launchpad.
Add VS Code to your Dock by right-clicking on the icon to bring up the context menu and choosing Options, Keep in Dock.
Launching from the Command Line
You can also run Visual Studio Code from the terminal by typing code after adding it to the path.
- Launch VS Code.
- Open the Command Palette (
Ctrl+Shift+P) and typeshell commandto find the Shell Command: Install 'code' command in PATH command.

Restart the terminal for the new $PATH value to take effect. You will be able to type code . in any folder to start editing files in that folder.
Manual Instructions
Instead of running the command above, you can manually add the Visual Studio Code to your path by running the following commands:
cat << EOF >> ~/.bash_profile
# Add Visual Studio Code (code)
export PATH="\$PATH:/Applications/Visual Studio Code.app/Contents/Resources/app/bin"
EOF
Start a new terminal to pick up your .bash_profile changes.
- The leading slash
\is required to prevent$PATHfrom expanding during the concatenation. - Remove the leading slash if you want to run the export command directly in a terminal.
Since zsh became the default shell in macOS Catalina, run the following commands to add the Visual Studio Code to your path.
cat << EOF >> ~/.zprofile
# Add Visual Studio Code (code)
export PATH="\$PATH:/Applications/Visual Studio Code.app/Contents/Resources/app/bin"
EOF