IOS Add a Toolbar
In iOS application, a toolbar appears at the bottom of an app screen and contains buttons for performing actions relevant to the current view or content within it.
- It is an area to add controls like buttons or switches, or even add status information.
- It is not used to switch between different sections of the application.
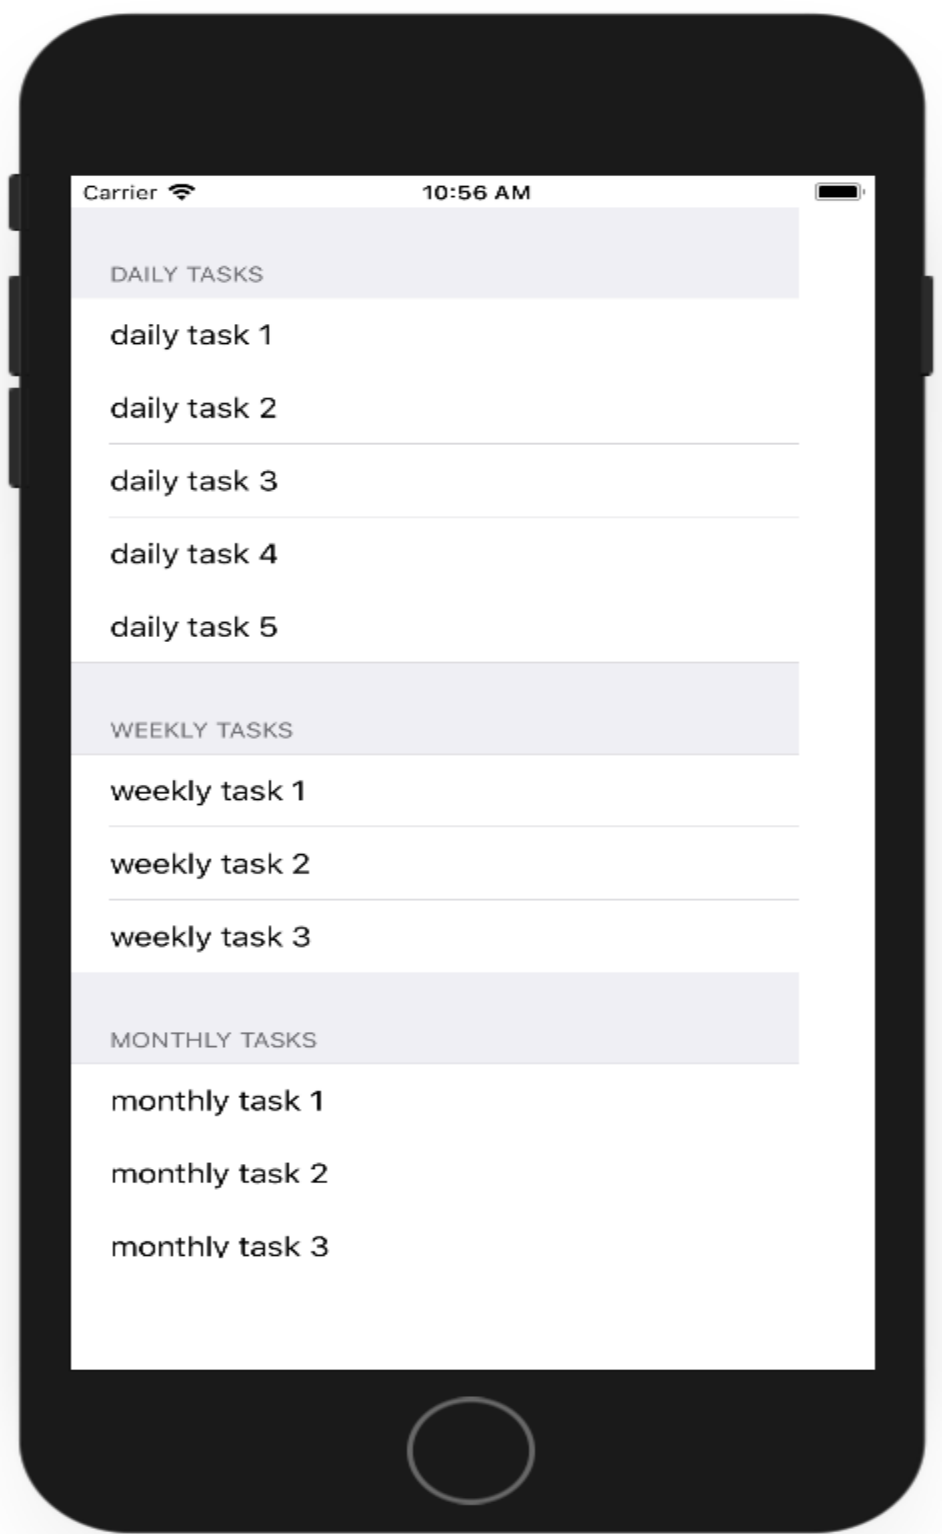
We have a simple task list app which contains three different sections for daily, weekly, and monthly tasks inside a table view.
Now we want the ability to toggle the dark mode on or off and the best thing for a toggle option is an iOS switch. The table view is full-screen space, and we wouldn't want to drop this switch right on top of my table view.
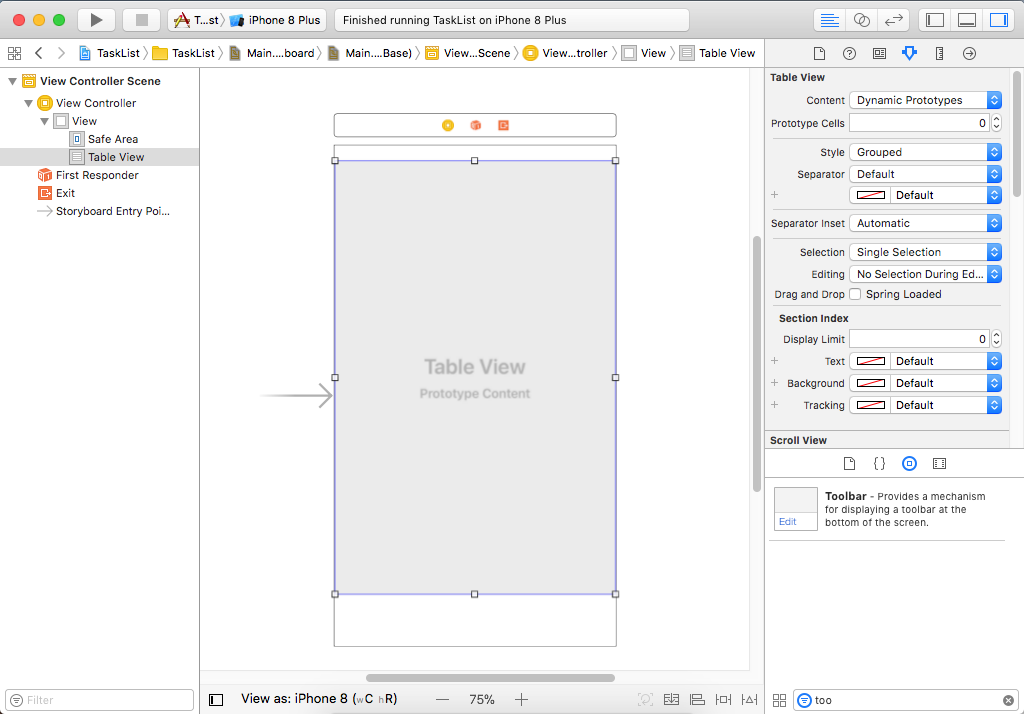
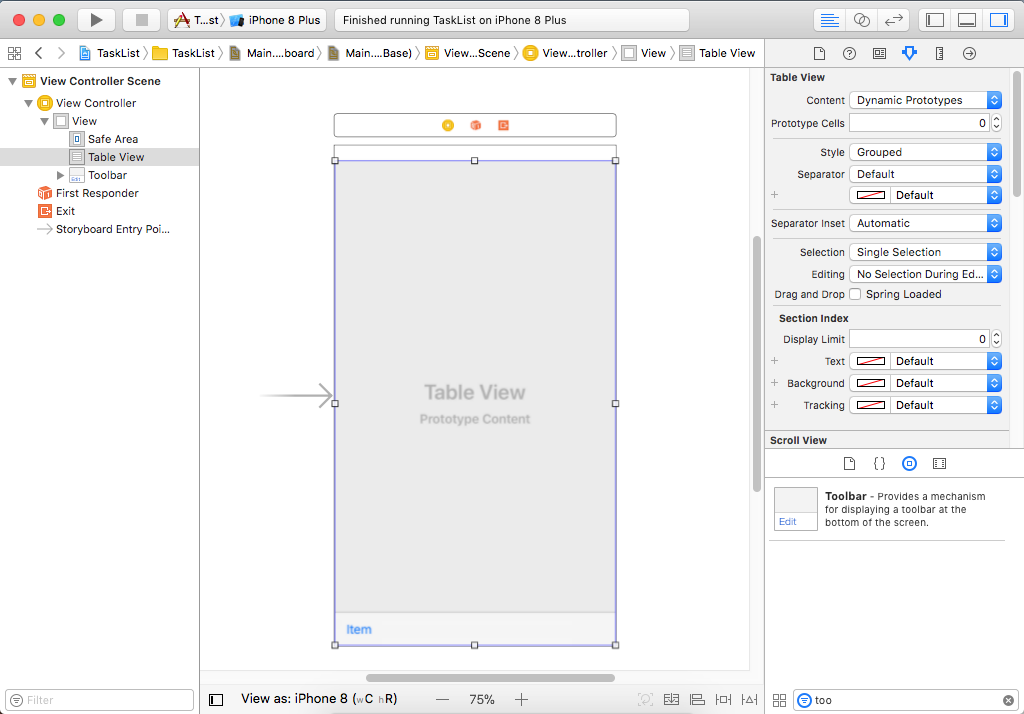
Let's add a toolbar to this view controller, so first, grab the bottom of the table view and move it up.
From the Object library, drag the toolbar to the bottom of the view controller.
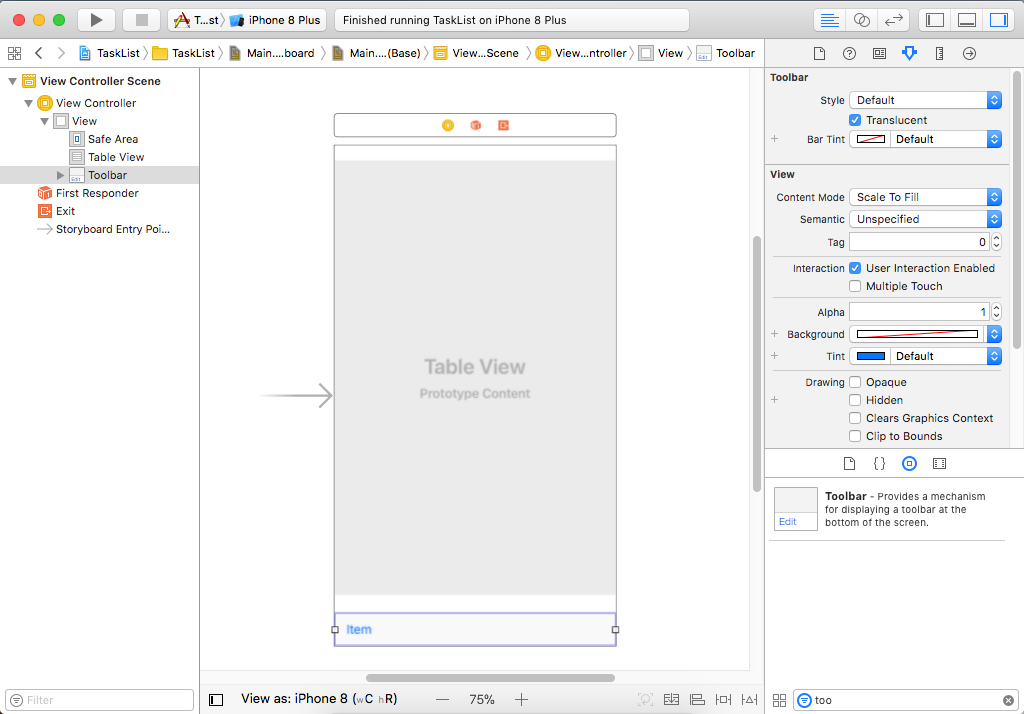
Now select the table view and drag it all the way back down to the bottom of the Safe Area.
We can set up some Auto Layout constraints so that this table view will resize on different devices.
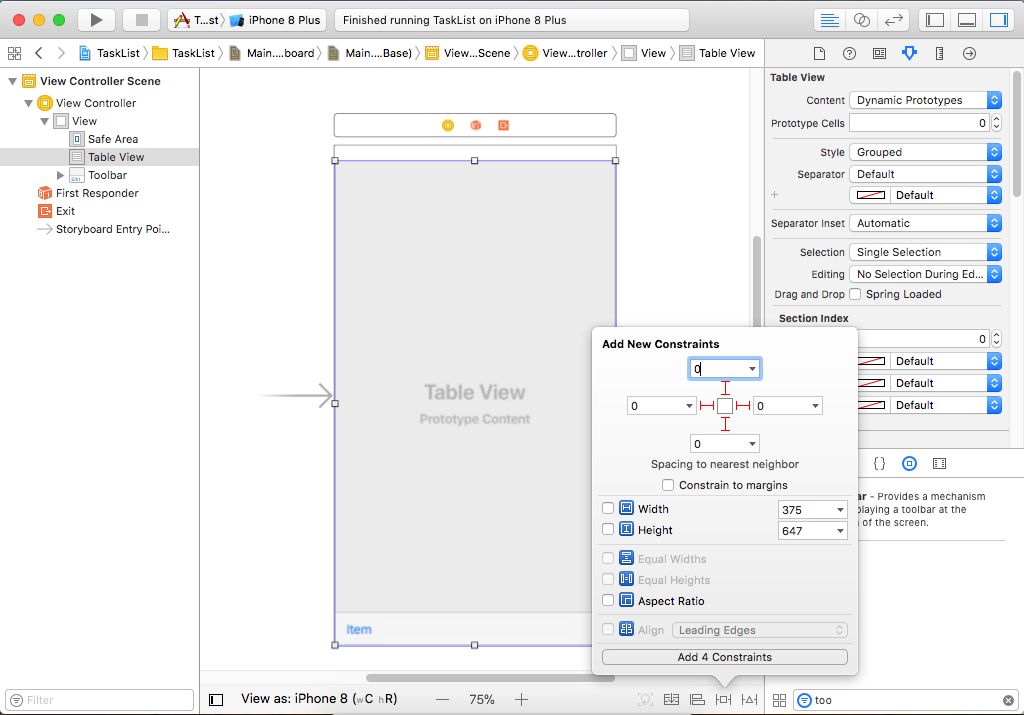
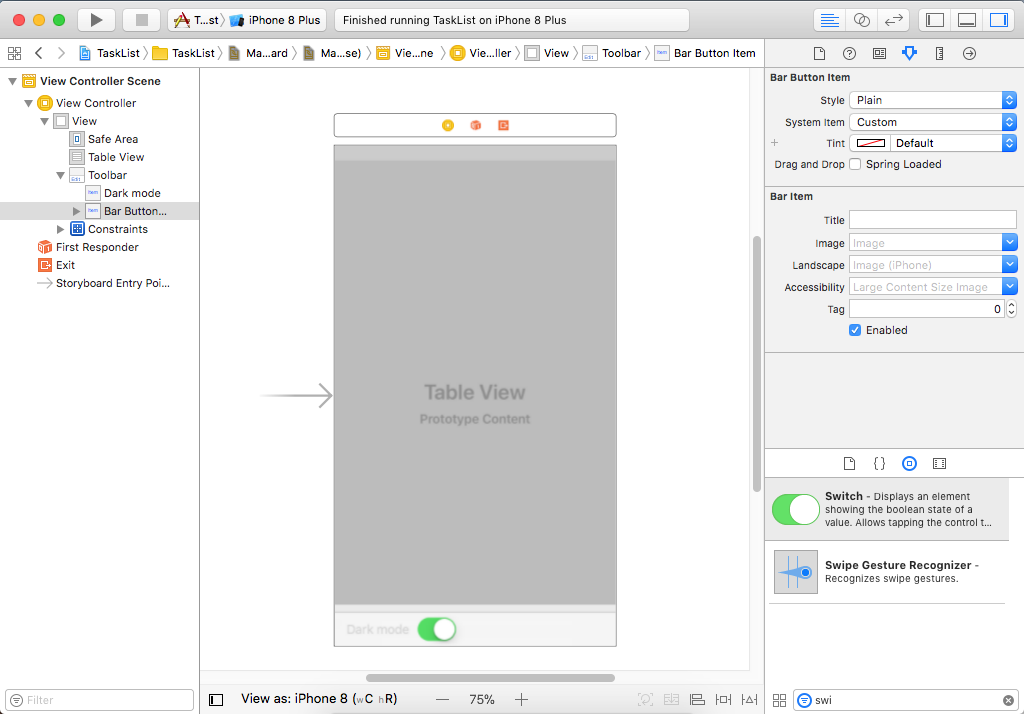
Specify 0 points all around to constrain it to the edges of the Safe Area. In the Document Outline, the toolbar itself contains one item that is called a bar button item.
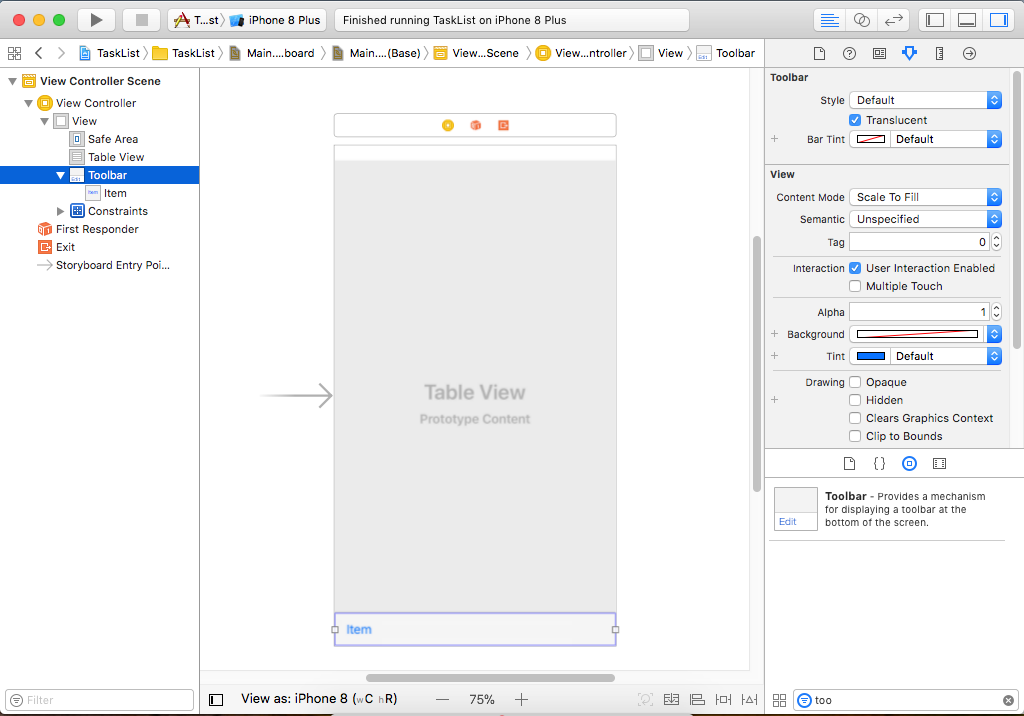
It can act just like a button, but you can also configure to act just as a label. So select the Toolbar Item in the Document Outline.
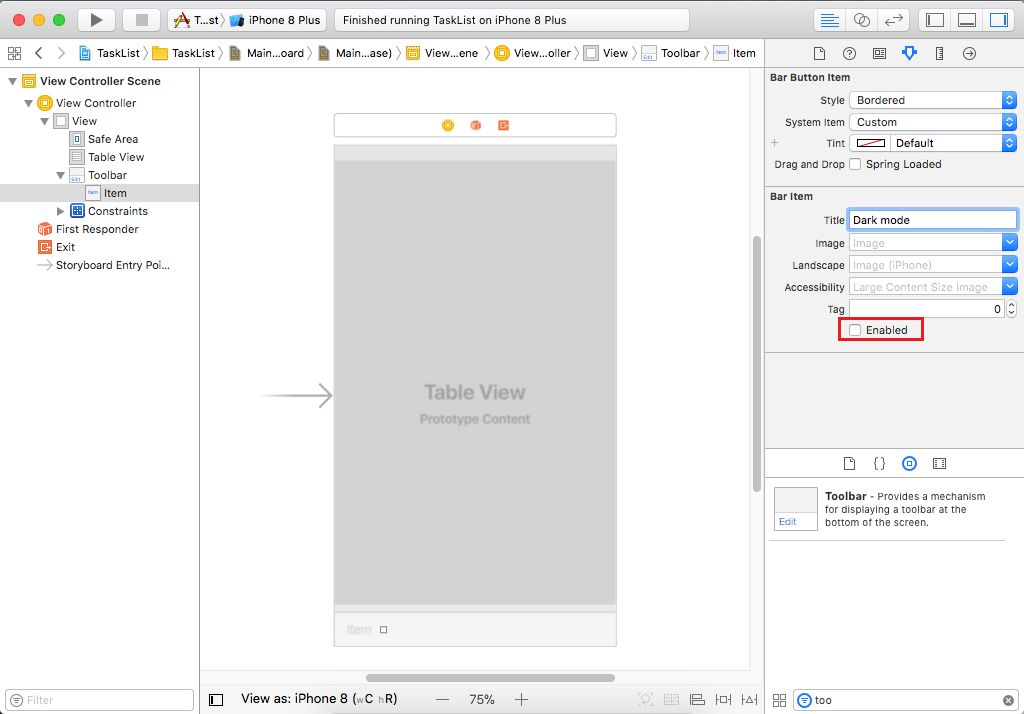
In Attributes Inspector, change the Title to "Dark mode" and uncheck the Enable option. Then Go to the Object library, drag a switch onto this toolbar.
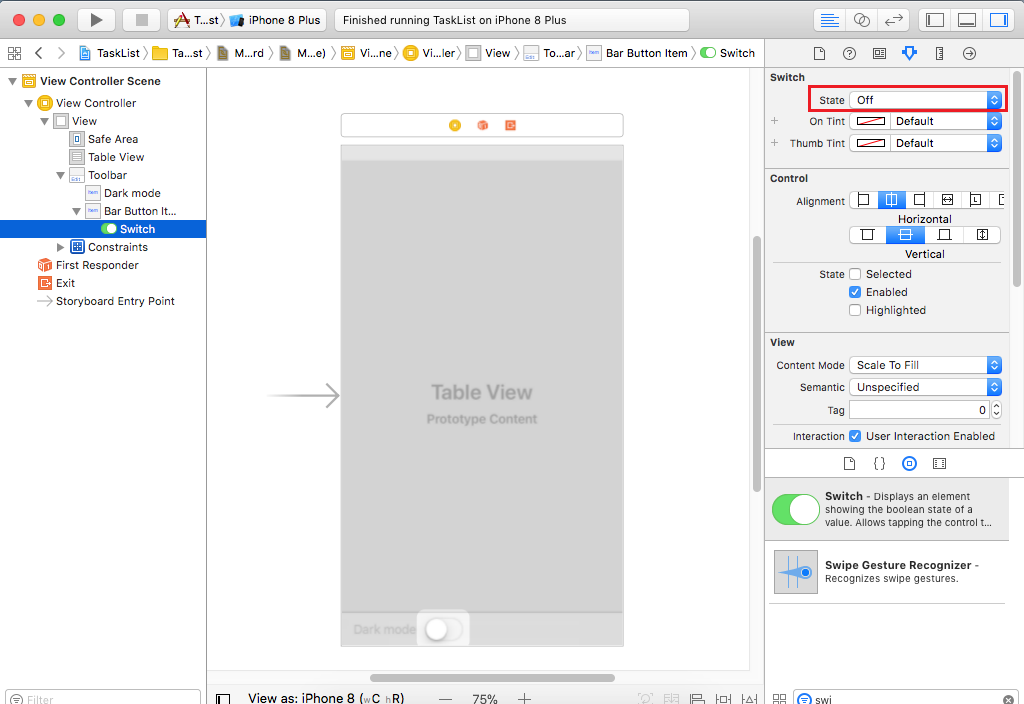
This switch is for enabling dark mode, select the switch in the Document Outline, and make sure its initial state is turned to Off.
Now add some behavior for this switch, select the switch in the Document Outline, and control-drag from it over into your code.
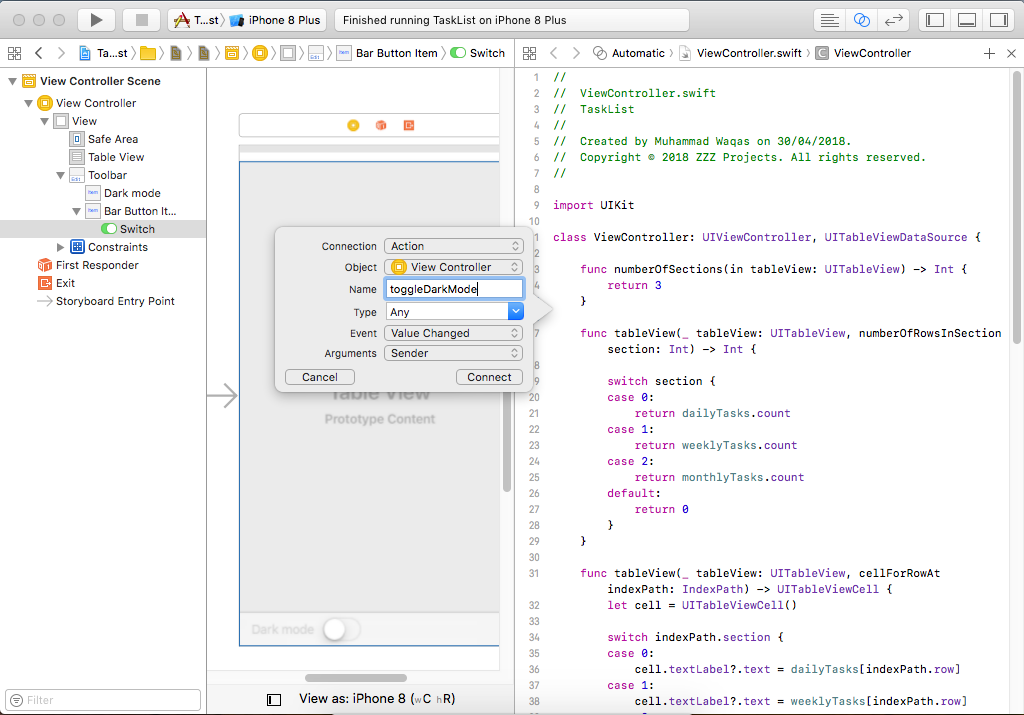
You can see a popup, choose Action from Connection dropdown and call this new method toggleDarkMode.
Now this action will be called whenever the value of this switch is changed. Now add the following code which will enable the dark mode when a switch is on.
@IBAction func toggleDarkMode(_ sender: Any) {
    let darkModeSwitch = sender as! UISwitch
    if darkModeSwitch.isOn
    {
        view.backgroundColor = UIColor.darkGray
    }
    else
    {
        view.backgroundColor = UIColor.white
    }
}
But you can see that we are only changing the background color of a view but not the table view. So we will change the table view background color to transparent in the numberOfSections in tableView method.
func numberOfSections(in tableView: UITableView) -> Int {
    tableView.backgroundColor = UIColor.clear
    return 3
}
The individual table view cells will still obscure the background because they all have white background color as well, so let's make transparent the individual cell as well.
func tableView(_ tableView: UITableView, cellForRowAt indexPath: IndexPath) -> UITableViewCell {
    let cell = UITableViewCell()

    switch indexPath.section {
    case 0:
        cell.textLabel?.text = dailyTasks[indexPath.row]
    case 1:
        cell.textLabel?.text = weeklyTasks[indexPath.row]
    case 2:
        cell.textLabel?.text = monthlyTasks[indexPath.row]
    default:
        cell.textLabel?.text = "Invalid section"
    }
    cell.backgroundColor = UIColor.clear
    return cell
}
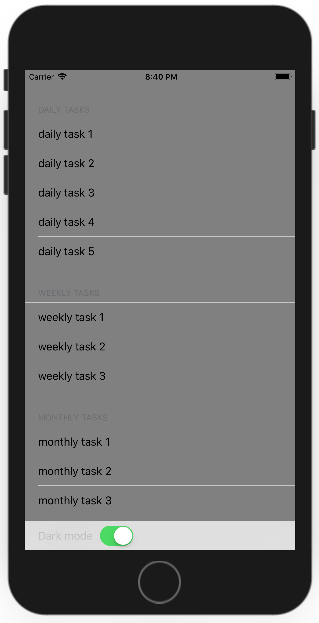
Let's run your application, and you can see a switch button which can enable/disable the dark mode.
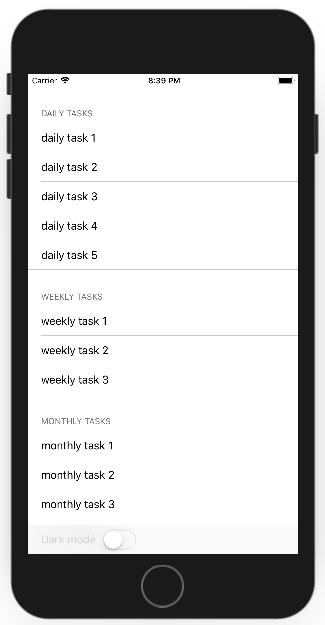
Tap dark mode switch, and it will change the background color.