IOS Create iOS Project
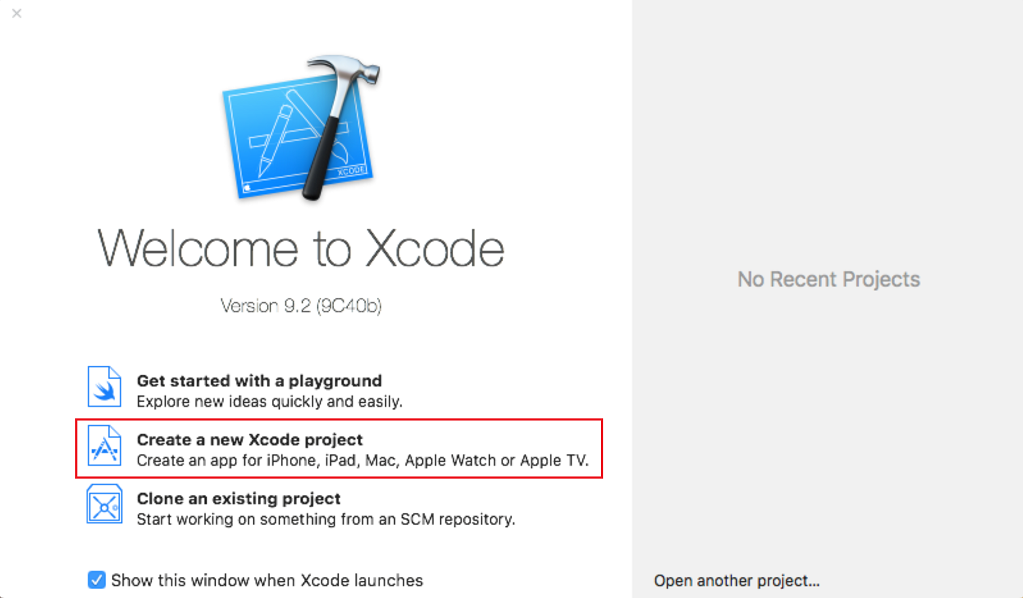
Xcode is just installed, so let's launch Xcode 9. For the first time when you launch Xcode, it will install additional components, which can take a minute or 2. Once that's done, let's choose the option to create a project.
Xcode is now showing some suggested starting points, some templates for making different kinds of application, and there are a lot of options.
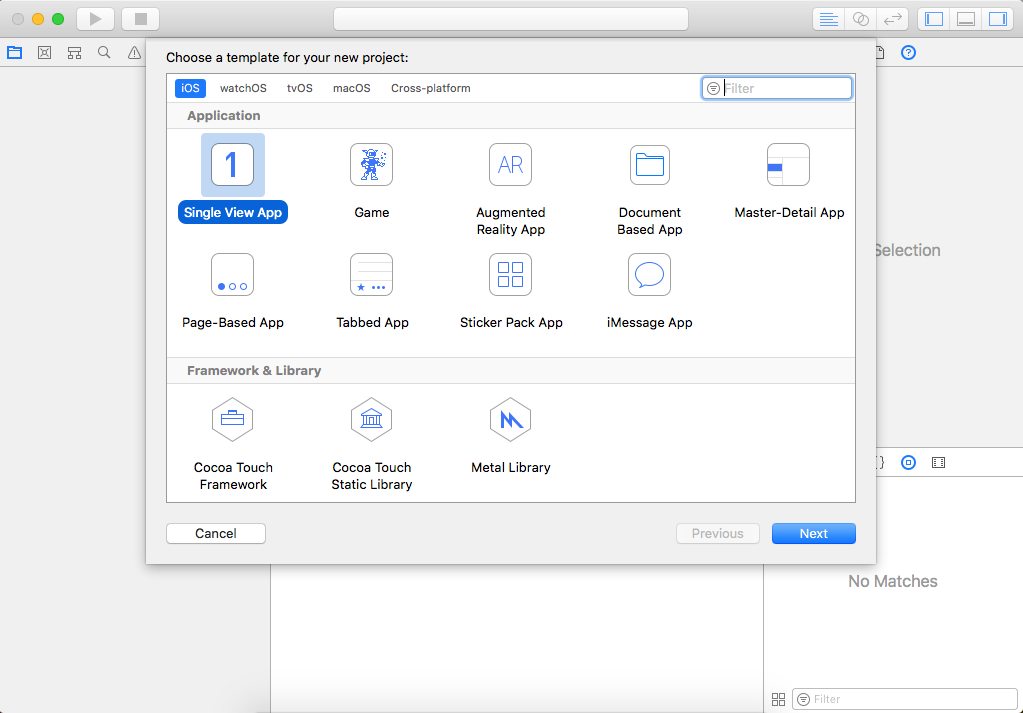
Xcode is far more than iOS development, and you can also see templates for macOS, Apple Watch, and for Apple TV, etc.
Single View App
In this tutorial, we will use mostly a template from iOS Application section, So let's start by selecting the simplest and most straightforward option for iOS is the Single View App.
- This is the classic starting point for an iOS app, where Xcode will give us the minimum, but necessary, plumbing to begin with a simple iOS app with a single screen.
- The Single View App is not limited in any way, choosing this option does not restrict you, it's not just some option for learning or experimenting.
- It is the simplest choice here, and you'll be able to add whatever you want.
- There are thousands of incredibly complex apps for sale in the App Store right now that began as a Single View App project in Xcode.
So let's choose Single View App and click Next. Xcode now asks for little more information to create this new project.
 You can change this information later, and it's just often easier to do it right at the start of a new project.
- Product Name: It's the name of your app, for this demo let's call it FirstApp, and you can use spaces in this name.
- Team: You will see a button asking to sign in to Xcode with your Apple ID so it can know if you are part of the Apple Developer Program. We don't need to do that right now.
- Organization Name: By default, Xcode will grab the name of the currently signed-on user, but you could change this to your company name, and Xcode would then remember that for new projects.
- Organization Identifier: Typically, this is the domain name of your organization written in reverse DNS format.
- Bundle Identifier: Xcode takes Organization Identifier and combines it with the Product Name at the top to generate the internal name for this application to make it a unique name so that it wouldn't clash with some other App with the same name from any other organization.
- Language: The default language for this project, you can choose either Swift or Objective-C. It is possible to mix them to have both kinds of code in a project, but here everything is in Swift.
- Three final checkboxes: Can add additional functionality to our project. But for this demo let's uncheck all of them.
- Click Next, and you will get one more option to create a Source Control repository for this project.
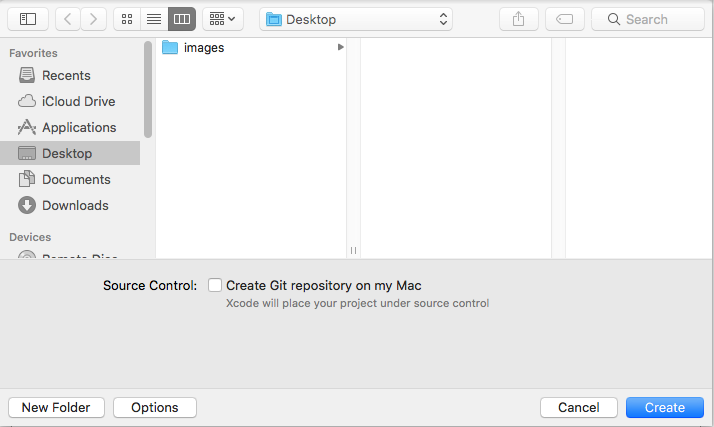
Git is fantastic, but here we will be covering only iOS, Xcode and Swift, so uncheck the checkbox and choose the path where you want to save your project. Let's select the desktop and click on the Create button, and you will see that the new project opens in Xcode.

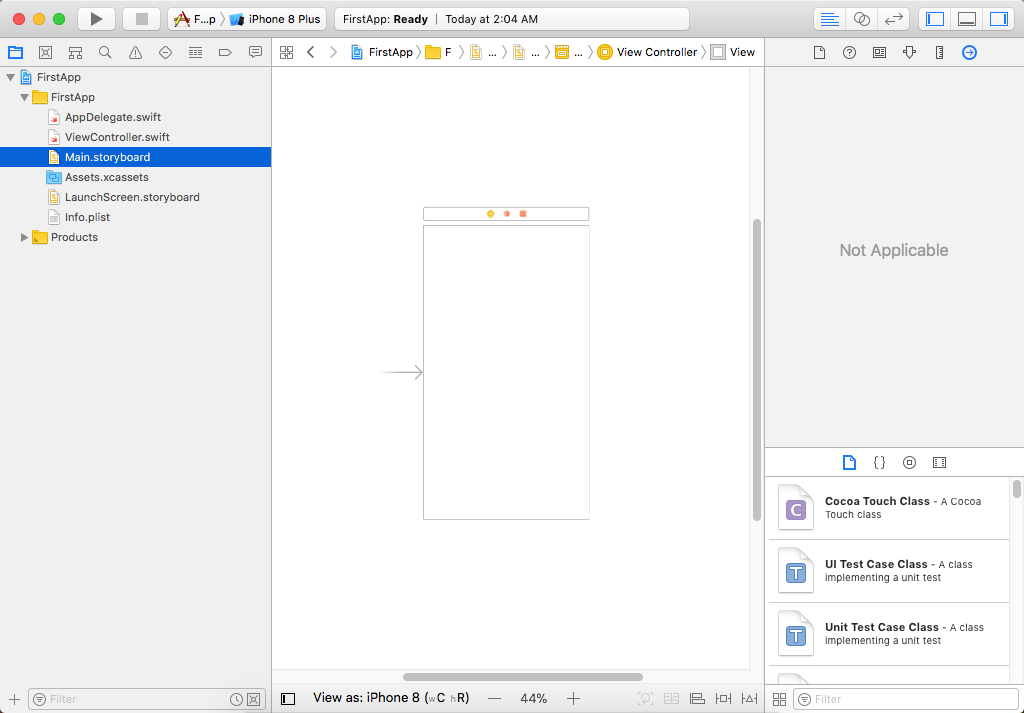
We have two types of code files, the ones with .swift extension, some user interface files with .storyboard extension. Single-clicking a file will open it for editing in the central section, double-clicking will open that file in a separate floating window.
If you click on main.storyboard, this represents the user interface of our app with this blank area representing our first iOS screen, which is currently empty.
 In Xcode, we can design a user interface by dragging and dropping different controls. Now to see those controls, the right-hand panel of Xcode needs to be viewable. Now, this right panel has an upper section and a lower section. We need the lower section third button.
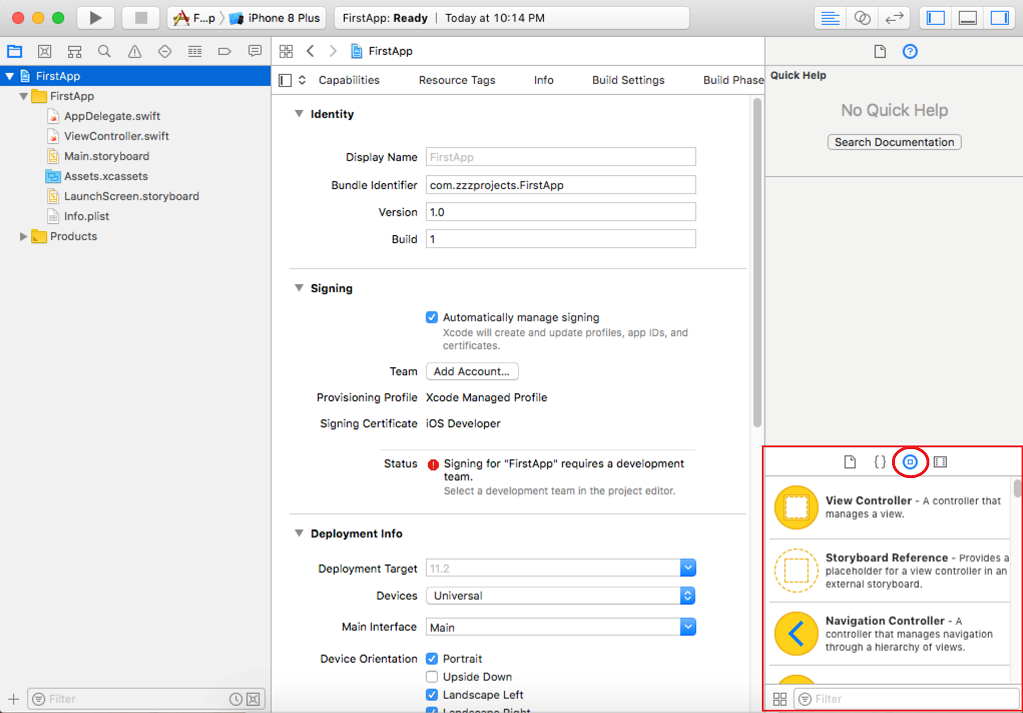
This is called the Object library, and when it is selected, you will see elements that we can drag and drop on to the user interface.
Let's search label and drag it onto the storyboard.
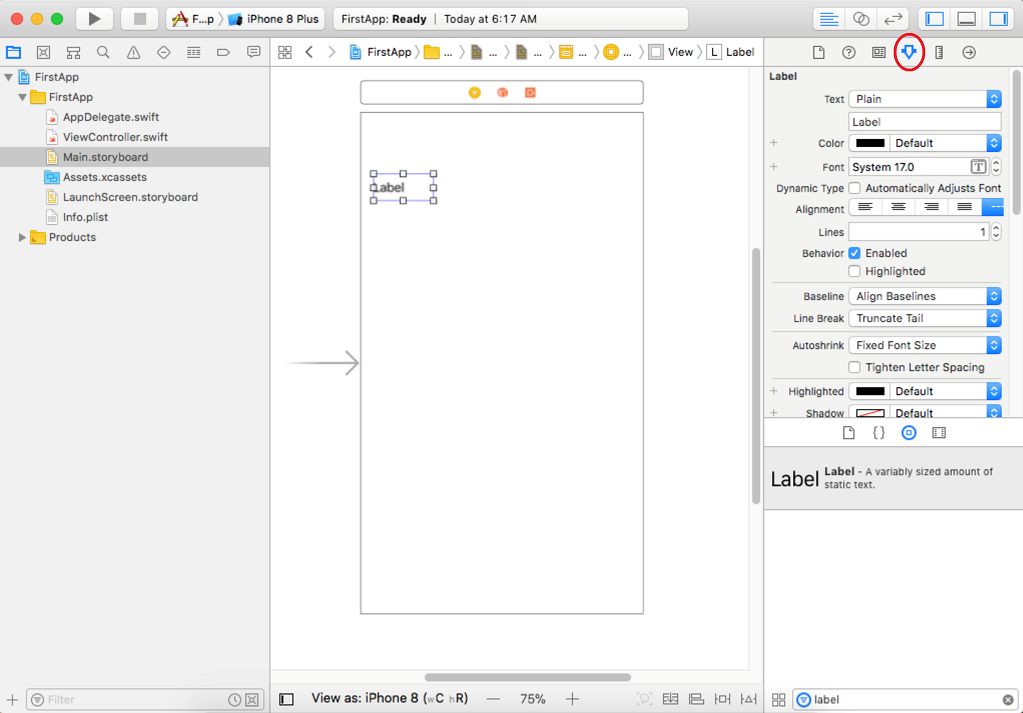
It is very small so let's resize it, and for this, we need to go back to that upper right-hand section of Xcode.
- Click on the attribute inspector, and it's the icon that looks like the movable pointer on a scoreboard.
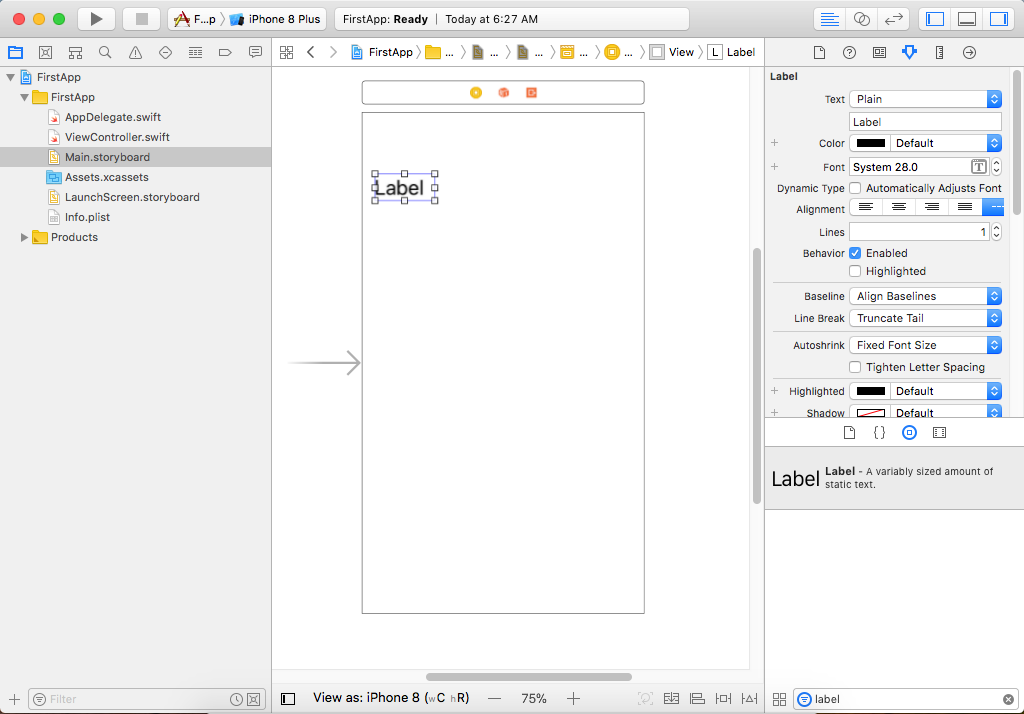
- This is a way to change the attributes or properties of an individual element, and this area is context sensitive, meaning it'll show the attributes of whatever is currently selected, so make sure your label is selected and change the font size.
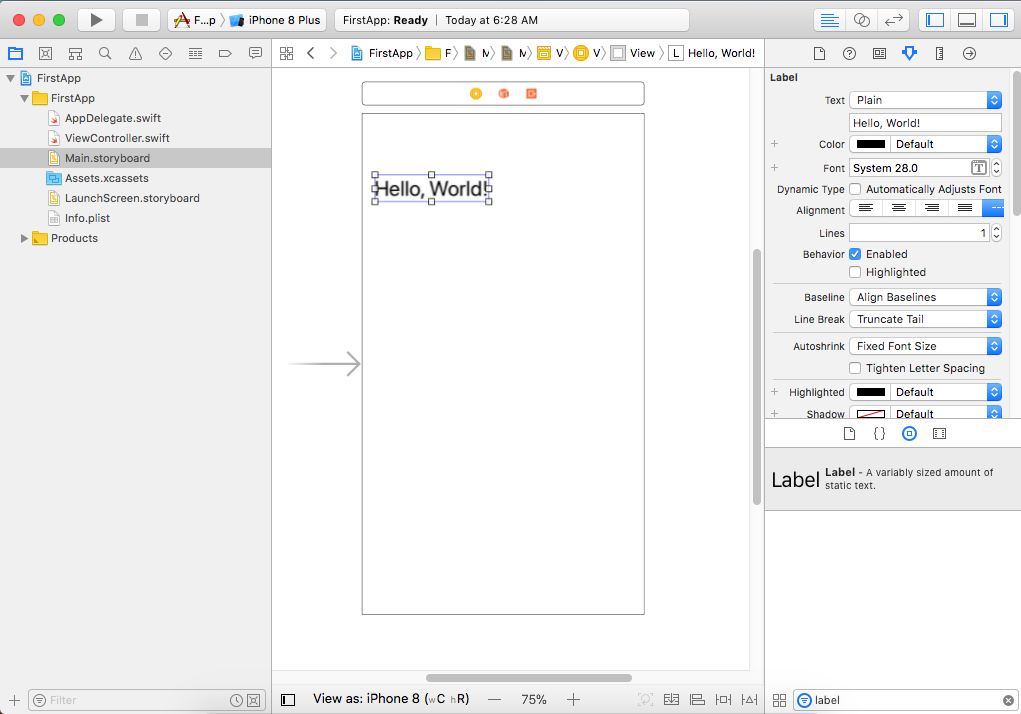
Double-Click on the label to change the value.
Let's run the application by clicking on the Play button in the Toolbar, and the simulator will launch.
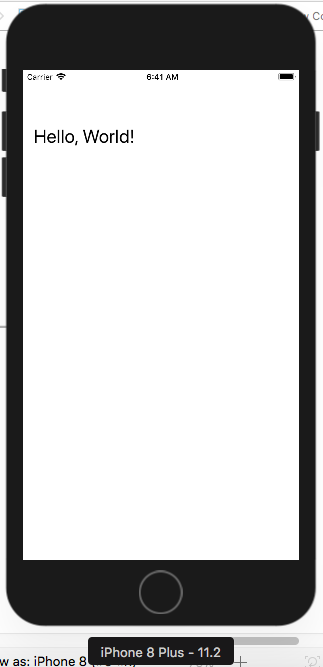
Xcode installs our new app onto the simulated iPhone, launches the app, and should switch us over from Xcode to see it running.