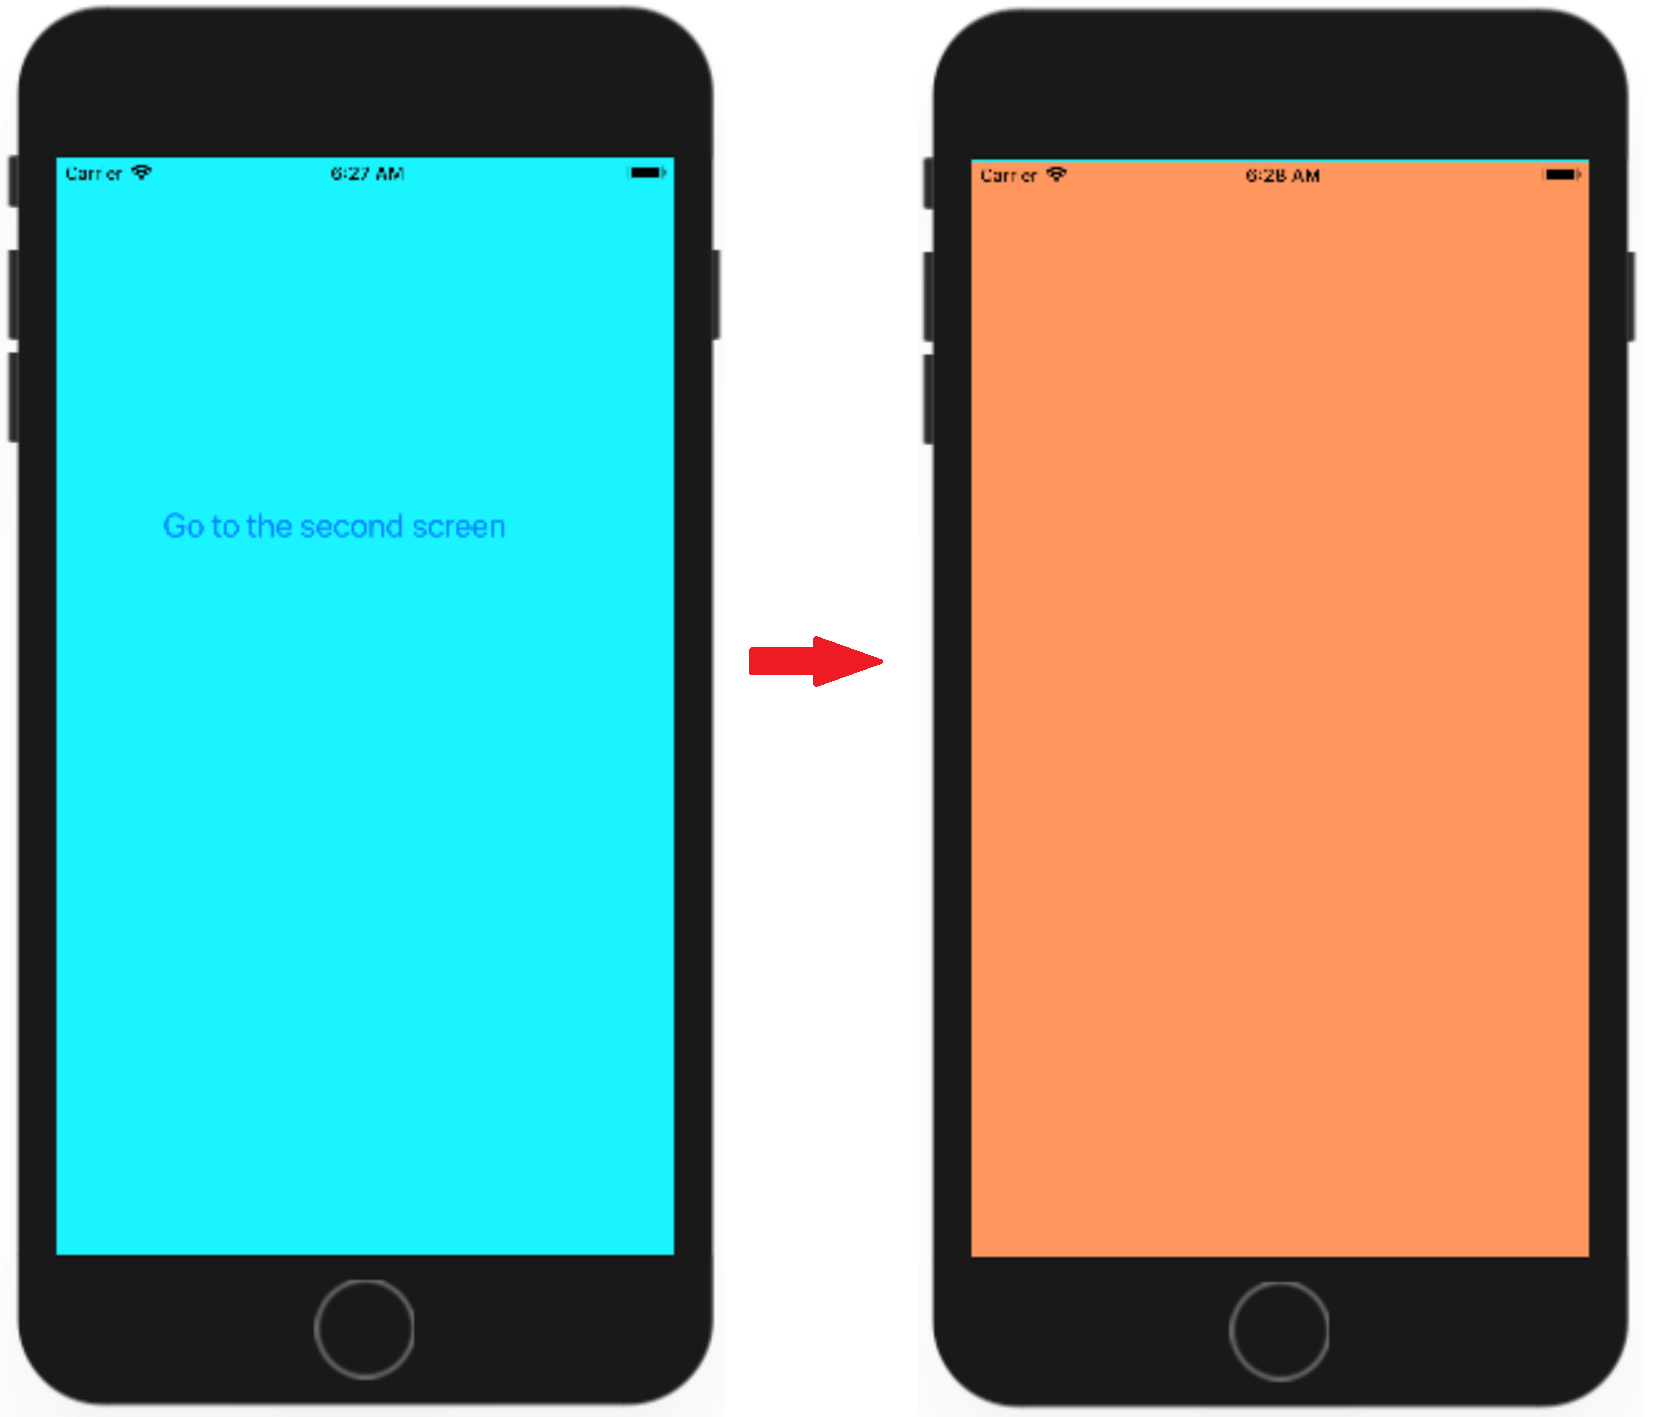
IOS Create iOS App with Multiple Views
On AppStore, many applications are created using a single ViewController, and it has just one screen of content, but typically you also need multiple screens in your application.
In the previous examples, we have created an application using Single View App template. It is a basic app beginning with a single View Controller, and it consists of two pieces.
- The storyboard (Main.storyboard) called a scene
- And it's corresponding ViewController.swift file.
A single storyboard file in Xcode could represent an entire application with multiple scenes and represent;
- The flow of the app
- The relationships between your scenes
- And the transition from one scene to another.
When you create a new project, the first scene and its corresponding ViewController class are already connected to each other. But that is only for the first one, so when you want to add a new scene, make sure to do the following three steps.
Step 1
- First, you need to add a new scene to your storyboard which will represent the visual part of the app.
Step 2
- You will need to add a new Swift class to your project which will contain the Controller code for that new scene.
- Typically, this class will inherit from either UIViewController or one of its subclasses.
Step 3
- It is the most important step to connect the above two because without doing that, your scene on the storyboard will not be able to find its custom Controller class.
- After that, you will still need to define how you are going to move from one scene to another scene.
Let's create a new Single View App again and call it MultiplesceneDemo.
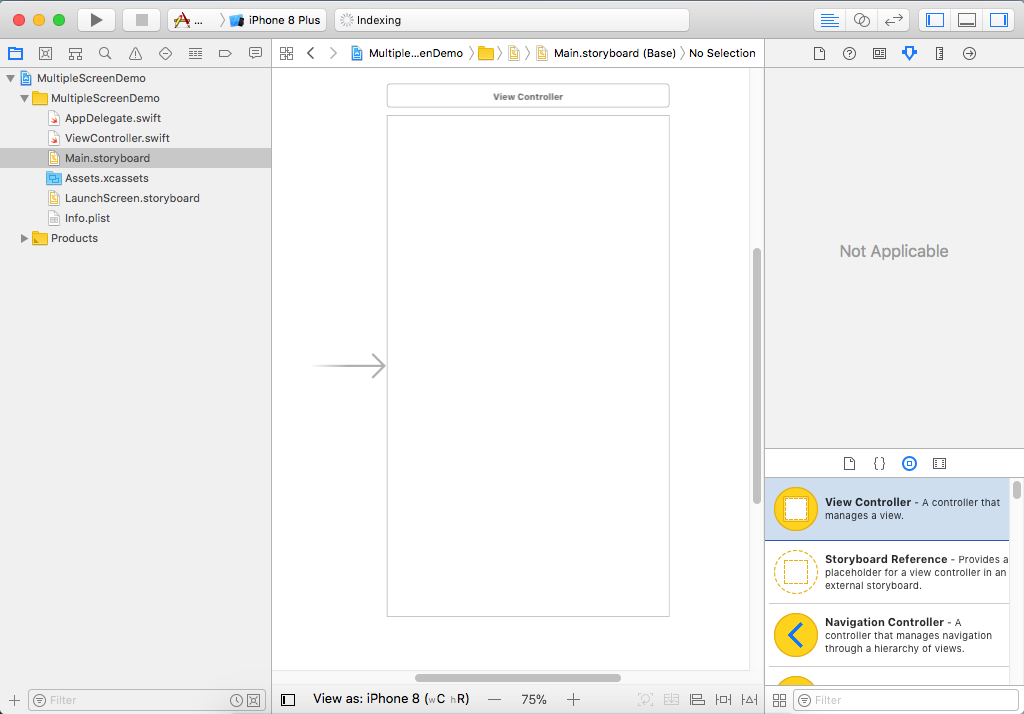
In the storyboard, open the Object library, and drag the View Controller onto a blank area of the canvas.
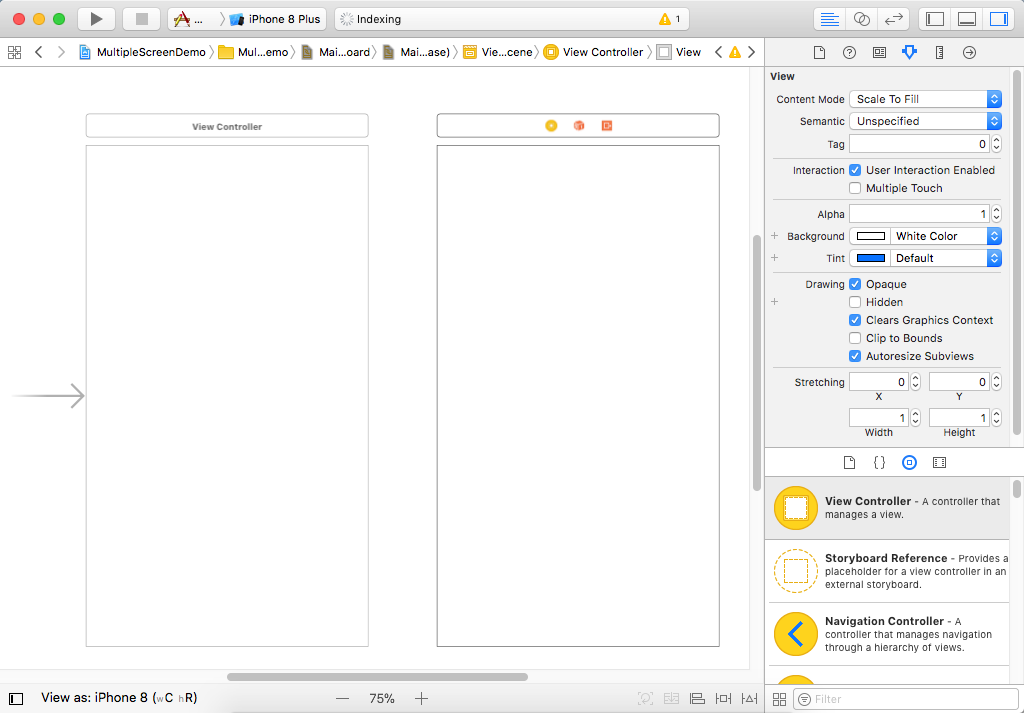
We now have two View Controllers; if you open the Document Outline, you will see two View Controller Scenes.
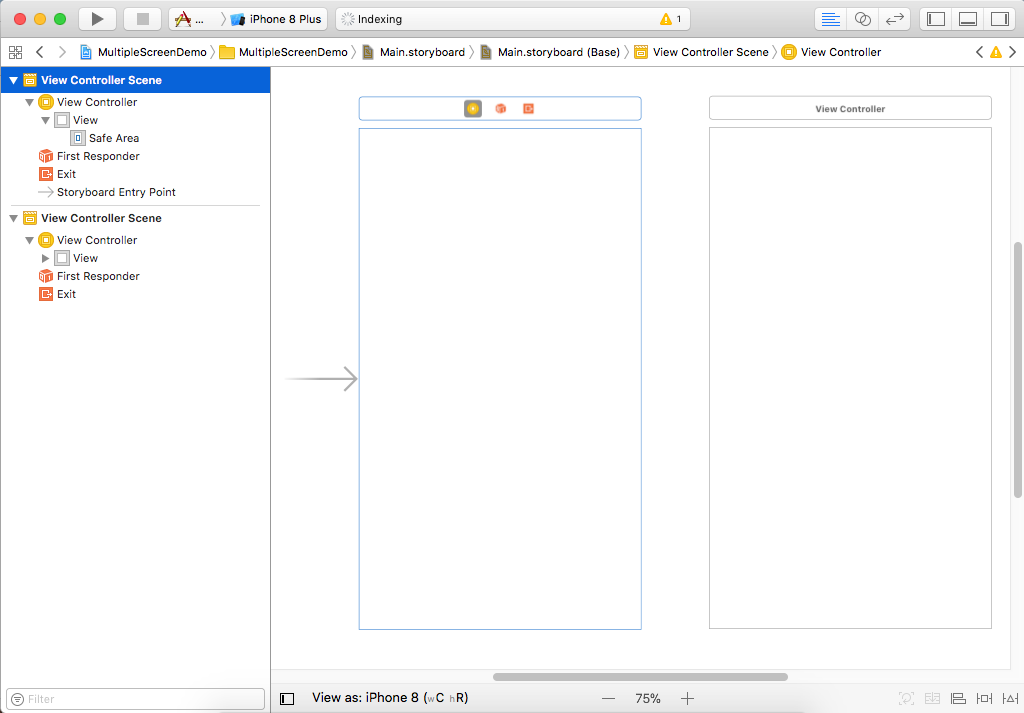 - Both scenes are almost identical; the only difference is the arrow which is the storyboard entry point and shows which scene on the storyboard has the initial View Controller which will be loaded first.
- You can change it in the Attributes Inspector by selecting the first scene which is on the left side, and it will tell you that this one is the initial View Controller.
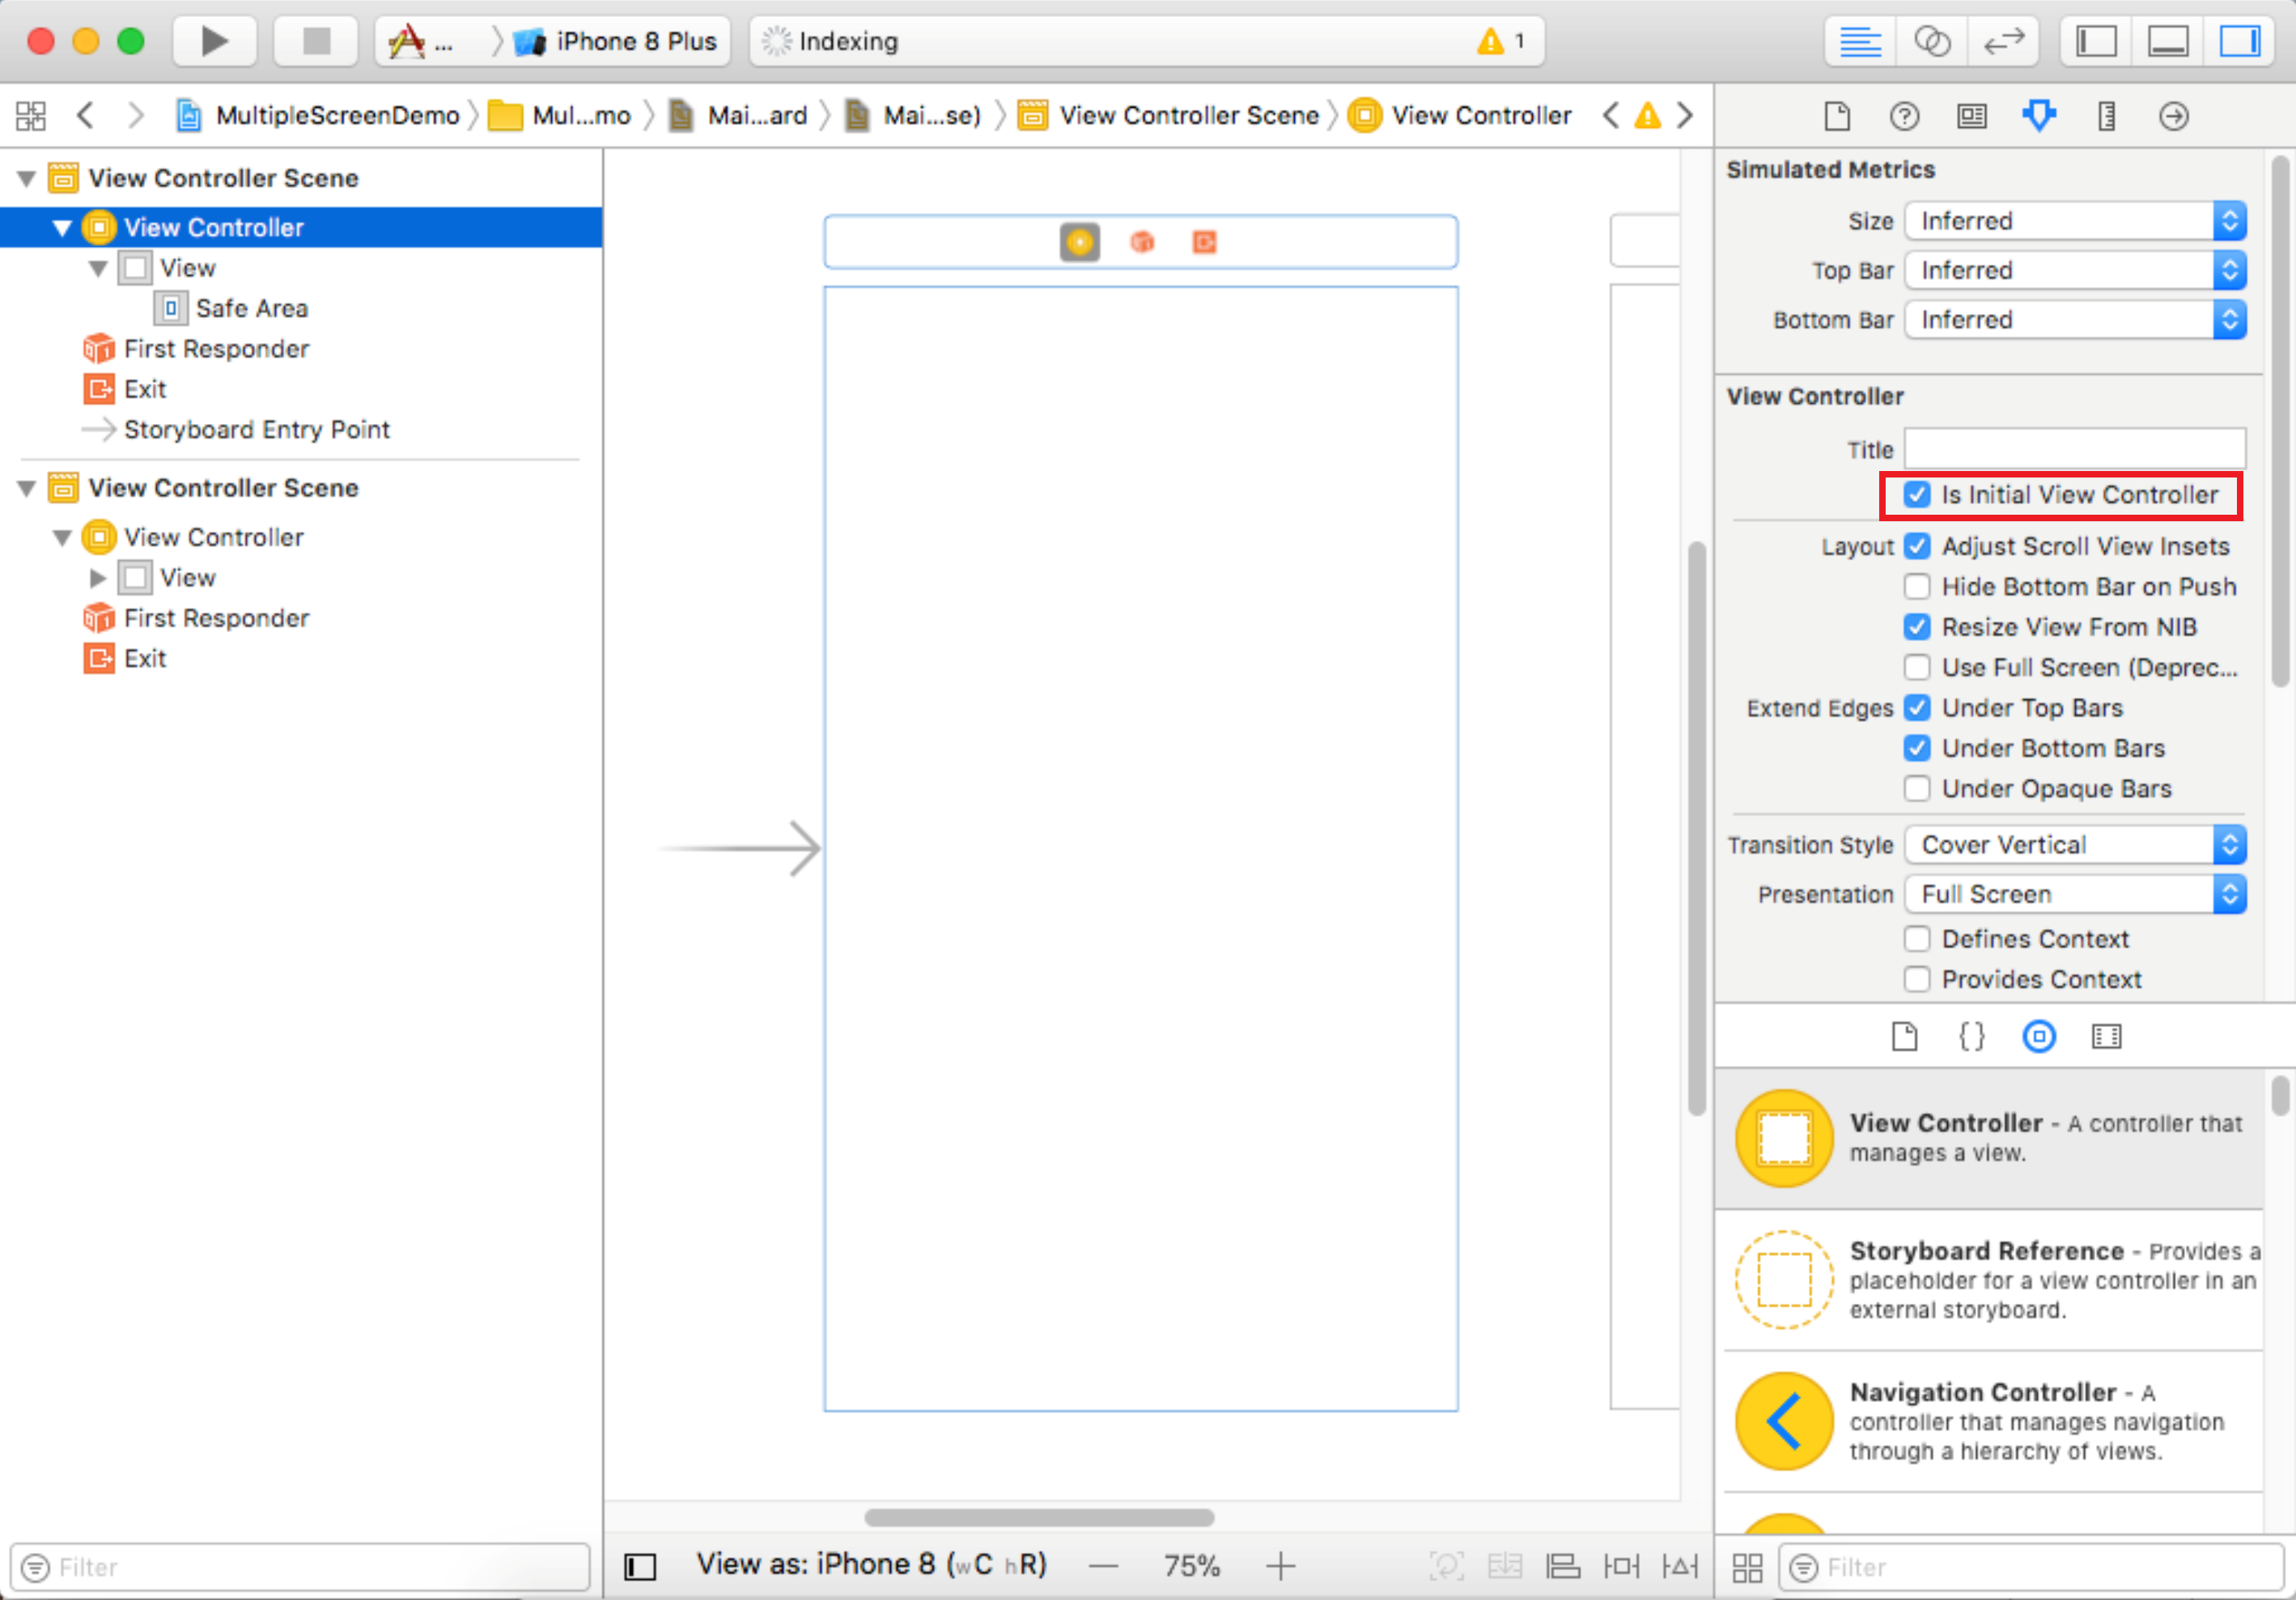 - The order in which the screens appear has nothing to do with how they will appear in the application.
- The appearance will be based on the transitions that you will define.
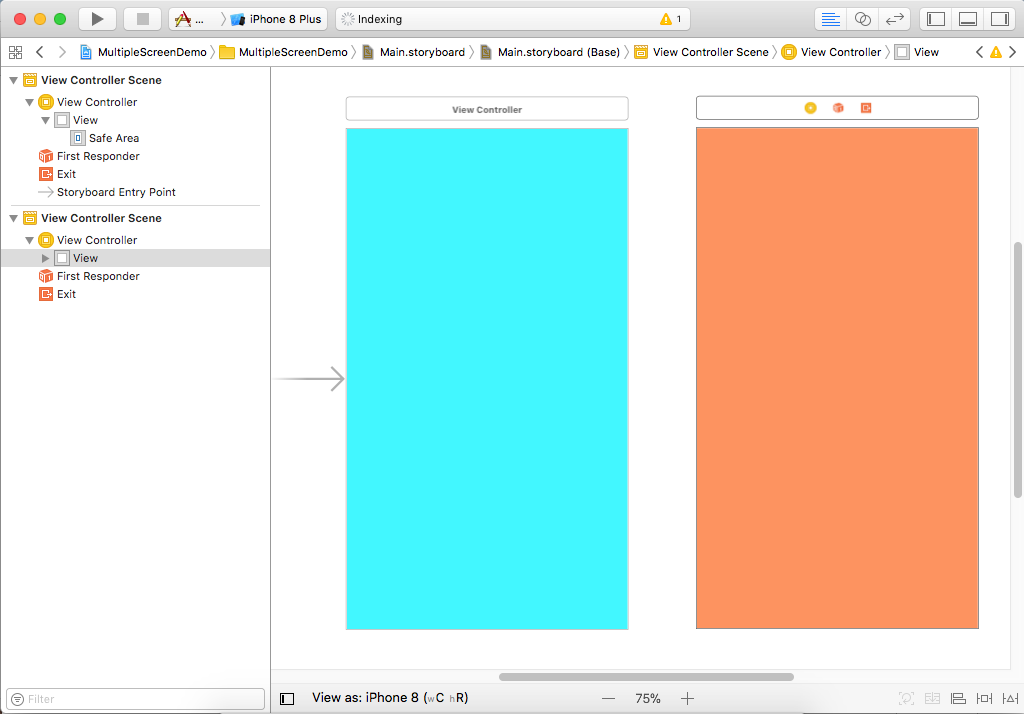
- Now to differentiate between the two scenes, it will be worthwhile that each View Controllers have a different background color.
So let's change the color by selecting the first View and in the Attributes Inspector.
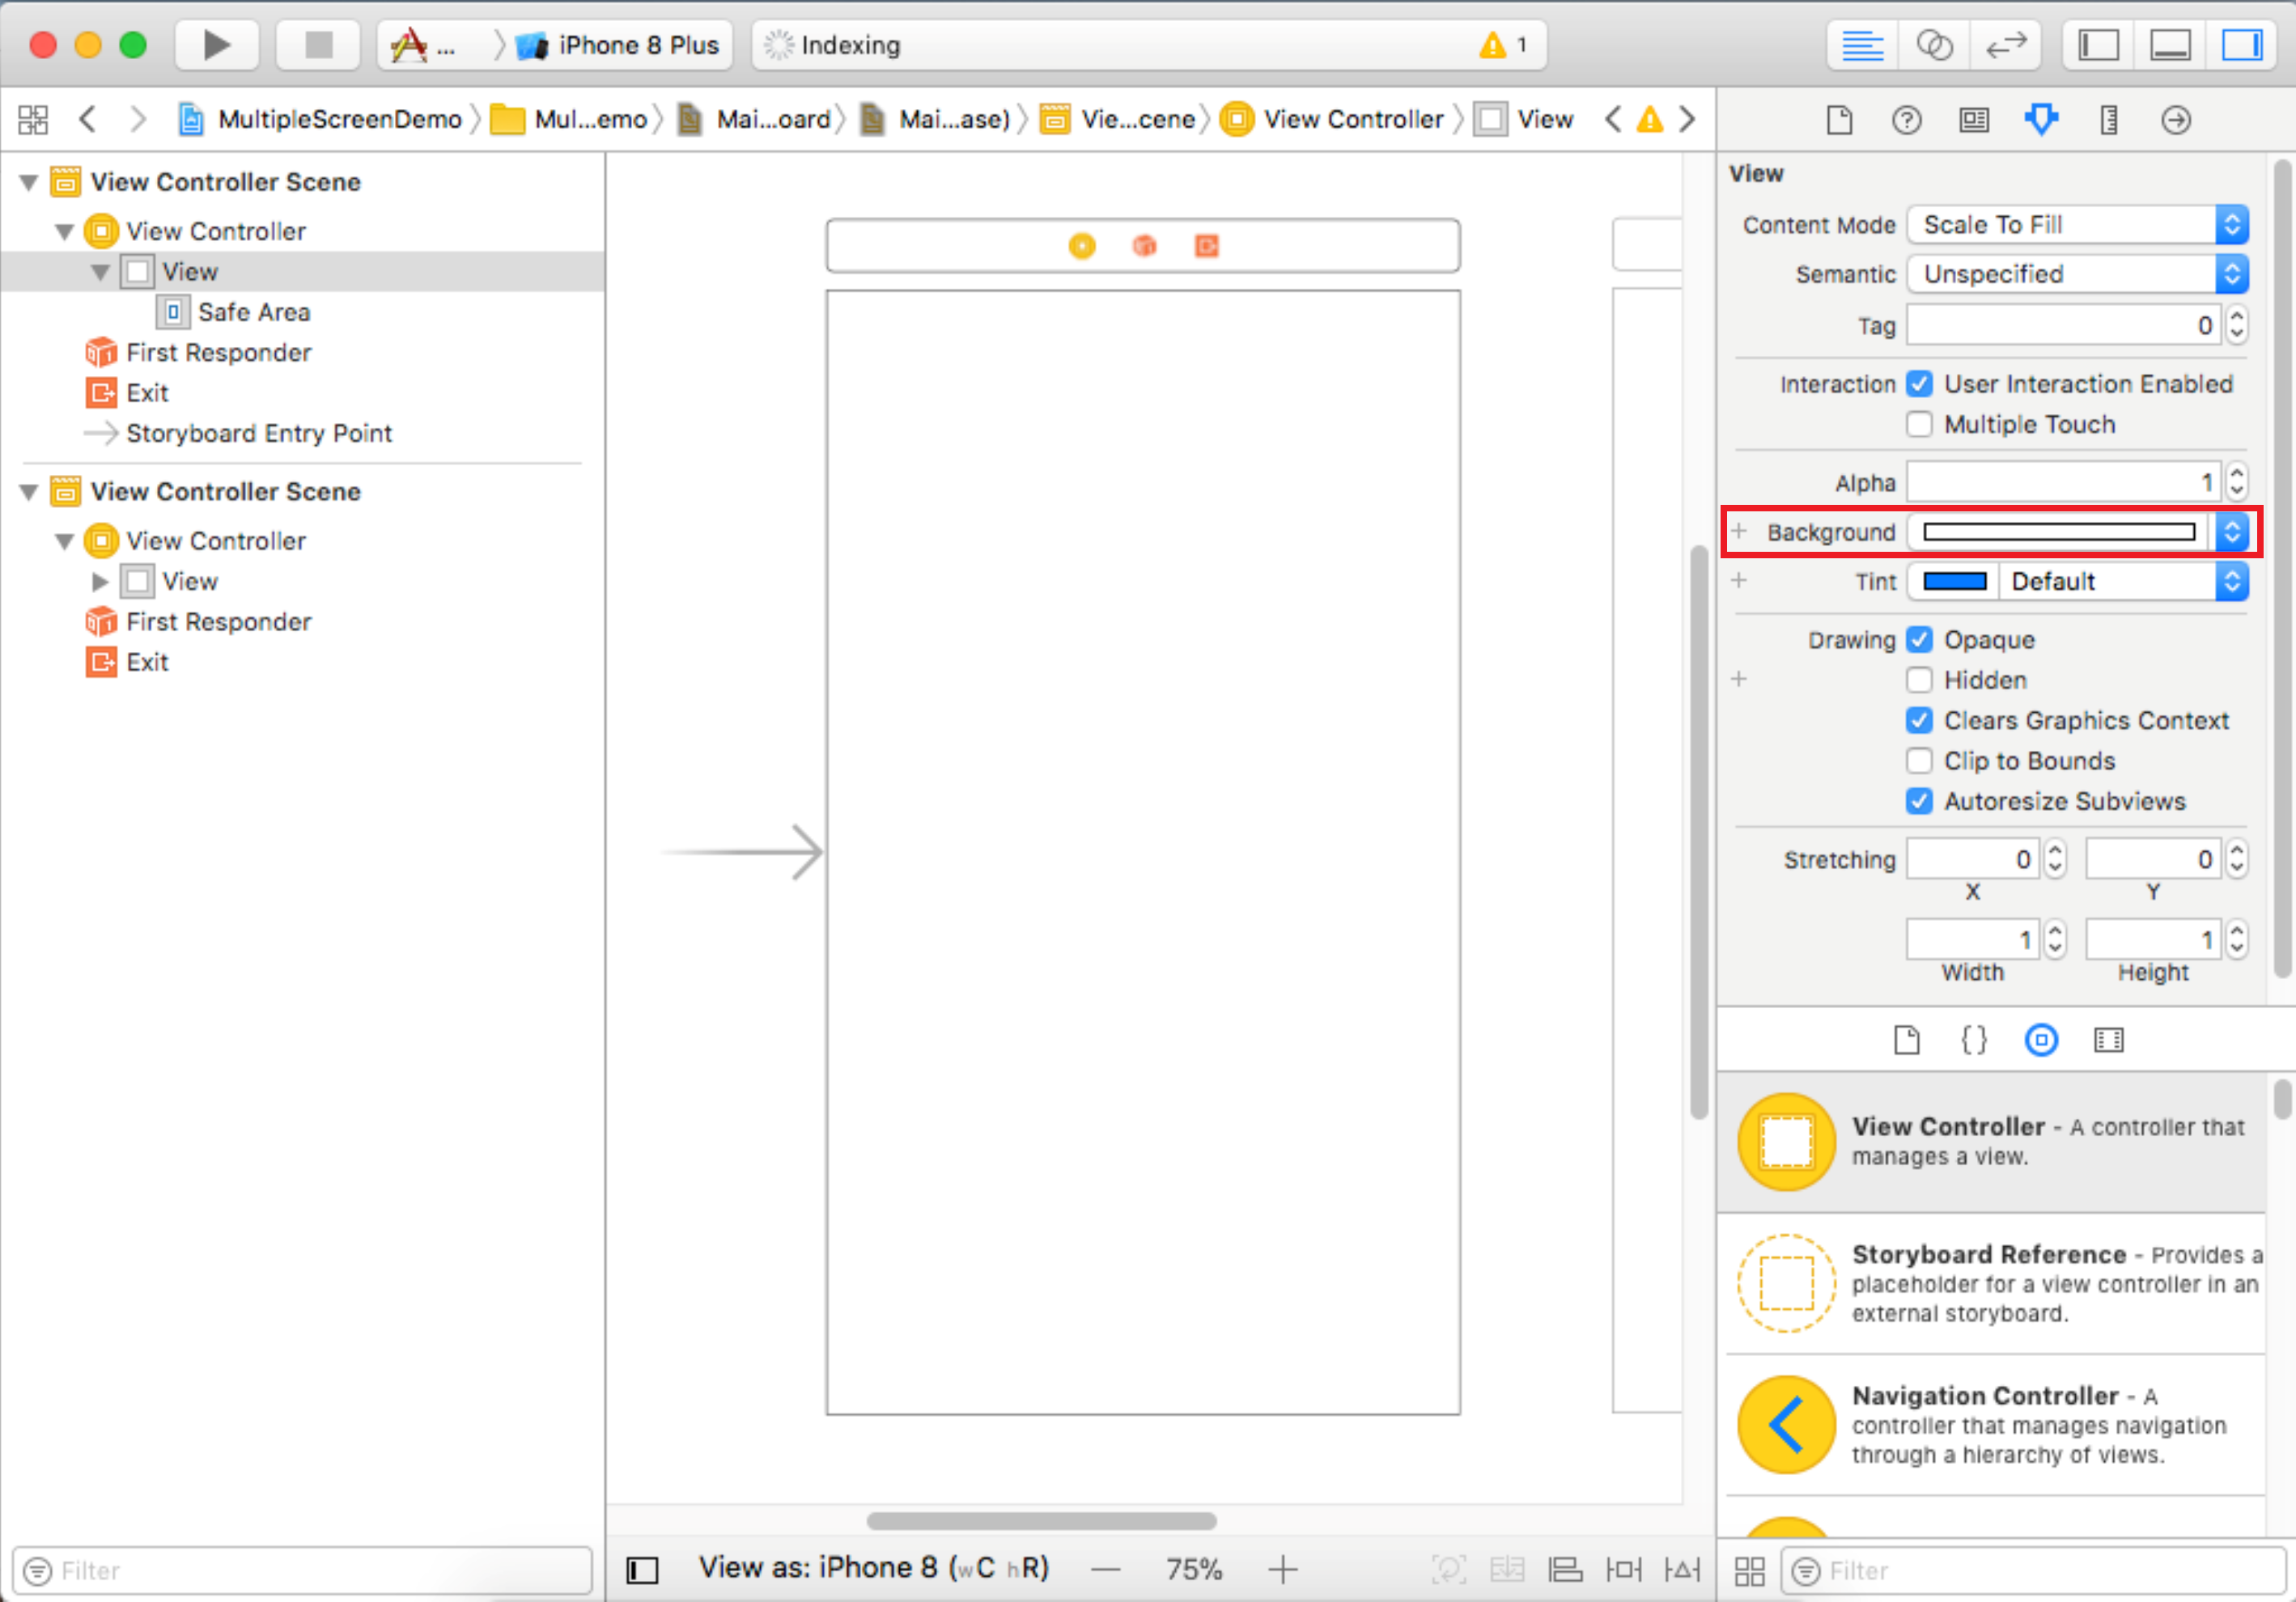
Click on the background drop-down and change the color as you want. Similarly, change the background color of the 2nd View as well.
When you add a new scene to a storyboard, you will also need to add a new corresponding Swift class for that scene. So in the Xcode File menu, select New > File... menu option.
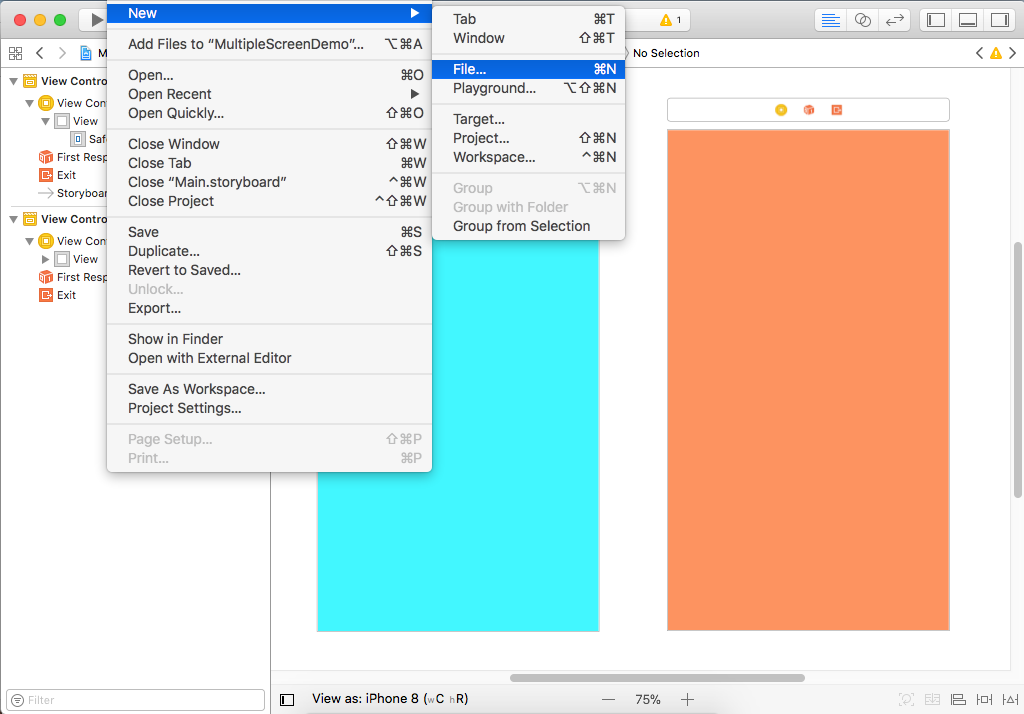
It will open the following dialog to choose a template for your file.
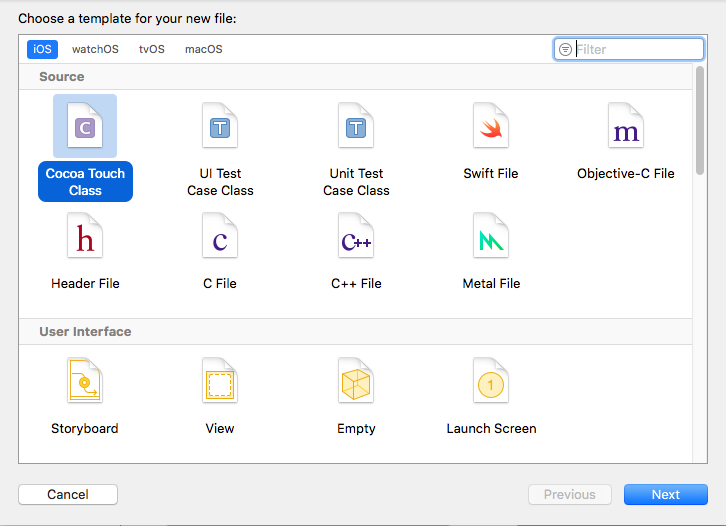
From the iOS section, select Cocoa Touch Class and Click Next button.
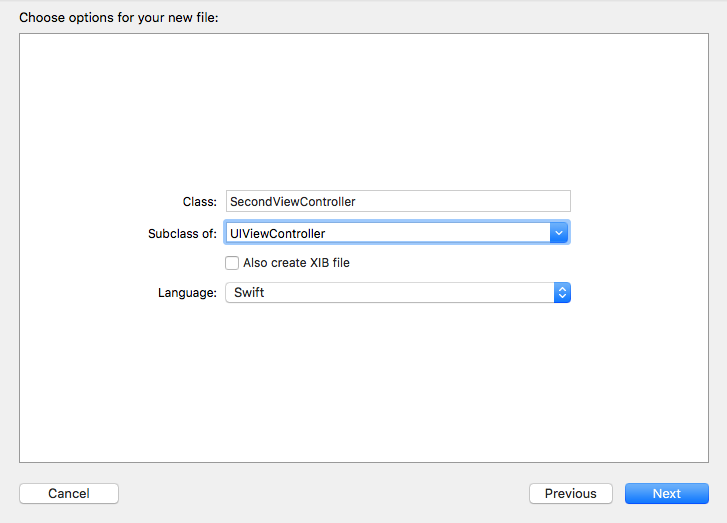
Enter the class name SecondViewController, and make it a subclass of UIViewController. Click next, and it's just confirming you want to add it to your current project and click Create button.
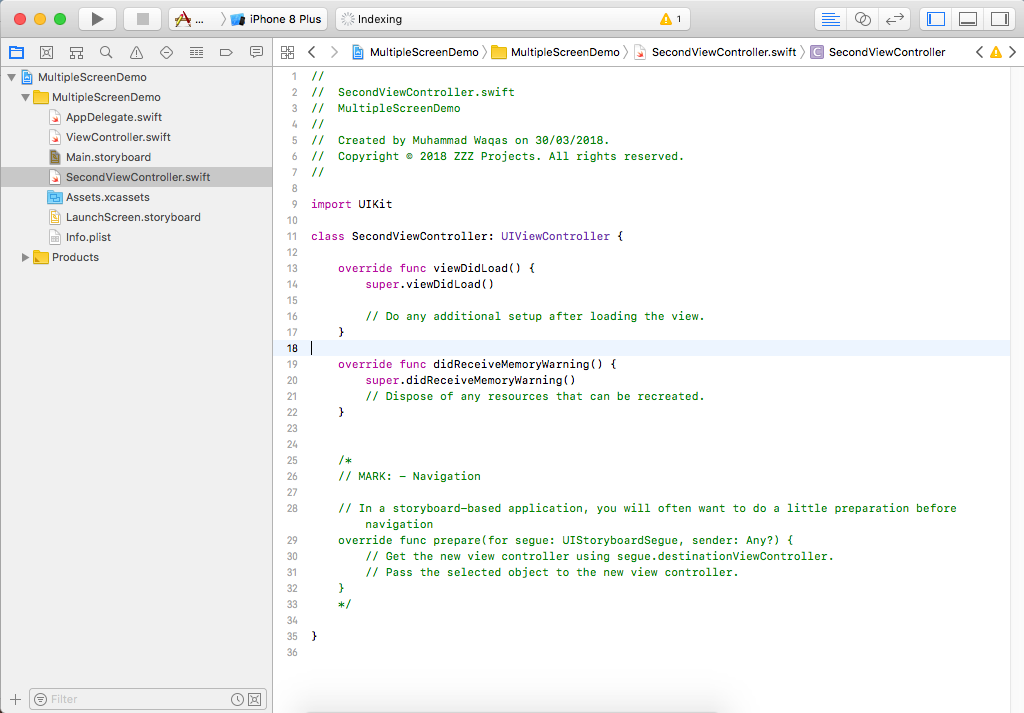
Right now there is no connection between the new scene on the storyboard and SecondViewController class. Go to the Main.storyboard and in Document Outline select the 2nd View Controller Scene.
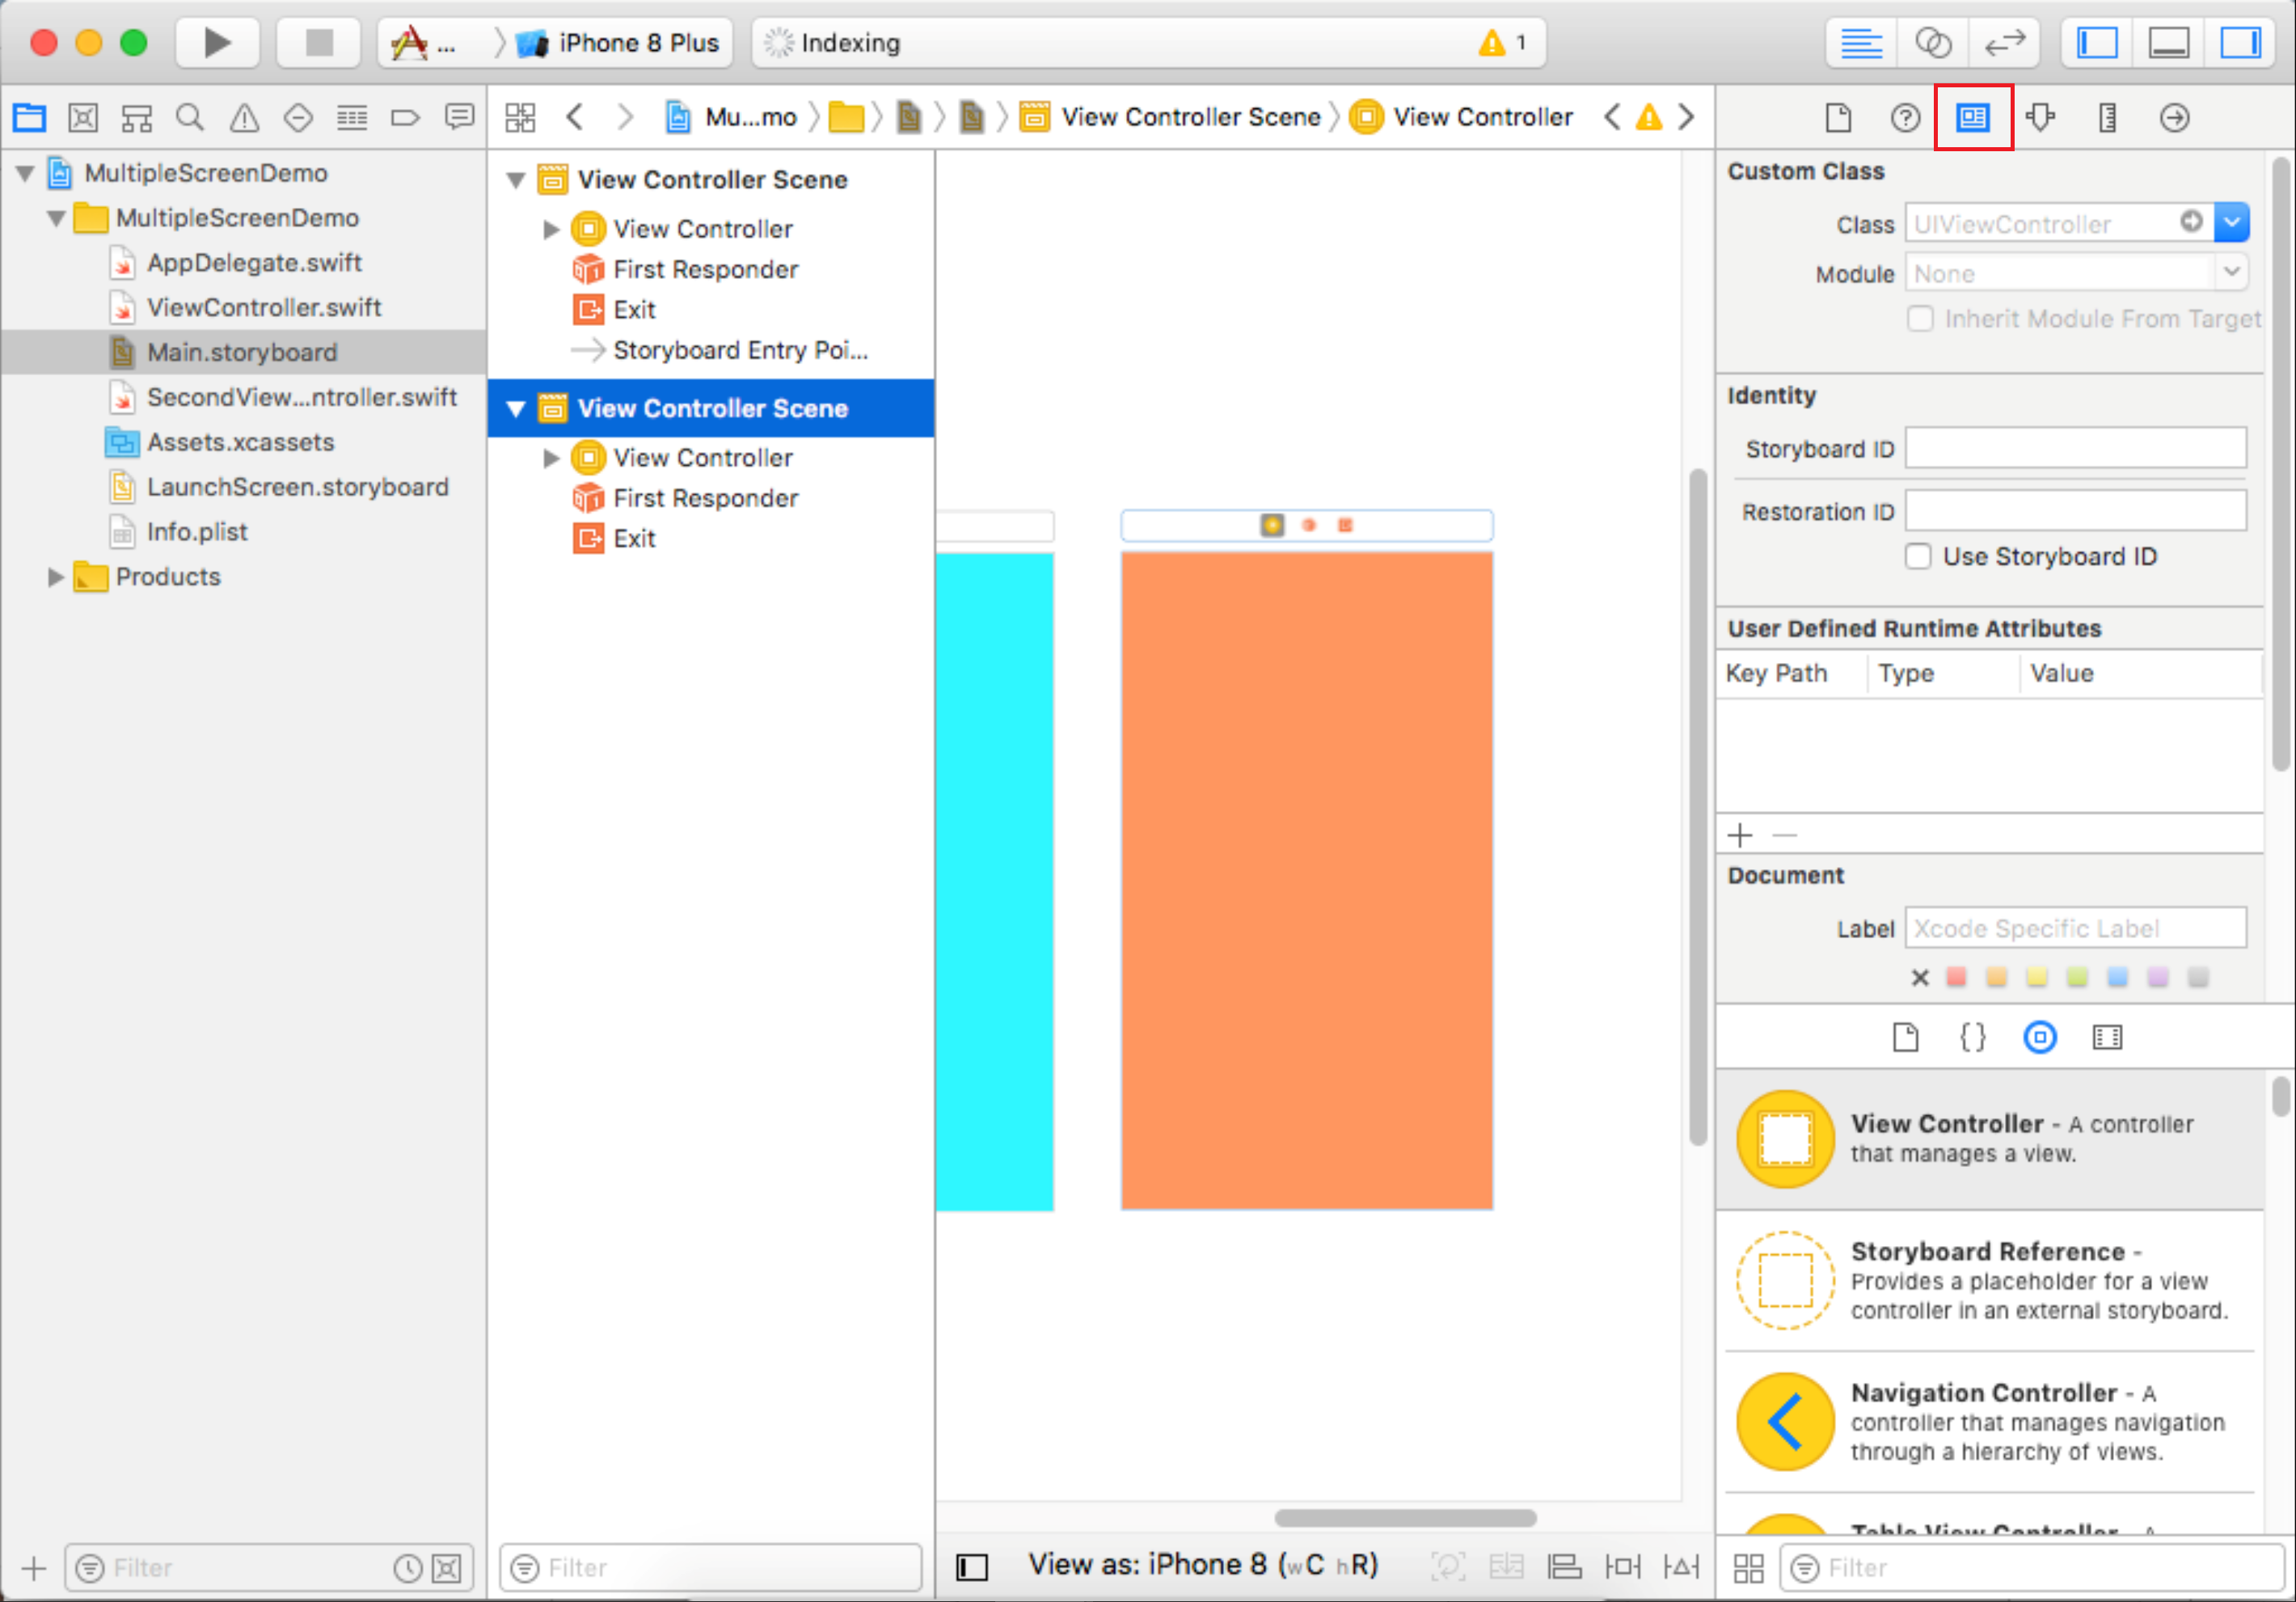
In the Inspector panel, choose the third Inspector, and that is Identity Inspector.
- You can connect this part of the storyboard to some custom class.
- Choose the SecondViewController from the Class drop-down list.
- When you run this application, you will never see the second screen, because you need to define how you will move from the first screen to that new screen.
So let's add a button to the first screen scene and call it Go to the second screen
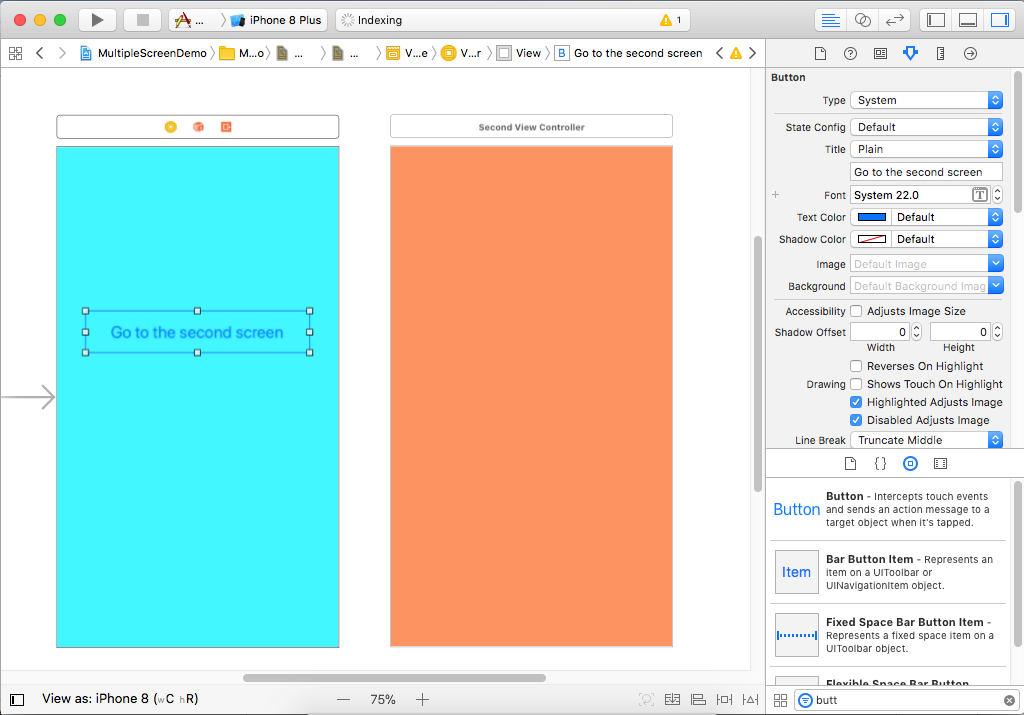 Now hold the control key, click and drag the button across to that second scene.
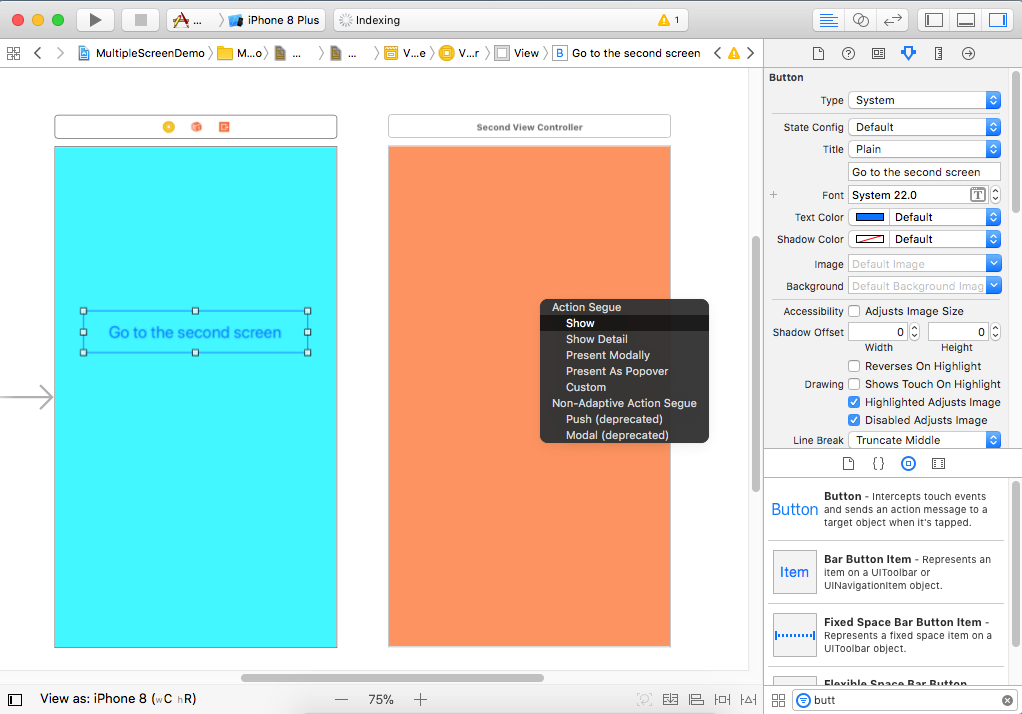
You will now see a small popup. It can help you to select different kinds of visual transitions from one screen to the next, so let's select the Show
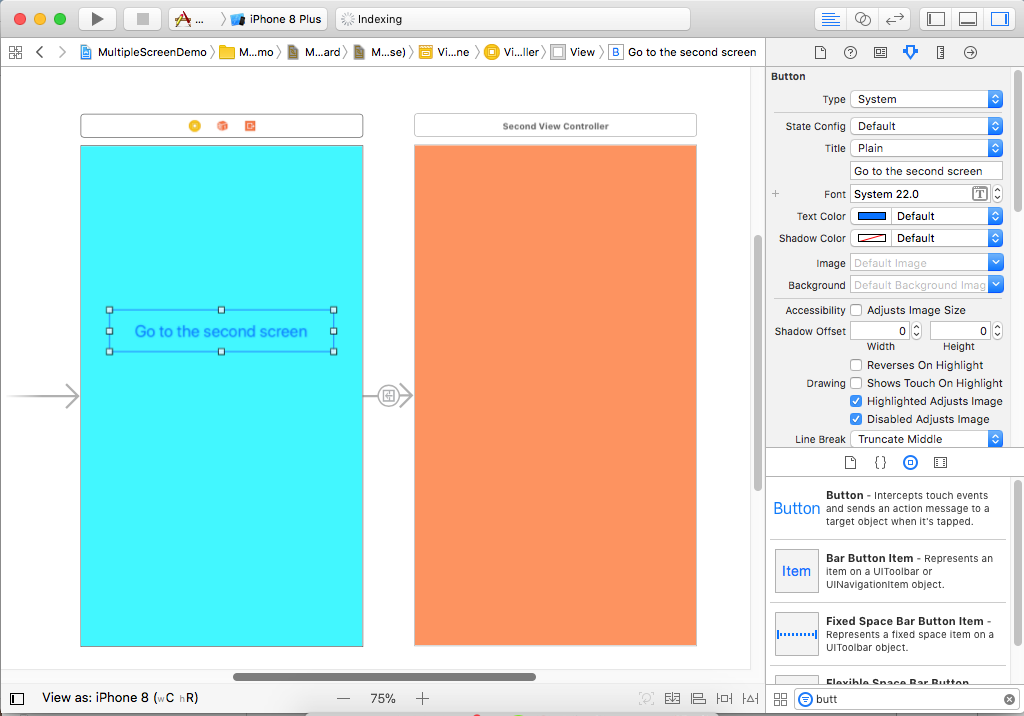
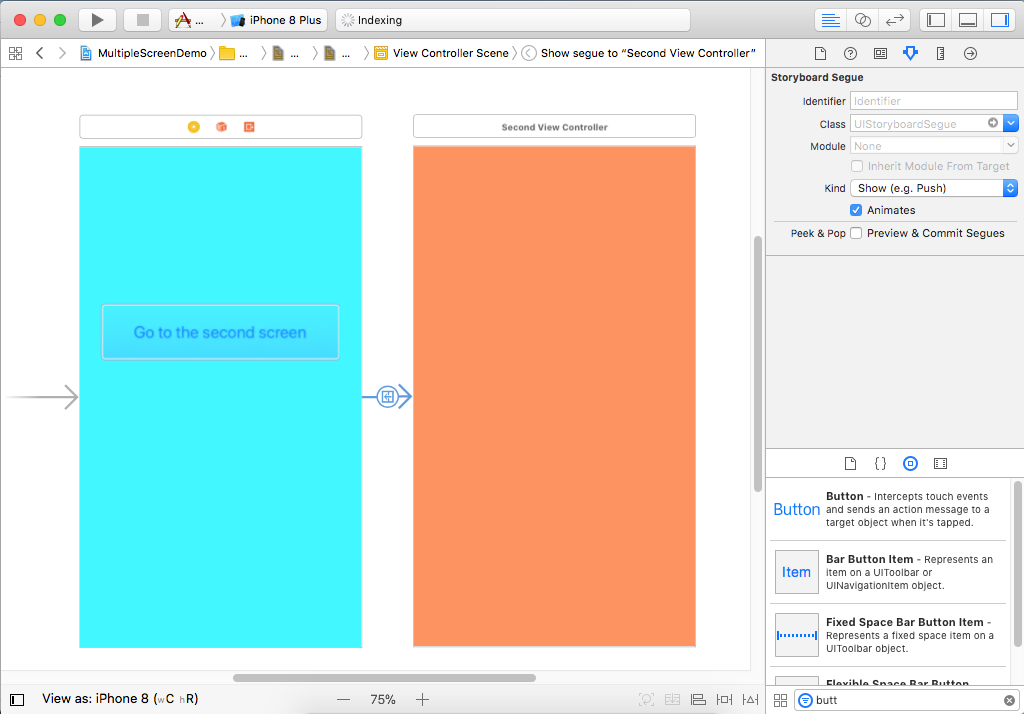
Xcode then adds a segue between these two View Controllers. That segue shows up as a selectable item; you can click it to open up the Inspectors because it has properties you can change, including the kind of segue that this is.
Let's run your application.
